Beginner’s guide · Make & build
Turn a handle.
Watch the mechanism speak.
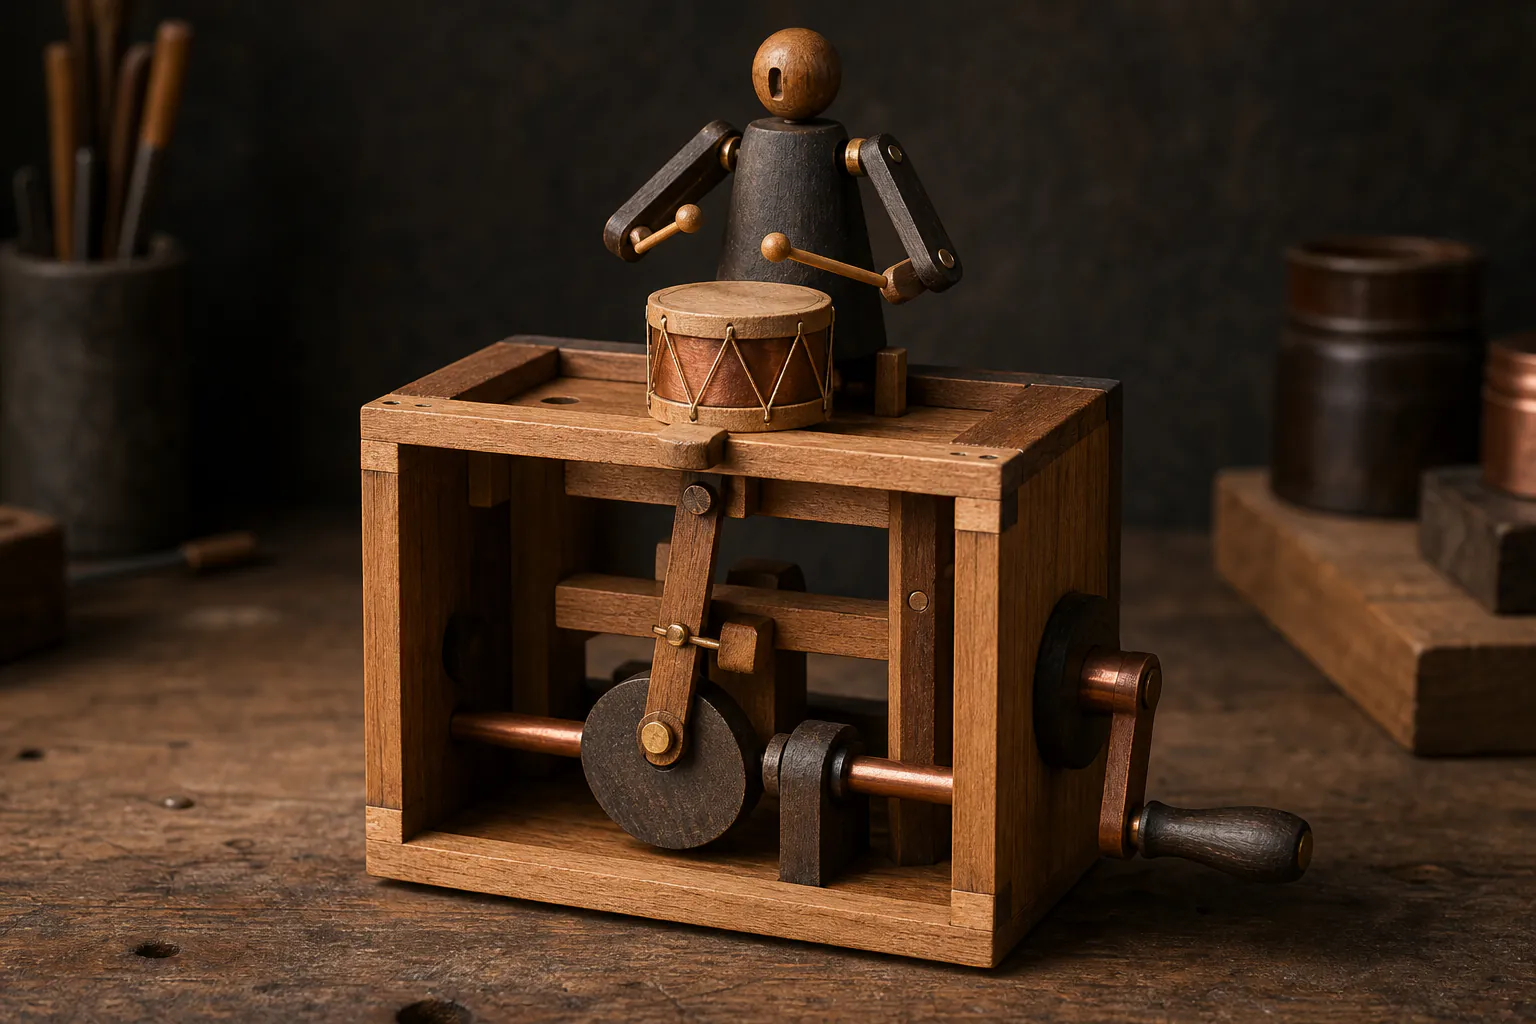
Build a small hand-cranked kit to see how a cam, follower, linkage and axle turn rotation into character. Assemble one proven mechanism before designing your own figure or buying workshop machinery.
Quick answer
Build one visible mechanism before inventing one
Choose a kit whose movement remains easy to see, such as the Timberkits Drummer. Dry-assemble each crank, cam and follower where the instructions allow, remove only rough edges that interfere with movement and test the mechanism repeatedly before adding the final figure or decoration.
- 01
A cam changes the height or timing of a follower as the axle turns; its shape and position determine the motion.
- 02
Friction and misalignment matter more than brute force. A free-running axle with modest clearance is better than a tight decorative fit.
- 03
Kit assembly teaches mechanism order and adjustment. Designing a new automaton adds sketching, prototyping, load and material choices.
- 04
Cardboard, wire and split pins are useful design materials even when the eventual model will be wood.
What to expect
A charming movement is a chain of small mechanical decisions
Automata sit between craft, sculpture and mechanism. The figure can be simple if the timing is expressive, while a beautiful carving will remain disappointing if the axle binds.
Motion
A round off-centre cam gives a gentle rise and fall; a shaped cam can pause, strike or accelerate the follower.
Clearance
Wood changes with humidity and glue adds thickness. Parts that spin or slide need controlled space rather than a pressed fit.
Alignment
Two axle holes that are fractionally out of line create friction throughout the turn. Check from more than one direction.
Load
A heavy figure or long lever can stall a small crank. Keep the first moving parts light and close to the mechanism.
Timing
Moving two cams along or around an axle changes when actions occur. A small adjustment can create the character of the piece.
Finish
Paint and varnish can close clearances. Mask bearings and sliding faces unless the instructions specify a suitable finish.
Mechanisms
Learn the motion as a system
Follow power from the hand to the figure
Turn the crank slowly and name each transfer: handle to axle, axle to cam, cam to follower, follower to linkage and linkage to the visible action. When a movement fails, check the chain in that order instead of sanding every part.
Test before glue removes the choices
Identify every fixed joint and every surface that must rotate, slide or pivot. Dry fit where the kit permits. Keep adhesive away from bearings and use only the amount recommended. If a part binds, inspect orientation, burrs and alignment before enlarging a hole.
Prototype a new idea cheaply
Sketch the start, highest point and return position. Build the linkage in corrugated card, thin craft wood or stiff wire with removable pins. Turn it by hand and change one dimension at a time. A prototype that survives fifty slow turns is more useful than an elaborate drawing that has not moved.
Let decoration follow the travel envelope
Move the bare mechanism through a full rotation and mark every area occupied by a rod or figure. Decorative panels, clothes and scenery must stay out of that envelope. Add light pieces first and retest after every change.
Useful products
One character kit, one mechanism study and one design reference
The Drummer is the clearest first build because its action is easy to read. The Beam Engine offers a more mechanical linkage once the first kit moves freely. Robert Race’s book is the route from assembly to original, deliberately simple automata.
Timberkits Drummer Wooden Automata Kit
Two visible arm movements make the relationship between cam position, follower travel and timing easy to inspect.
Timberkits Beam Engine Wooden Automata Kit
The beam engine introduces a crank and connecting rod after the simpler cam-and-follower action is understood.
Robert Race Making Simple Automata
The book focuses on simple automata and gives a structured bridge from assembly to personal mechanisms.
First automaton
Build and tune the wooden drummer
Use the Timberkits instructions for glue, orientation and finishing. The useful goal is a mechanism that turns smoothly through repeated cycles before it is painted.
- 01
Identify the motion chain
Lay out the crank, axle, cams, followers, arms and figure in instruction order.
- 02
Prepare only functional roughness
Remove splinters and laser-cut tabs without rounding locating edges or changing hole sizes.
- 03
Dry-test moving pairs
Check each axle, pivot and sliding contact where the instructions allow before adding glue nearby.
- 04
Build the frame square
Use a flat surface and verify both axle supports align before the adhesive sets.
- 05
Add one cam and follower
Turn slowly, watch the lift and correct rubbing before fitting the second movement.
- 06
Set the timing
Rotate or position the cams as instructed so the two drum strikes read as an intentional rhythm.
- 07
Attach the light figure parts
Check that arms and sticks clear the frame through a complete turn before final fixing.
- 08
Run fifty slow cycles
Listen and feel for a recurring tight point, then adjust the specific joint rather than forcing the handle.
What can wait
What can wait until motion makes sense
Design equipment does not replace a working cardboard test or a square wooden frame.
- 01
A scroll saw or laser cutter
Power tools speed repeatable parts but add cost, extraction and safety controls. Pre-cut kits and hand prototypes teach the geometry first.
- 02
Complex clockwork
Ratchets, escapements and multiple gear trains compound tolerance errors. Start with one axle and one or two cams.
- 03
The Beam Engine as the first kit
It is a useful next mechanism, but the Drummer gives a clearer relationship between cam timing and visible character.
- 04
Heavy carved figures
Extra mass increases load and can flex linkages. Develop the movement using card or light wood before sculpting the final form.
- 05
Paint on bearing surfaces
Finish can make a free mechanism bind. Prove and mask the moving interfaces before decoration.
Upgrade path
Move from following parts to authoring movement
The meaningful upgrade is the ability to predict and adjust motion, not a larger kit.
First character kit
About £19Pre-cut Drummer kit + basic glue and sandpaper as specified
See how cams and followers create a recognisable action.Second mechanism
About £28Beam Engine kit
Study crank, connecting rod and guided reciprocating motion.Original prototype
About £10–£40Card, dowel, wire, pins and a design reference
Change cam shape, leverage and timing without expensive stock.Small wood workshop
£150–£700+Drill press or guide, fret or scroll saw, extraction and measuring tools
Make repeatable custom parts while taking responsibility for tool safety and tolerances.Safety
Keep movement free and fingers clear
Small kits still involve sharp edges, adhesives and pinch points; original builds may add power tools and fine dust.
- Follow the kit age guidance and adhesive instructions; supervise children directly around tools, glue and small parts.
- Sand over a cleanable surface with suitable dust control and do not blow fine dust into the room.
- Never force a jammed crank. Remove the load and find the rubbing or misaligned point.
- If adding a motor later, use guarded low-voltage drive and a switch that can stop the mechanism immediately.
- Use power tools only with the exact guarding, extraction, work-holding and training they require.
Outside help
When workshop access changes the project
A class is not needed for a pre-cut kit. Shared tools or supervised woodworking become useful only when an original design requires accurately repeated wooden parts.
Prototype cam shapes and link lengths before choosing final materials.
Use only when a custom build needs a machine you have been trained and authorised to operate.
Free design resources and representative UK makerspace pricing checked 31 July 2026; equipment access and induction fees vary.
Sources
Where the guidance came from
Mechanism guidance comes from automata specialists and hands-on tinkering resources; the checked kits provide bounded examples of different movements.
-
01
Cabaret Mechanical Theatre · Automata Tinkering Kit
Clear examples of cams, crank sliders, bell cranks and ratchets used to explore automata.
Open source -
02
Exploratorium Tinkering Studio · Cardboard automata
Low-cost prototyping route for cam-and-follower mechanisms.
Open source -
03
Simon & Schuster · Making Simple Automata
Publisher description and scope for the selected design reference.
Open source -
04
Amazon UK · Timberkits Drummer wooden model kit
Exact product page, model or ISBN, observed price and availability checked for this guide.
Open source -
05
Amazon UK · Timberkits Beam Engine automata kit
Exact product page, model or ISBN, observed price and availability checked for this guide.
Open source -
06
Amazon UK · Making Simple Automata by Robert Race
Exact product page, model or ISBN, observed price and availability checked for this guide.
Open source
Guide information and links checked 31 July 2026.