Beginner’s guide · Make & create
Keep the cloth tight,
let the loops stay loose.
Punch needle works when the needle, yarn and foundation cloth suit one another. Begin with a small complete kit and learn loop formation before designing a rug.
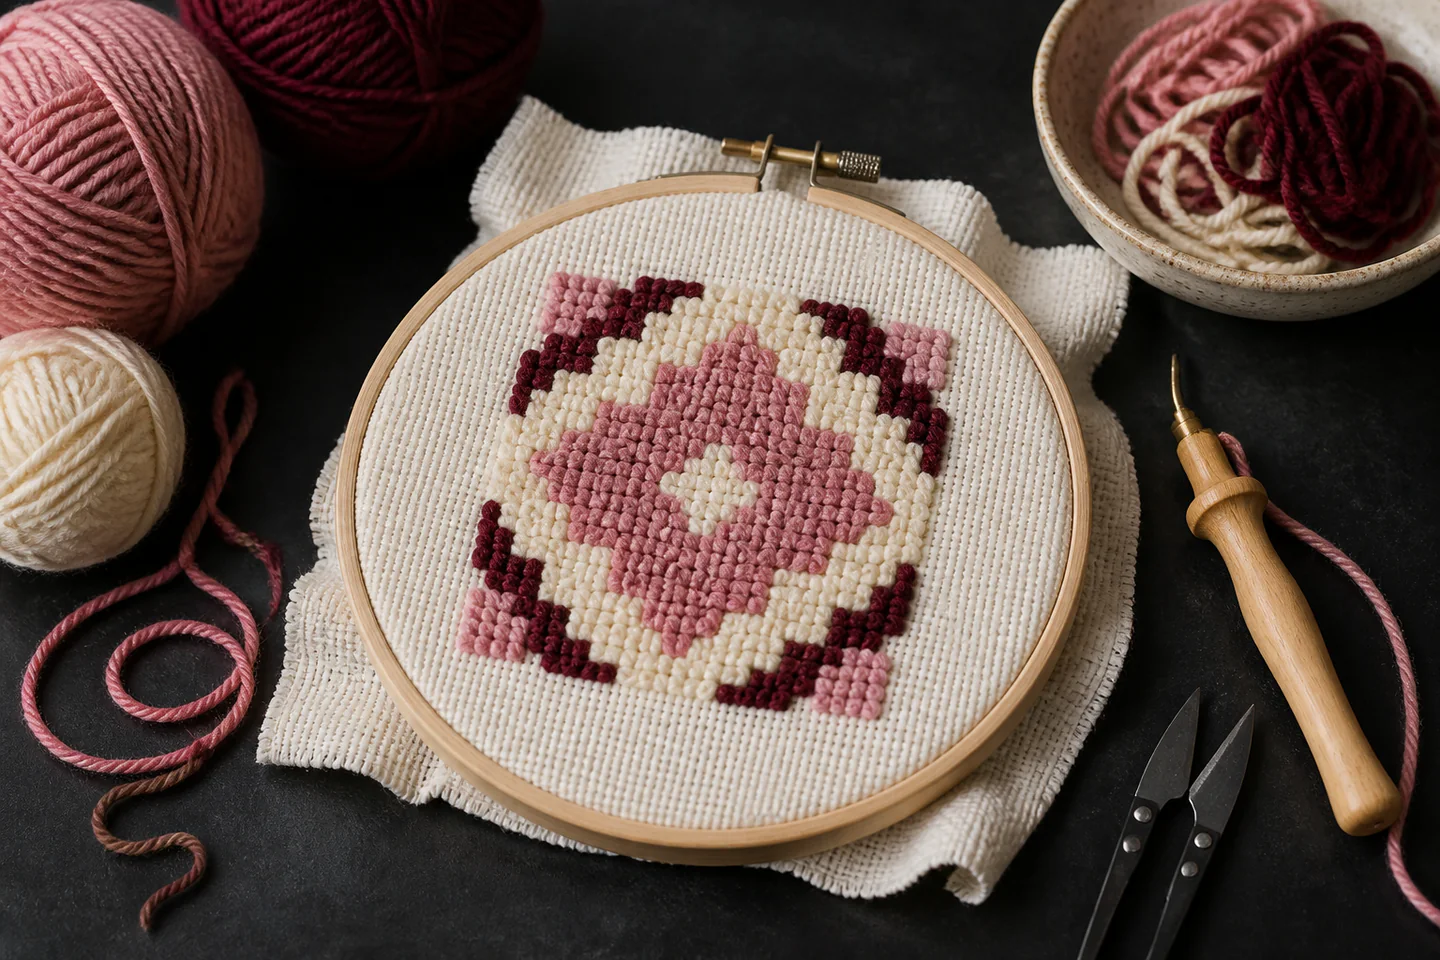
Quick answer
Use one matched kit before mixing needle systems
Start with a complete kit that names the needle, foundation cloth and yarn. Stretch the cloth drum-tight, thread the tool exactly as shown and keep its yarn supply loose beside you. Push the needle fully through, keep the tip close to the surface as it moves and point the opening in the direction of travel. Work a small outline, then fill it with rows that touch without crushing one another.
- 01
Foundation cloth must stay tight; a decorative embroidery hoop may need frequent retightening.
- 02
Needle size, yarn thickness and weave are a system rather than interchangeable supplies.
- 03
Do not lift the needle high between punches because the new loop will pull out.
- 04
Keep the ball or skein unwound enough that the needle never has to drag yarn into the work.
- 05
Judge spacing from the loop side regularly; the working side can hide gaps and excessive density.
What to expect
A disappearing loop usually has a physical cause
Punch needle is repetitive once the setup works. Most frustration comes from slack cloth, trapped yarn, the wrong foundation or lifting the tool too far.
Compatibility
A fine embroidery punch uses thread and tightly woven fabric; a rug punch uses thicker yarn and a more open foundation. Mixing the two routes produces unreliable loops.
Tension
The cloth needs even tension in every direction. Retighten before correcting the stitch when loops suddenly stop holding.
Feed
Yarn should slide through the needle without a knot, tight skein or hand gripping it behind the handle.
Direction
The bevel or eye faces the direction of travel. Turning the handle without changing the tool path can pull previous loops.
Density
Crowding can distort the cloth and use far more yarn. Sparse rows expose the foundation. The useful spacing depends on yarn and loop height.
Core method
Diagnose the setup before blaming your hands
Match the materials
Use the exact needle, yarn weight and foundation recommended by the kit or tool maker. Test a short line near the edge and pull it out deliberately so the correct resistance becomes familiar.
Stretch and thread
Centre the cloth with generous margins and tighten it evenly. Thread the handle and eye in the correct order, then draw several metres of yarn loosely from the ball.
Punch with a shallow travel
Insert to the handle’s depth stop, withdraw only until the point clears the cloth and skim to the next position. Keep the opening facing forward and rotate the whole tool at corners.
Finish without glue by default
Packed loops hold one another when materials and density are correct. Follow the kit’s finishing method, secure edges by sewing or backing where appropriate and reserve adhesives for a specified backing system.
Useful products
Products with a clear job in the setup
The Attuslla set supplies a practice system, the Shepherd Dog kit provides one bounded motif and the monk’s-cloth pack is for later independent designs. Do not buy loose cloth until the needle gauge is known.
Attuslla 18-Piece Punch Needle Embroidery Starter Kit
The complete set reduces the number of compatibility decisions before the first line of loops.
RongPei Shepherd Dog Punch Needle Kit with Hoop
A printed design makes gaps and direction changes visible without requiring a transfer method.
Generic Punch Needle Monk’s Cloth, 10 Pieces
Pre-cut squares support repeated samples without buying a large roll.
First project
Punch one two-colour circle
A simple circle tests outlines, turns, fill spacing and the relationship between both sides of the cloth.
- 01
Test the pairing
Punch ten loops near the margin and gently stroke them to confirm they remain in place.
- 02
Draw a clear circle
Transfer a 6–8 cm circle and one smaller centre with a fabric-safe removable mark.
- 03
Outline slowly
Punch the outer line with the opening following the curve and rotate the handle gradually.
- 04
Fill in rows
Work toward the centre with touching rows, checking the loop side after each circuit.
- 05
Correct from the working side
Pull out a poor section, smooth the cloth fibres and repunch rather than trimming random loops.
- 06
Finish the edge
Follow the kit method, leave adequate cloth for turning or framing and trim yarn only when secure.
What can wait
What can wait until the first result
A reliable small loop field teaches more than a large pattern made with an uncertain mixture of tools and cloth.
- 01
Large rug frames
They cost more, use substantial cloth and make poor tension harder to correct.
- 02
Several needle sizes
Each requires a matching yarn and foundation; learn one system first.
- 03
Carpet adhesive
Many decorative pieces do not need it, and fumes or stiffness create new finishing issues.
- 04
Detailed portraits
Fine outlines reveal every spacing error and require a deliberately fine system.
- 05
Floor use
A decorative hoop piece has not been tested for abrasion, backing, trip resistance or cleaning.
Upgrade path
Upgrade the repeated limitation
Upgrade only when hoop tension, project scale or loop height—not basic compatibility—is the repeated limitation.
Practice motif
About £12–£40Complete small kit
Learn feed, depth and spacing.Independent designs
About £30–£90Known needle + matching cloth and yarn
Choose colour and shape freely.Stable frame work
About £80–£220Gripper frame and better ergonomic tool
Maintain tension across larger pieces.Rug construction
About £180–£600+Purpose-made frame, wool and backing system
Produce durable work intended for handling.Safety & care
Protect fingers and respect the finishing materials
The needle point, gripper strips and some backing adhesives can injure or irritate. A comfortable repetitive motion still benefits from breaks.
- Punch away from the supporting hand and keep fingers out of the area behind the cloth.
- Cover or store sharp gripper-strip frames so exposed points cannot catch skin, clothes or pets.
- Take regular hand, shoulder and eye breaks; change height if the wrist remains bent or the shoulder lifted.
- Use adhesives only when the maker recommends them, ventilate well and follow the label for skin contact and curing.
- Do not describe a decorative punch-needle piece as a washable floor rug without suitable fibre, edge, backing and care testing.
Outside help
When outside help earns its place
A complete kit and a reliable threading demonstration are enough to begin. Tuition becomes useful for gripper frames, original rug design, yarn calculation and durable finishing.
Use guidance for the exact needle system rather than a visually similar tool.
Ask whether frame, cloth, yarn, finishing and take-home tools are included.
Representative UK learning options checked 28 August 2026; local prices, access, materials and tutor support vary.
Sources
Where the guidance came from
Tool makers establish gauge, feed and loop mechanics; specialist tutorials and community troubleshooting show why tension and material mismatch cause most early failures.
-
01
The Oxford Company · punch needle FAQ
Needle sizes, yarn pairing, loop mechanics and foundation guidance.
Open source -
02
The Oxford Company · beginner checklist
Starter tool, frame, cloth and yarn checklist.
Open source -
03
DMC · punch needle technique
Threading and basic punch-needle technique from a thread manufacturer.
Open source -
04
Reddit · r/PunchNeedle
Repeated beginner evidence on loose loops, cloth tension and tool compatibility.
Open source -
05
North Shore Crafts · punch needle guide
Specialist project, finishing and troubleshooting tutorials.
Open source -
06
Amazon UK · 18-Piece Punch Needle Embroidery Starter Kit
Exact product catalogue page or ISBN used for the recommendation; current price, seller, specification and availability should be confirmed.
Open source -
07
Amazon UK · Shepherd Dog Punch Needle Kit with Hoop
Exact product catalogue page or ISBN used for the recommendation; current price, seller, specification and availability should be confirmed.
Open source -
08
Amazon UK · Punch Needle Monk’s Cloth, 10 Pieces
Exact product catalogue page or ISBN used for the recommendation; current price, seller, specification and availability should be confirmed.
Open source
Guide information and links checked 28 August 2026.