Beginner’s guide · Make & create
Stretch the cloth first,
guide the machine second.
Powered rug tufting needs a rigid frame, correctly stretched cloth and a controlled workspace. Begin with a small geometric sample, not a room-sized rug.
Quick answer
Treat the frame and safety setup as part of the machine
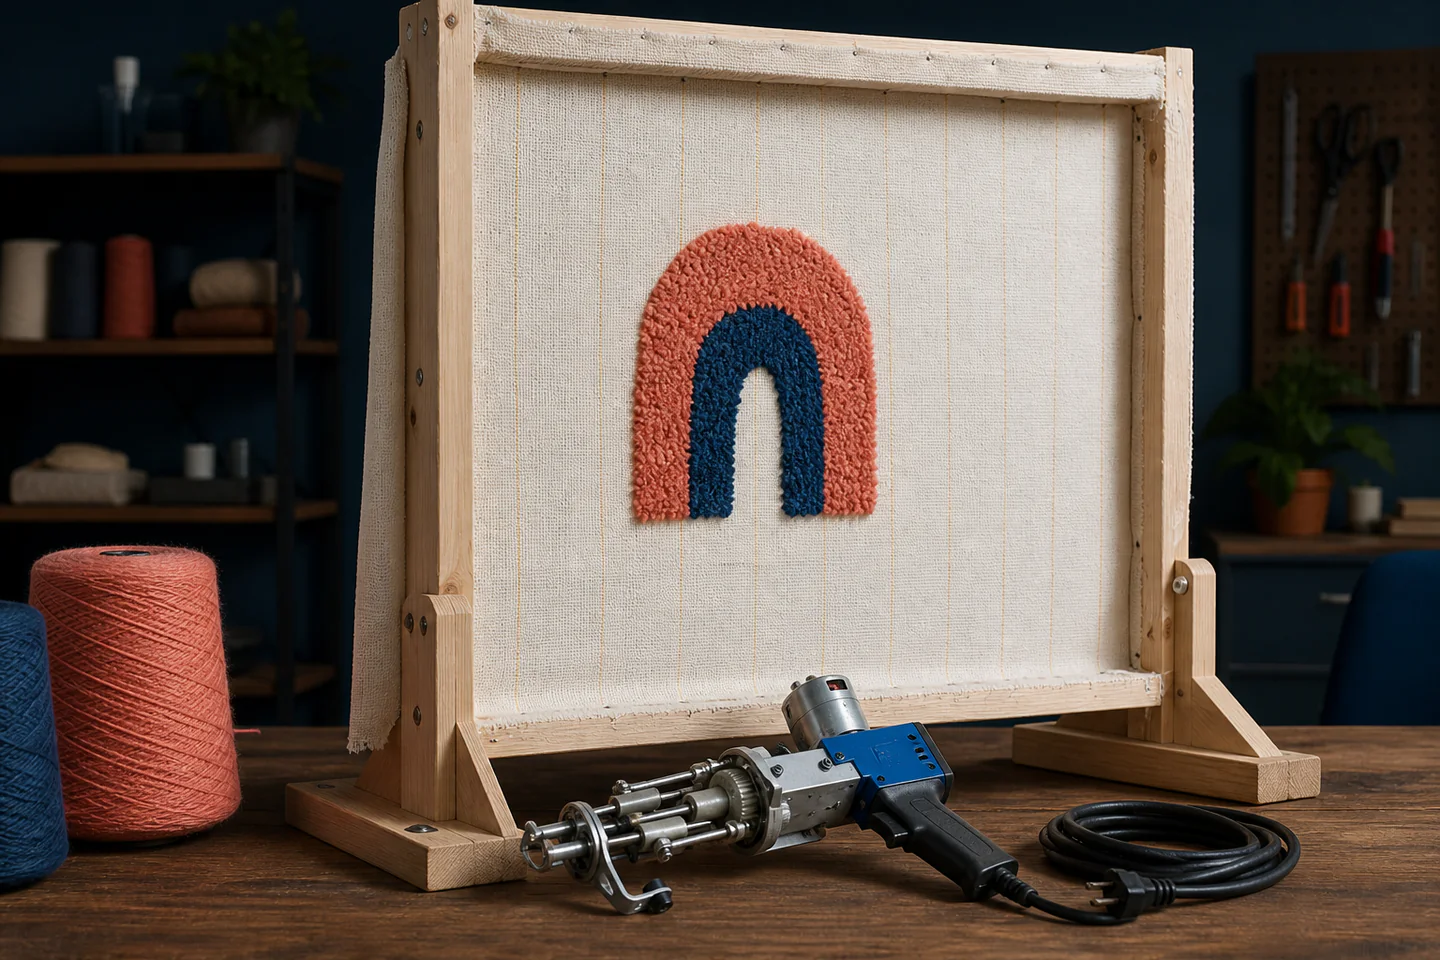
Use a purpose-made cut-pile or combined cut-and-loop tufting gun only after assembling a rigid frame with secure carpet-gripper edges and stretching suitable primary cloth until it is evenly tight. Practise on a small area with the machine unplugged, then power it through a protected socket and tuft straight upward lines at a steady speed. Make a simple two-colour shape, inspect density from the front and finish it with the adhesive and backing system specified for the materials.
- 01
The gun moves only in its designed direction while operating; forcing it sideways can tear cloth or damage the mechanism.
- 02
Cloth tension must be high and even before power is applied.
- 03
Yarn needs a smooth low-resistance path from cone or ball to needle.
- 04
Keep both hands behind the gun and never reach around the live needle near the frame.
- 05
Backing adhesive, trimming and edge finishing are separate stages with their own ventilation and tool requirements.
What to expect
The dramatic gun is only one part of the setup
A usable tufted piece also needs a rigid frame, compatible cloth, steady yarn feed, adhesive curing, backing, carving or trimming and fibre cleanup.
Frame
The frame resists repeated machine force. A light picture frame or loosely clamped timber can rack, move or expose gripper points.
Cloth
Loose or incompatible cloth tears and will not hold lines accurately. Retension across all sides before continuing.
Direction
Most guns are guided upward with the foot flat on the cloth. Curves are built from many controlled direction changes.
Density
Lines too far apart expose backing; overworked areas become heavy and can split. Mark spacing and inspect the front.
Finishing
Latex or adhesive needs the correct substrate, ventilation and full cure before backing and trimming. A wall sample and floor rug have different demands.
Core method
Control the powered system in stages
Build and inspect the frame
Use straight rigid timber or a stable metal frame, secure it against movement and cover exposed gripper strips whenever cloth is absent. Leave safe clearance behind the full tufting area.
Stretch and mark
Fit purpose-made primary tufting cloth square to the frame and retension until it gives an even high note when tapped. Transfer a bold design in reverse if orientation matters.
Thread and test unpowered
Follow the exact gun manual, check fasteners and scissors, route yarn without snags and move the unplugged foot over the intended lines. Keep the cable away from the frame and operator.
Tuft, inspect and finish
Power short upward lines, release the trigger before changing position and inspect the front frequently. Vacuum fibres, apply the specified backing in ventilation, cure fully and trim only with controlled tools.
Useful products
Products with a clear job in the setup
The BESGEER package combines the main starter components; the NODOCA frame is for someone choosing a gun separately; the smaller BESGEER gun-and-trimmer set is a machine route without assuming a frame is already safe. Compare what is actually included before ordering.
BESGEER Rug Tufting Gun Starter Kit with Frame and Trimmer
A bundled frame, machine and trimmer reduces major compatibility gaps while still requiring cloth, yarn, backing and PPE checks.
NODOCA 70 cm Aluminium Tufting Frame with Knobs
A purpose-made frame avoids improvising a weak picture frame and supports repeated small samples.
BESGEER 2-in-1 Cut and Loop Pile Tufting Gun Kit with Trimmer
The two pile modes allow progression without replacing the gun.
First project
Tuft a 25 cm two-colour arch
A bold arch tests straight climbs, gentle curves, fill spacing and a clean outline without consuming a full frame.
- 01
Inspect the machine
Unplug it, read the manual and identify trigger, speed control, pile mode, threading and emergency stop procedure.
- 02
Secure the frame
Anchor it against movement, stretch cloth evenly and cover all gripper points outside the working edge.
- 03
Mark a simple reverse design
Draw a thick arch and two colour zones with no tiny islands or lettering.
- 04
Practise straight lines
Tuft short upward passes at low speed and release the trigger before lifting or turning.
- 05
Fill and inspect
Space parallel lines consistently and check the front before adding density.
- 06
Back, cure and trim
Ventilate, use the correct adhesive, wait for full cure and trim above a stable non-slip surface.
What can wait
What can wait until the first result
A powered tufting setup is already a substantial first purchase. Large scale and decorative carving can wait until safe straight lines are repeatable.
- 01
Room-sized rug
It multiplies frame strength, yarn quantity, adhesive, weight and finishing problems.
- 02
Complex lettering
The design is worked from the back and fine reversals expose control errors.
- 03
Maximum gun speed
Speed hides poor feed and direction before it saves meaningful time.
- 04
Several yarn fibres
Different stretch, shedding and coverage make density harder to judge.
- 05
Deep carving
Trimmers can cut through the pile or backing; level the first sample rather than sculpting it.
Upgrade path
Upgrade the repeated limitation
Add scale, speed or carving only after the complete small-piece workflow is safe and repeatable.
Studio taster
Often £45–£120Supervised gun, frame and materials
Test the physical process before buying.Small home sample
About £180–£450Gun, rigid frame and finishing kit
Learn the whole workflow.Medium wall rug
About £350–£900Larger frame and consistent yarn feed
Control density over more area.Small production studio
About £1,000–£4,000+Ventilation, frames, storage and finishing tools
Repeat rugs with controlled curing and cleanup.Safety & care
This is a powered workshop hobby
A fast reciprocating needle, exposed frame grippers, electrical equipment, trimming blades, fibre dust and adhesives all need a planned workspace.
- Read and follow the exact gun and trimmer manuals; unplug before threading, adjustment, clearing jams or touching the needle and scissors.
- Keep hands and bystanders behind the machine, tie back hair and clothing and maintain clear space on both sides of the frame.
- Use a sound electrical supply with suitable protection, inspect cable and plug and keep them clear of sharp grippers and wet adhesive.
- Follow adhesive safety data, ventilate during application and curing, protect skin and eyes and keep ignition sources away where relevant.
- Control yarn and trimming fibres with appropriate extraction or a HEPA vacuum, avoid dry sweeping and wear protection specified for the task.
Outside help
When outside help earns its place
Because the first attempt combines powered machinery, exposed grippers and chemical finishing, a supervised studio taster is unusually valuable before buying a home setup.
Ask whether machine safety, frame tension, adhesive and finishing are all demonstrated.
Useful for completing backing and trimming under supervision before planning a home studio.
Representative UK learning options checked 28 August 2026; local prices, access, materials and tutor support vary.
Sources
Where the guidance came from
Machine makers establish operating direction and maintenance; specialist studios and experienced tufters add evidence about frame tension, density, backing and workspace failures.
-
01
Tuftinggun.com · tufting resources
Machine setup, threading, operation and troubleshooting.
Open source -
02
Tuft the World · help centre
Frame, cloth, yarn, gun and finishing guidance.
Open source -
03
Health and Safety Executive · electrical safety
UK electrical risk and equipment safety principles.
Open source -
04
Health and Safety Executive · adhesives and solvents
Control of hazardous substances and ventilation principles.
Open source -
05
Reddit · r/Tufting
Community evidence on frame tension, cloth tears, density, adhesives and carving mistakes.
Open source -
06
Amazon UK · Rug Tufting Gun Starter Kit with Frame and Trimmer
Exact product catalogue page or ISBN used for the recommendation; current price, seller, specification and availability should be confirmed.
Open source -
07
Amazon UK · 70 cm Aluminium Tufting Frame with Knobs
Exact product catalogue page or ISBN used for the recommendation; current price, seller, specification and availability should be confirmed.
Open source -
08
Amazon UK · 2-in-1 Cut and Loop Pile Tufting Gun Kit with Trimmer
Exact product catalogue page or ISBN used for the recommendation; current price, seller, specification and availability should be confirmed.
Open source
Guide information and links checked 28 August 2026.