Beginner's guide · Make & create
Roll ten even coils.
Shape before composing.
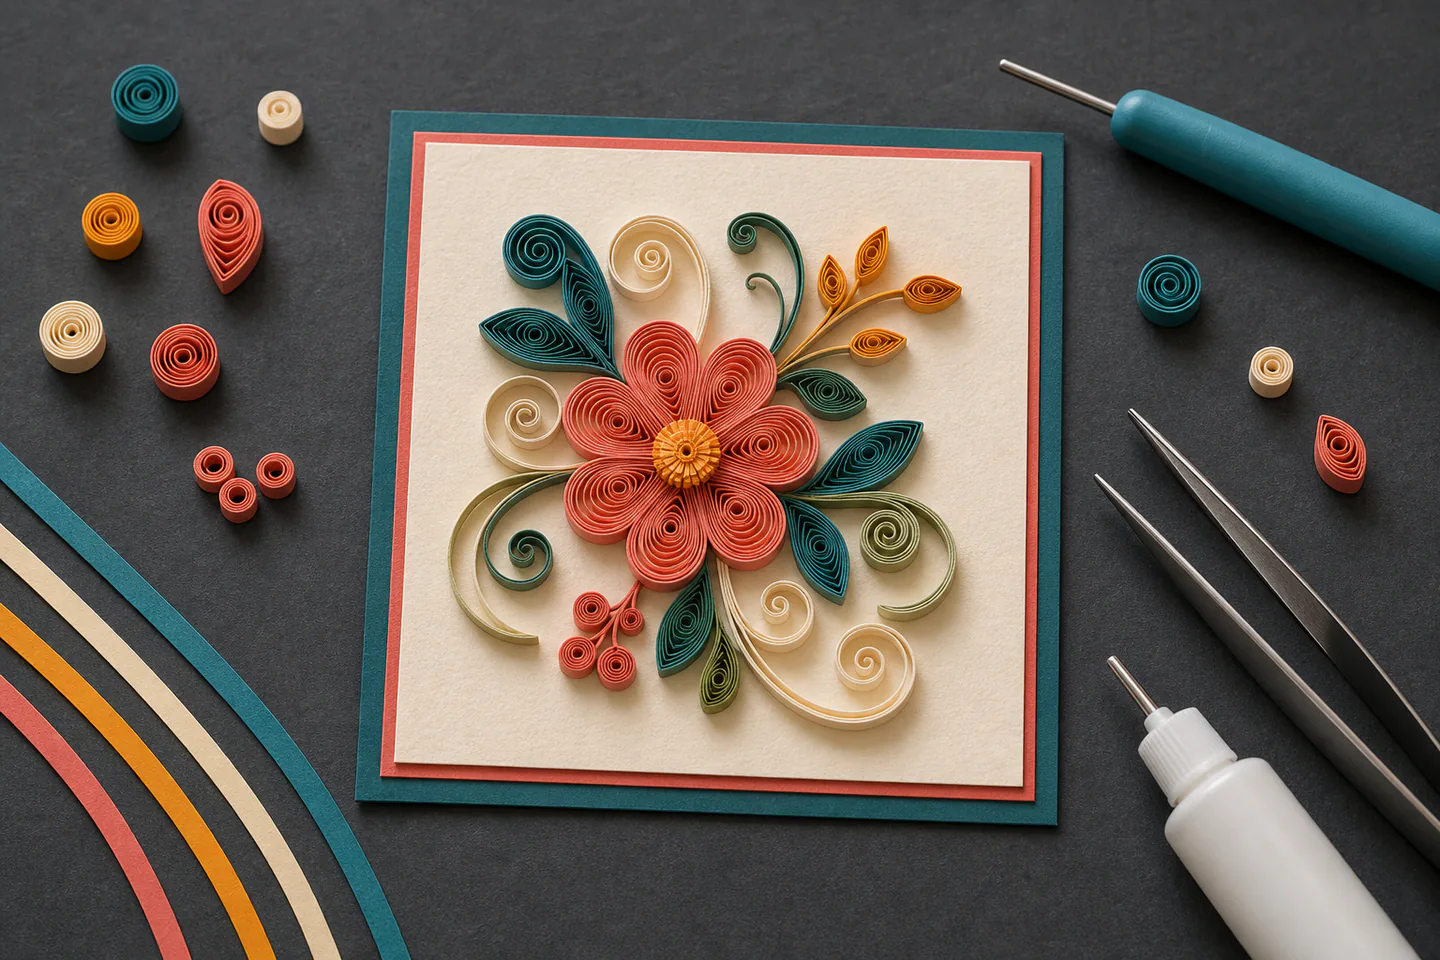
Start with 3 mm strips, one slotted tool, fine tweezers and tiny amounts of clear-drying glue. Practise open and closed coils before arranging a small flower card; consistency and clean joins matter more than a box full of moulds.
Quick answer
Roll ten even coils.
Use 3 mm paper strips and a basic slotted tool. Roll the strip with steady light tension, release it into a circle guide or against a simple drawn size, glue the end with the smallest possible amount, then pinch only after the closed coil is dry enough to hold.
- 01
The Quilling Guild uses 3 mm strips for most basic accreditation shapes and judges clean, well-made forms rather than unnecessary complexity.
- 02
Make ten matched loose coils before attempting a flower. Repetition teaches tension faster than switching tools.
- 03
Use a pin or fine applicator for glue. A shiny halo around every coil is excess adhesive, not extra strength.
- 04
A template board helps repeated sizes later, but a printed circle guide beneath clear plastic is enough for the first session.
What to expect
What the first attempts really involve
The first project is useful because it exposes the decisions that shopping pages tend to hide.
Tension
Two strips of the same length can produce different coils if one is rolled tightly and the other loosely. Match the release as well as the starting length.
Paper
Purpose-cut strips have parallel edges and consistent width. Hand-cut printer paper can work for testing but magnifies cutting errors.
Glue
Paper needs surprisingly little adhesive. Too much stains the base, stiffens coils and makes repositioning messy.
Handling
Fingers flatten delicate scrolls. Tweezers help with placement, but gripping too hard leaves permanent dents.
Composition
A collection of perfect coils still needs spacing and a clear silhouette. Build the whole dry arrangement before fixing any shape.
Fundamentals
Build the first attempt on reliable fundamentals
Learn four shapes, not forty
Begin with a tight coil, loose closed coil, teardrop and marquise. The teardrop is a loose coil pinched once; the marquise is pinched on opposite sides. This small vocabulary is enough for petals, leaves and centres while keeping the lesson on matching size and pressure.
Standardise the strip and release
Use one strip length for a set of petals. Insert only the end into the slot, keep edges aligned and roll without twisting the paper. Release each coil in the same circle size or against the same printed guide, then glue the end where it naturally meets.
Assemble with almost no visible glue
Arrange every dry component over the card before committing. Touch the underside or contact edge to a tiny glue puddle, blot excess on scrap paper and lower it with tweezers. Hold briefly, then allow the piece to set instead of nudging it repeatedly.
Starter products
Consistent strips, simple rolling tools and an optional guide
The 3 mm strip set includes a slotted tool and is the direct first route. The YURROAD multi-size tools are an ergonomic alternative, while the larger mixed kit is shown for someone who has already enjoyed the basic flower and wants a board and extra tools.
Generic 42-colour 3 mm Quilling Paper, 840 Strips
It supplies matched-width paper and a basic tool in one purchase without adding moulds, crimpers or motorised equipment.
YURROAD Six Multi-size Slotted Quilling Tools
It solves a hand-fit or slot-width problem after the bundled tool has been tried, while remaining useful for wider strips later.
First design
Make a five-petal quilled flower card
Use one strip colour for five matched petals, a contrasting tight centre and two simple leaves. Keep the background blank so the shape quality remains easy to see.
- 01
Protect the pattern
Place a simple drawn flower layout under clear plastic or baking parchment so glue cannot attach the shapes to the guide.
- 02
Cut equal strip lengths
Use full strips or measure five equal sections for petals. Record the length so a failed petal can be replaced.
- 03
Roll five loose coils
Use the same tool, direction, tension and release size. Glue each end with a pin-sized amount.
- 04
Pinch five teardrops
Hold the coil centre where desired and pinch one edge without crushing the entire outer ring.
- 05
Make the centre
Roll a shorter contrasting strip tightly and glue the end before it unwinds.
- 06
Form two leaves
Roll two matched loose coils and pinch opposite ends to create marquise shapes.
- 07
Dry arrange everything
Place petals around the centre, rotate them until spacing is even and position leaves without adhesive.
- 08
Glue from the centre outward
Fix the centre, then opposing petals and finally leaves, checking alignment between each addition.
- 09
Let it cure flat
Leave the card open and undisturbed until the adhesive is fully clear and dry before placing it in an envelope.
Troubleshooting
Read the result before buying another tool
Different coil sizes need one controlled variable
Keep strip length fixed and practise matching the release circle. Trying to correct diameter by pulling at random changes the centre and outer-ring spacing.
A torn centre starts at the tool
Do not insert too much paper into the slot or twist the tool sideways. If the slot is too wide for the strip, choose a finer tool rather than forcing the paper.
Visible glue needs less glue, not more wiping
Use a fine pin, blot the piece on scrap and place it once. Wiping wet glue across the card spreads the stain beyond the original contact point.
Skip for now
What can wait
Basic coils reveal whether the repetitive rolling and precise placement are enjoyable before specialised tools fill a drawer.
- 01
An electric quilling tool
Speed arrives before control and can tighten coils unevenly. Hand rolling teaches how paper tension feels.
- 02
A crimper and fringer
Both create attractive effects but avoid the core lessons of clean coils, matched shapes and restrained glue.
- 03
Very wide strip collections
Three-millimetre strips suit most basic forms. Add wider strips for fringed flowers or sculptural work when a chosen design needs them.
- 04
Complex portrait patterns
Large edge-quilling or typography pieces amplify every spacing error and require many strips. Finish several small motifs first.
Upgrade path
What a better setup changes
Useful upgrades improve repeat size and placement before they automate the rolling action.
First paper motif
About £10–£203 mm strips + slotted tool + fine glue applicator
Teaches tension, four shapes and clean assembly.Matched repeated designs
Add £5–£20Template board + pins + fine tweezers
Makes repeat diameter and symmetrical layouts easier.Dimensional techniques
VariableWider strips + moulds or specialist comb
Adds domes, fringes and lattice work after flat shape control is reliable.Safety
Work safely from the first attempt
Quilling is low risk, but sharp pins, fine tools, adhesives and tiny paper parts still need tidy handling.
- Store pins and needle tools in a closed container and count them back after a session.
- Keep glue off skin and eyes, close the bottle and follow its ventilation and first-aid instructions.
- Do not hold a slotted tool point toward the face while winding or freeing a jammed strip.
- Keep tiny coils and beads away from young children and pets.
- Use scissors and craft knives on a stable surface and cut away from the body.
Classes
When outside help is useful
A class is not needed for the first flower, but direct feedback helps with advanced typography, husking, fringed flowers and three-dimensional forms.
A short session should cover coils, teardrops, marquise shapes, glue control and one finished card.
Look for a longer workshop only when it teaches a specific advanced technique and provides enough making time.
Representative UK paper-craft workshop formats checked 30 July 2026; live prices and materials vary.
Sources
Sources and checking notes
The Quilling Guild supplies a clear basic-shape standard, community practice informs tool choice and exact Amazon records confirm the paper and tool options.
-
01
Quilling Guild · Basic accreditation instructions
Three-millimetre strip standard and emphasis on clean basic shapes.
Open source -
02
Quilling Guild · Sampler guide
Matched shapes, clean glue and restrained complexity.
Open source -
03
r/quilling
Ongoing practitioner examples and beginner troubleshooting.
Open source -
04
Amazon UK · 42-colour 3 mm strip set
Exact 840-strip set with slotted tool checked for current UK availability.
Open source -
05
Amazon UK · YURROAD slotted tools
Exact six-size ergonomic tool set checked for current UK availability.
Open source -
06
Amazon UK · 1420-strip quilling kit
Exact larger kit checked as an alternative upgrade route.
Open source -
07
Amazon UK · Quilling template board
Exact guide-board option checked for current UK availability.
Open source -
08
Amazon UK · Mixed tool and strip set
Exact 19-piece kit checked for comparison with the simple route.
Open source
Guide information and links checked 30 July 2026.