Beginner’s guide · Make & create
Finish one tiny room,
keep the scale consistent.
Begin with a small room-box kit and basic hand tools. Scale, dry-fitting and clean adhesive placement matter before a whole wired dollhouse.
Quick answer
Use one complete room kit to test the scale and patience
Choose a room-box kit with a clear parts inventory, manageable footprint and instructions in a language you can follow. Sort pieces into labelled trays, compare every component with the diagrams and dry-fit walls and furniture before applying adhesive. Build from large structural parts to small decoration, use the minimum compatible glue and test any included lighting before it becomes inaccessible.
- 01
Choose one complete room-box kit in a stated scale for the first result and resist substituting several unfamiliar materials at once. Record what you used on the first attempt so the result can be repeated or changed for a reason.
- 02
Make dry-fitting, square joints and restrained adhesive visible with a small test before committing the full project. Record what you used on the first attempt so the result can be repeated or changed for a reason.
- 03
Change one variable between attempts and keep the preparation otherwise consistent. Record what you used on the first attempt so the result can be repeated or changed for a reason.
- 04
Inspect the work at each reversible stage instead of waiting until protected display and tested lighting. Record what you used on the first attempt so the result can be repeated or changed for a reason.
- 05
Finish one modest result and note the actual time, material use and recurring difficulty. Record what you used on the first attempt so the result can be repeated or changed for a reason.
What to expect
Miniature does not mean quick
A small finished room can contain dozens of cut, painted, wired and aligned parts; inventory and order matter as much as dexterity.
Scale
Furniture from different systems can look wrong together even when each item is attractive. In dollhouse miniature making, this is worth checking deliberately rather than trying to correct it after the next stage.
Parts
Small components disappear easily. Count against the inventory and work over a tray. In dollhouse miniature making, this is worth checking deliberately rather than trying to correct it after the next stage.
Adhesive
Excess glue is proportionally huge and can fog clear plastic or stain paper. In dollhouse miniature making, this is worth checking deliberately rather than trying to correct it after the next stage.
Lighting
Battery holders, polarity and wire routes must be tested before walls close. In dollhouse miniature making, this is worth checking deliberately rather than trying to correct it after the next stage.
Display
Dust and sunlight age tiny paper, textile and painted surfaces quickly. In dollhouse miniature making, this is worth checking deliberately rather than trying to correct it after the next stage.
Core method
Sort, dry-fit and build from structure outward
Inventory the box
Identify bags, sheets, lights and missing parts before cutting or painting anything. In dollhouse miniature making, this is worth checking deliberately rather than trying to correct it after the next stage.
Make a scale plan
Confirm the kit scale and set aside unrelated accessories that do not match. In dollhouse miniature making, this is worth checking deliberately rather than trying to correct it after the next stage.
Dry-build the shell
Hold walls and floor square, mark hidden wire routes and rehearse clamping. In dollhouse miniature making, this is worth checking deliberately rather than trying to correct it after the next stage.
Finish in subassemblies
Build furniture on a tray, test lighting and add fragile decoration last. In dollhouse miniature making, this is worth checking deliberately rather than trying to correct it after the next stage.
Useful products
Products with a clear job in the setup
The CUTEROOM Candy kit is a compact first room; the Spilay tool set supplies fine handling tools, while the larger Beatific Atelier is a later more involved alternative. Buy one building kit.
CUTEROOM Candy Miniature House Room Kit
The bounded room tests assembly and patience without committing to a full multi-storey house.
Spilay 16-Piece Miniature Model Making Tool Set
Fine tools reduce finger pressure and support later room kits.
CUTEROOM Beatific Atelier Miniature House Kit with Dust Cover
The dust cover solves a genuine display issue while the build adds complexity.
First project
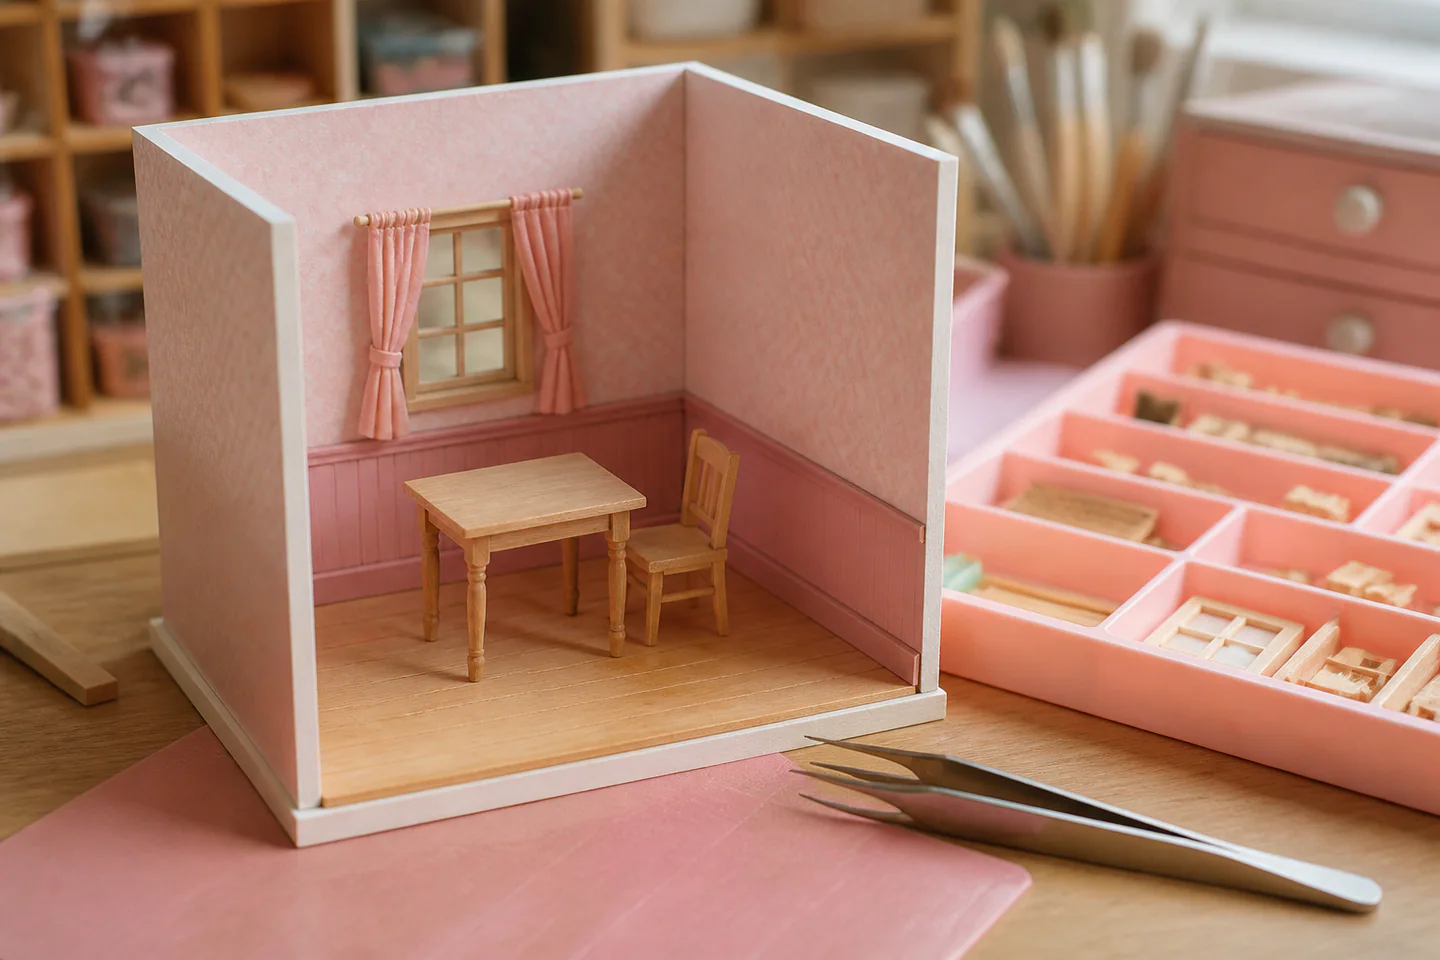
Build one table-and-wall room corner
Completing the shell and one furniture grouping teaches inventory, squareness, finish order and clean glue use.
- 01
Photograph and sort
Match every bag and sheet to the inventory and label trays. In dollhouse miniature making, this is worth checking deliberately rather than trying to correct it after the next stage.
- 02
Read ahead
Identify painting, wiring and hidden joints that must happen before closure. In dollhouse miniature making, this is worth checking deliberately rather than trying to correct it after the next stage.
- 03
Dry-fit the shell
Check wall and floor alignment with no glue. In dollhouse miniature making, this is worth checking deliberately rather than trying to correct it after the next stage.
- 04
Build one furniture group
Use tweezers and minimal adhesive, checking scale and square corners. In dollhouse miniature making, this is worth checking deliberately rather than trying to correct it after the next stage.
- 05
Test lights separately
Confirm polarity and switch access before routing wires. In dollhouse miniature making, this is worth checking deliberately rather than trying to correct it after the next stage.
- 06
Close and protect
Add fragile details, clean the display and fit the cover only after full cure. In dollhouse miniature making, this is worth checking deliberately rather than trying to correct it after the next stage.
What can wait
What can wait until the first result
A full wired house adds rooms, structural decisions and years of accumulation before the basic workflow is known.
- 01
Full custom dollhouse
Scale planning and construction are far larger than a room kit. In dollhouse miniature making, this is worth checking deliberately rather than trying to correct it after the next stage.
- 02
Mains-powered lighting
Low-voltage kit lighting is the sensible first electrical boundary. In dollhouse miniature making, this is worth checking deliberately rather than trying to correct it after the next stage.
- 03
Large accessory haul
Finish the kit inventory before adding items that crowd the composition. In dollhouse miniature making, this is worth checking deliberately rather than trying to correct it after the next stage.
- 04
Scratch-built tiny furniture
Precision cutting and jigs can follow one assembled example. In dollhouse miniature making, this is worth checking deliberately rather than trying to correct it after the next stage.
- 05
Permanent built-in display
Confirm dimensions, dust control and access before fixing the work into furniture. In dollhouse miniature making, this is worth checking deliberately rather than trying to correct it after the next stage.
Upgrade path
Upgrade the repeated limitation
Expand the scene when scale and clean assembly, not missing accessories, limit the result.
Room corner
About £25–£60Compact kit and household tools
Learn inventory and gluing.Covered room box
About £45–£100Fine tools and dust cover
Improve finish and display.Multi-room kit
About £80–£250Lighting plan and subassembly storage
Coordinate a longer build.Scratch-built house
About £250–£1,000+Scale drawings, saws and electrical system
Design every component.Safety & care
Tiny parts, blades and lighting need adult craft handling
Detailed miniature kits are display crafts, not children’s toys, and included electrical parts still require inspection.
- Keep tiny parts, magnets, button cells and wire off the floor and away from children and pets. Follow the current instructions supplied with the exact material, tool or living specimen.
- Cut on a mat, direct blades away from fingers and wear eye protection when clipping hard wire. Follow the current instructions supplied with the exact material, tool or living specimen.
- Use only the specified low-voltage supply and stop using damaged wires, hot components or leaking batteries. Follow the current instructions supplied with the exact material, tool or living specimen.
- Ventilate and follow labels for glues, paints and solvents, especially around clear plastic. Follow the current instructions supplied with the exact material, tool or living specimen.
- Mount heavy or glass-covered displays securely and retain access to battery compartments. Follow the current instructions supplied with the exact material, tool or living specimen.
Outside help
When outside help earns its place
A complete beginner tutorial is enough for the first controlled attempt. A class becomes useful when scratch building, precision woodworking or custom lighting becomes the goal.
Follow one method using one complete room-box kit in a stated scale, including preparation and finishing rather than only the photogenic middle stage.
Check whether materials, troubleshooting, protected display and tested lighting and a finished take-home result are included.
Representative UK learning options checked 28 August 2026; local prices, access, materials and tutor support vary.
Sources
Where the guidance came from
The method is grounded in specialist and public guidance, then checked against recurring beginner questions and the exact products linked here.
-
01
Health and Safety Executive · adhesives
UK control guidance for adhesives, paints and dust.
Open source -
02
Health and Safety Executive · hand tools
General safe hand-tool principles.
Open source -
03
Warhammer Community · painting basics
Model-making and painting tutorials.
Open source -
04
FineScale Modeler · how to
Specialist construction, scenery and finishing methods.
Open source -
05
Reddit · r/dioramas
Community evidence on scale, materials and finishing.
Open source -
06
Amazon UK · Candy Miniature House Room Kit
Exact product catalogue page or ISBN used for the recommendation; current price, seller, specification and availability should be confirmed.
Open source -
07
Amazon UK · 16-Piece Miniature Model Making Tool Set
Exact product catalogue page or ISBN used for the recommendation; current price, seller, specification and availability should be confirmed.
Open source -
08
Amazon UK · Beatific Atelier Miniature House Kit with Dust Cover
Exact product catalogue page or ISBN used for the recommendation; current price, seller, specification and availability should be confirmed.
Open source
Guide information and links checked 28 August 2026.