Beginner's guide · Make & create
Make one clean folded card.
Layout before decoration.
Start with a good blank, two coordinating papers, a simple focal shape and a restrained adhesive. Accurate trimming, a crisp fold and comfortable spacing make a first card feel intentional without stamps, dies or a cutting machine.
Quick answer
Make one clean folded card.
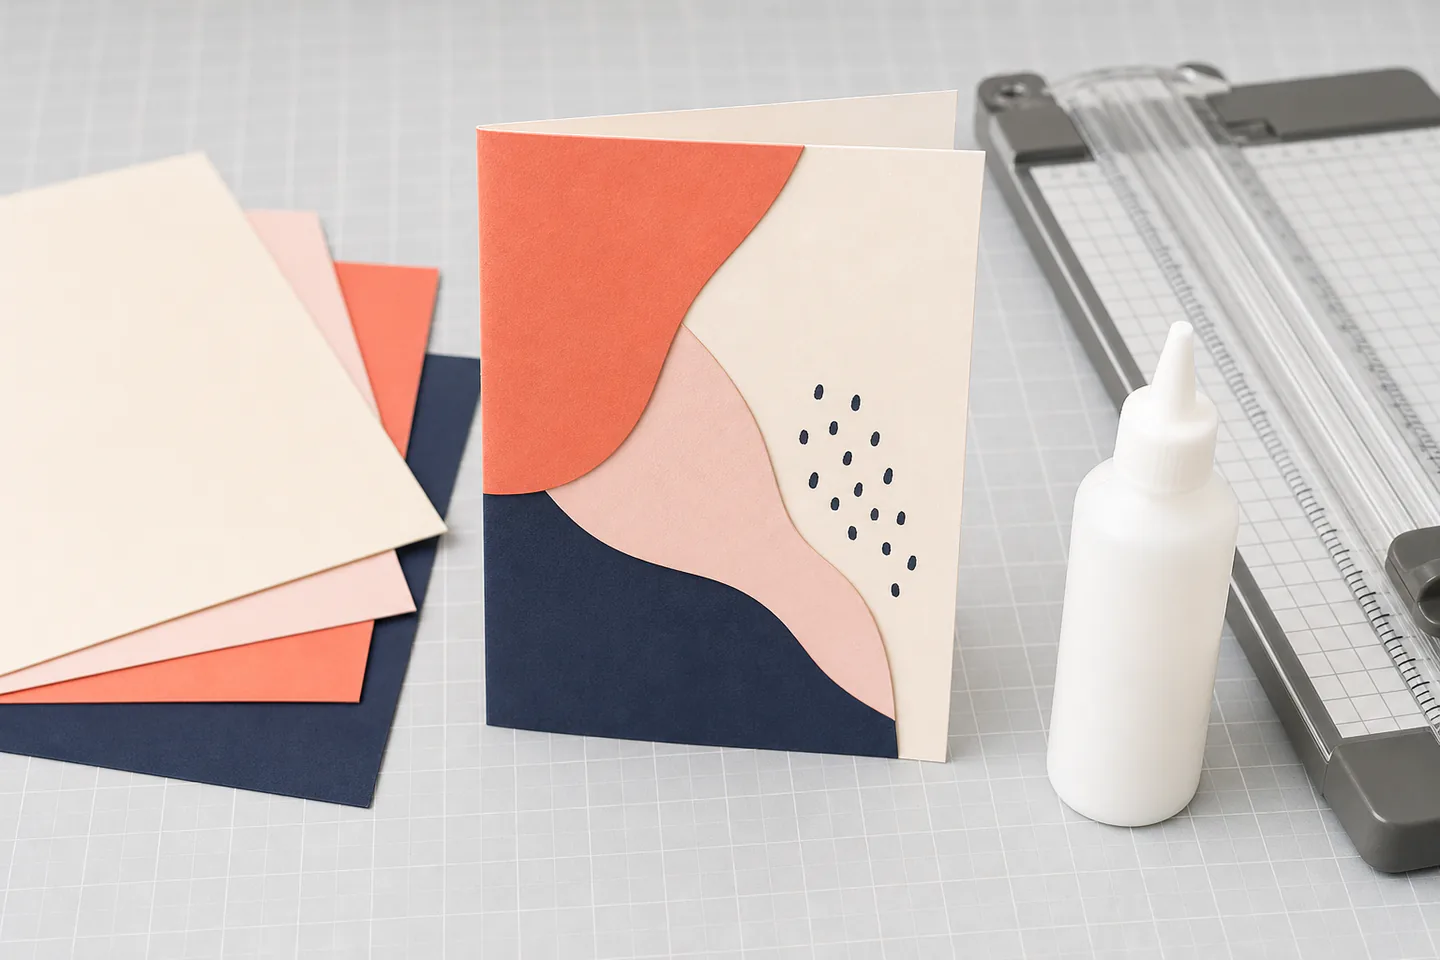
Use a pre-creased A6 blank and design the front from one background panel, one smaller focal panel and a short handwritten or printed message. Cut everything first, arrange it without adhesive, photograph the layout, then glue from the lowest layer upward.
- 01
Pre-creased blanks remove the need to buy a scoreboard before the first card and include a correctly sized envelope.
- 02
A small amount of liquid paper adhesive gives adjustment time; spread it thinly and keep it away from visible edges.
- 03
The paper trimmer becomes worthwhile when repeated straight cuts are difficult with a ruler and craft knife.
- 04
Leave deliberate empty space. A card rarely improves because every corner acquired another sticker or shape.
What to expect
What the first attempts really involve
The first project is useful because it exposes the decisions that shopping pages tend to hide.
Measurement
A one-millimetre error is visible when layers are meant to form an even border. Measure the finished blank rather than assuming every A6 pack is identical.
Paper grain
Heavy card folds more cleanly with the grain. Pre-creased blanks hide this first lesson, but it matters when cutting custom bases later.
Adhesive
Too much wet glue warps paper and squeezes out; too little or poor placement allows corners to lift.
Composition
Alignment, contrast and spacing carry the design. Expensive embellishments cannot rescue a focal message that floats awkwardly.
Posting
Thick foam, beads and tall bows change postage and may damage in sorting. A first card should fit its envelope without force.
Fundamentals
Build the first attempt on reliable fundamentals
Set one visual hierarchy
Choose the message or image the eye should find first. Use a background that supports it and one small accent repeated once or twice. Limit the first palette to two main colours plus the neutral card so contrast remains easy to judge.
Cut a complete dry layout
Measure the card front, subtract an even margin and cut the background panel. Cut the focal panel smaller again. Arrange every piece without glue, check the envelope orientation and photograph the approved layout before anything can slide.
Glue from broad to small
Use the applicator's fine tip or a scrap card to spread a thin film near the edges and through the centre. Place the largest layer first, smooth it with clean hands and allow wet adhesive to grip before adding small pieces. Keep a clean dry cloth for fingers, not for rubbing wet glue across print.
Starter products
Good blanks and controlled adhesive before specialist machines
The Papermania blanks and Tombow glue are enough to complete the first project with household scissors and a ruler. The Fiskars trimmer is the useful reusable upgrade when straight layered borders will be repeated.
Papermania A6 Plain White Cards and Envelopes, Pack of 50
Pre-folded blanks keep the lesson on layout and assembly while leaving enough spares to remake a design without treating the first sheet as precious.
Tombow Mono Multi Liquid Glue, 25 ml
Two applicator widths cover the first card's large panel and smaller focal element without introducing several tapes and glues at once.
First card
Make a three-layer A6 thank-you card
Use one patterned background, one plain focal panel and a short message. The point is accurate spacing and a clean finish, not a particular visual style.
- 01
Measure the blank
Open and close it once, note the exact front dimensions and confirm which way the envelope expects it to sit.
- 02
Choose two papers
Select one restrained pattern and one plain contrasting card or paper for the message panel.
- 03
Plan the margins
Mark an even background border and a clearly larger gap around the focal panel. Write the dimensions before cutting.
- 04
Cut and label the backs
Trim the panels, mark the back lightly and check the pattern direction. Never write dimensions on a visible face.
- 05
Create the message
Print, stamp with an already-owned stamp or hand-letter a short thank-you. Make a spare focal panel if handwriting feels high stakes.
- 06
Dry arrange
Place all pieces, view from arm's length and take a phone photograph when the spacing looks balanced.
- 07
Adhere the layers
Apply a thin controlled film, align one edge before lowering the rest and smooth without shifting the paper.
- 08
Check the envelope
Let the card dry flat, insert it without forcing and weigh or measure it if extra thickness may affect postage.
Troubleshooting
Read the result before buying another tool
Warping points to moisture
Use less liquid adhesive, spread it evenly and let the card dry under a clean flat weight with protective paper if the material allows. Do not soak a curled corner with more glue.
Uneven borders need a cutting check
Measure the actual finished panel and confirm the trimmer guide, ruler and paper edge are square. Recut one panel rather than adding decoration to disguise four inconsistent margins.
A busy front needs removal
Lift unglued options from the dry layout until the message has space. When everything is already fixed, repeat the design on a fresh blank using the photograph as a map of what to simplify.
Skip for now
What can wait
Machines and large consumable collections make sense only after a recognisable card-making style emerges.
- 01
A die-cutting machine
It adds dies, plates and storage before the first layout skill exists. Hand-cut rectangles and simple punches are enough to judge whether card making is enjoyable.
- 02
A digital cutting machine
Software, mats and material settings turn the first card into a different hobby. Add one when repeat personalised shapes are the real goal.
- 03
Large stamp and ink bundles
Ink types and stamps suit different surfaces. Choose one message set later instead of buying themes that may never match a card.
- 04
Heavy embellishment packs
Tall gems, bows and charms increase bulk and postage. Flat paper layers are easier to design, store and send.
Upgrade path
What a better setup changes
The useful progression improves repeatable cutting and folding, then adds one image-making method at a time.
First layered card
About £15–£25Pre-creased blanks + papers + liquid adhesive
Teaches hierarchy, spacing and clean assembly.Repeatable custom bases
Add £20–£50Paper trimmer + scoreboard + bone folder
Produces cleaner custom sizes and faster repeated panels.A defined visual technique
VariableOne stamp set, die system or cutting machine route
Adds repeat imagery only after layout and finishing are dependable.Safety
Work safely from the first attempt
Paper crafts become hazardous mainly through blades, small parts and adhesives used outside their instructions.
- Lock or cover trimmer blades when stored and keep fingers outside the cutting path.
- Use a craft knife only on a cutting mat, cut away from the body and replace dull blades safely.
- Follow adhesive ventilation and skin-contact guidance; craft glue is not food safe.
- Keep small gems, pins and detachable embellishments away from young children and pets.
- Do not place metal, loose glitter or bulky hard objects where postal sorting could tear the envelope.
Classes
When outside help is useful
A class is optional for layered cards but useful when stamping, embossing, die cutting or machine workflows become the intended direction.
A short make-and-take session can demonstrate clean scoring, adhesive choice and one stamping or embossing method.
Longer workshops are worthwhile when they include several finished cards and supervised access to specialist equipment.
Representative UK card-making workshop formats checked 30 July 2026; equipment and included materials vary.
Sources
Sources and checking notes
Manufacturer guidance supports accurate trimming and sharp-edge safety, community teaching discussions reinforce layout and adhesive fundamentals and exact retailer pages verify the selected products.
-
01
Fiskars · Trimmer selection guide
How cut length, material and safety features affect trimmer choice.
Open source -
02
Fiskars · SureCut card trimmer
Manufacturer details for visible cut-line and grid features.
Open source -
03
Fiskars · Safety labelling
Sharp blade and paper-trimmer handling warnings.
Open source -
04
r/cardmaking · Teaching fundamentals
Current practitioner emphasis on cutting, scoring, layout and adhesives.
Open source -
05
Amazon UK · Papermania A6 blanks
Exact 50-card and envelope pack checked for current UK availability.
Open source -
06
Amazon UK · Tombow Mono Multi
Exact 25 ml two-tip paper adhesive checked for current UK availability.
Open source -
07
Amazon UK · Fiskars SureCut A4
Exact narrow-base A4 trimmer checked for current UK availability.
Open source -
08
Amazon UK · Vaessen scoring board
Exact 30.5 cm scoring-board upgrade checked for comparison.
Open source
Guide information and links checked 30 July 2026.