Beginner’s guide · Observe & photograph
Read the light,
then arrange the land.
Begin with a phone or camera you already own and one familiar viewpoint. Weather, timing, foreground and careful edges improve landscape photographs before specialist lenses do.
Quick answer
Photograph one safe viewpoint in three kinds of light
Choose an accessible place you can revisit without trespassing or relying on risky weather. Clean the lens, enable the grid and make a wide, medium and detail frame in ordinary daylight. Return only when conditions are safe and compare front light, side light and softer overcast light. Keep the horizon level, inspect every corner and make small changes in height and position before reaching for zoom. Edit one short series rather than keeping every exposure.
- 01
The best first landscape camera is the one already understood well enough to operate while watching terrain, weather and other people.
- 02
Foreground is optional. Include it only when it leads the eye or explains scale rather than because a rule demands a rock in every frame.
- 03
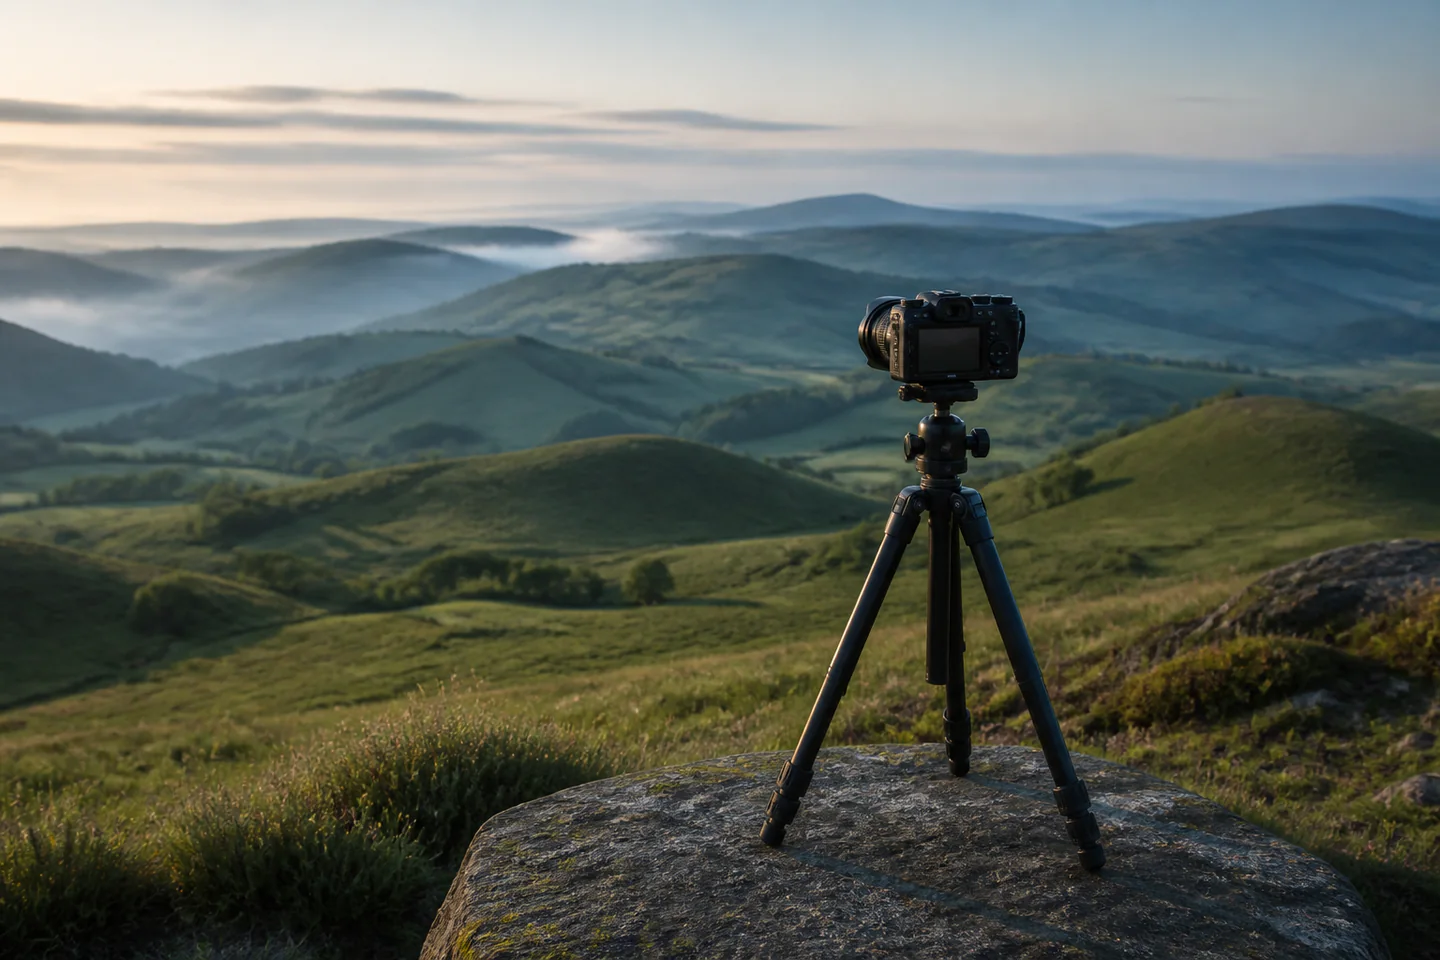
A tripod helps at slow shutter speeds and repeated framing, but it does not improve light, composition or an unstable unsafe position.
- 04
Dynamic range can exceed the sensor. Expose to protect important highlights and learn a restrained raw workflow when the camera supports it.
- 05
Leave no trace, follow access rules, protect habitats and turn back early when tide, heat, ice, wind or visibility changes.
What to expect
The location is familiar long before the photograph is finished
Landscape work often means revisiting, waiting and leaving without a dramatic frame. The craft lies in noticing what the light separates and what the composition can remove.
Light
Side light reveals texture; overcast light controls contrast; clear midday light can still suit graphic shadows and colour.
Weather
Forecasts inform a plan but do not guarantee a sky. Carry a useful dull-weather subject rather than treating the trip as failed.
Depth
Layer size, overlap, haze and focus create depth. An ultra-wide lens can make distant features look insignificant.
Edges
Branches, bright stones and half objects near the frame edge attract attention. Scan the perimeter before pressing the shutter.
Sharpness
Wind moves leaves and tripods. Focus, shutter speed and support must match what is actually moving.
Editing
Local contrast, white balance and crop can clarify the scene; extreme saturation cannot invent convincing light.
Core method
Plan for access, then simplify the frame
Research the practical route
Check land access, parking, public transport, tides, sunrise or sunset direction and current weather warnings. Tell someone the plan when appropriate, carry suitable clothing and set a turnaround time. A nearby park or canal path is a better first location than remote terrain that divides attention between navigation and photography.
Build from large shapes
At the viewpoint, first look without the camera. Identify the brightest area, dominant line and visual destination. Raise, lower or shift sideways to separate overlapping shapes. Make a plain wide frame, then remove one distracting element at a time by changing position or focal length.
Control exposure deliberately
Use the histogram or highlight warning when available. In high contrast, make a test that preserves important bright detail and inspect shadow noise. If the camera supports raw files, record raw plus JPEG for one session and compare recovery later. Avoid automatic HDR when moving leaves or water create visible artefacts.
Edit a small sequence
Back up the files before formatting the card. Select by composition and moment rather than zooming into every image for microscopic sharpness. Apply consistent white balance and restrained contrast, remove accidental dust spots and sequence three frames that show the place without repeating the same view.
Useful products
Products with a clear job in the setup
A phone tripod makes repeated low-light frames possible without buying a camera. The K&F tripod supports a camera when exposure times lengthen, while Canon’s EOS R50 kit is a genuine later interchangeable-lens route. These are alternatives at different commitment levels, not a three-item starter basket.
ULANZI MT-44 Extendable Phone Tripod
It adds stability while preserving the fast route of using the camera already owned.
K&F Concept 163 cm Camera Tripod with Ball Head
Independent leg adjustment and a ball head are useful on ordinary uneven ground.
Canon EOS R50 with RF-S 18–45 mm Lens
The kit lens covers useful wide-to-normal views and the small body makes repeated trips realistic.
First project
Make a three-frame portrait of one local place
A wide context, a structured middle view and a telling detail make composition choices visible.
- 01
Scout without urgency
Check access and make phone snapshots of possible angles in safe daylight.
- 02
Choose one visual anchor
Decide whether the frame is about a tree, bend, building, hill or light pattern.
- 03
Make the wide view
Level the horizon and remove edge distractions with small position changes.
- 04
Make the middle view
Compress or crop around the strongest relationship of shapes.
- 05
Make the detail
Use texture, weather or human trace to explain the place without a generic close-up.
- 06
Edit as a set
Match colour and contrast gently, then order the three images deliberately.
What can wait
What can wait until the first result
Filters and exotic focal lengths solve specific problems; they do not identify the subject or keep the photographer safe.
- 01
An ultra-wide lens
It can shrink the distant subject and fill the foreground with weak detail before composition is understood.
- 02
A full filter system
Graduated and neutral-density filters make sense only when glare or shutter time is the repeated limit.
- 03
A heavy travel tripod
A tripod left at home contributes nothing; begin with support that suits the actual route.
- 04
Remote wilderness trips
Local repeat access teaches changing light with far less logistical and safety load.
- 05
Aggressive presets
A consistent restrained edit reveals whether the raw composition and exposure worked.
Upgrade path
Upgrade the repeated limitation
Upgrade the repeated constraint: stability, focal length, weather protection or print—not the vague desire for “better quality”.
Existing camera
Free–£45Phone/camera + grid + optional small support
Learn light and frame edges.Stable low light
About £80–£220Reliable tripod + remote or timer
Use longer shutter speeds deliberately.Interchangeable-lens kit
About £550–£1,000APS-C body + standard zoom
Gain raw latitude and focal control.Weather-led system
About £1,200–£4,000+Sealed body/lenses, filters and carry system
Work longer in demanding conditions.Safety & care
Come home safely and leave the place unchanged
No sunrise, long exposure or social-media location is worth tide, traffic, cliff, storm, livestock or access risk.
- Check weather, tide, daylight, route and current land access; carry suitable clothing, water, navigation and an earlier turnaround than conditions demand.
- Stay back from cliffs, water, roads, railways and unstable ground; do not look through a viewfinder while walking or repositioning.
- Do not trespass, climb fences, block paths, light fires, damage plants or share sensitive wildlife locations without considering harm.
- Keep tripod legs visible and out of public routes, stabilise within rated limits and pack away when wind or crowding makes it unsafe.
- Protect batteries and electronics from heat, cold and water according to manufacturer guidance and never shelter beneath isolated trees in thunderstorms.
Outside help
When outside help earns its place
A self-directed repeat visit is enough to begin. A local photo walk becomes useful when it teaches access-aware location reading and image critique rather than directing a group to copy one tripod hole.
Use composition, exposure and raw-workflow lessons with the existing camera.
Ask about walking distance, access, weather cancellation and group size.
Representative UK learning options checked 17 August 2026; local prices, access, materials and tutor support vary.
Sources
Where the guidance came from
Access and weather authorities set the safety context; photographic educators and working communities provide exposure, composition, ethics and equipment evidence.
-
01
Royal Photographic Society · Learn photography
Established UK photographic learning, practice and ethics resources.
Open source -
02
Adobe · Photography basics
Clear technical introductions to exposure, composition and editing.
Open source -
03
Cambridge in Colour · Photography tutorials
Detailed independent explanations of exposure, lenses, focus and workflow.
Open source -
04
Reddit · r/photography
Large community discussion of equipment, practice, permissions and recurring beginner problems.
Open source -
05
Ordnance Survey · Outdoor safety
UK route planning, navigation and outdoor safety context.
Open source -
06
Amazon UK · MT-44 Extendable Phone Tripod
Exact product catalogue page or ISBN used for the recommendation; current price, seller and availability should be confirmed.
Open source -
07
Amazon UK · 163 cm Camera Tripod with Ball Head
Exact product catalogue page or ISBN used for the recommendation; current price, seller and availability should be confirmed.
Open source -
08
Amazon UK · EOS R50 with RF-S 18–45 mm Lens
Exact product catalogue page or ISBN used for the recommendation; current price, seller and availability should be confirmed.
Open source
Guide information and links checked 17 August 2026.