Beginner’s guide · Make & create
Learn five stitches on real fabric.
Let each line have a purpose.
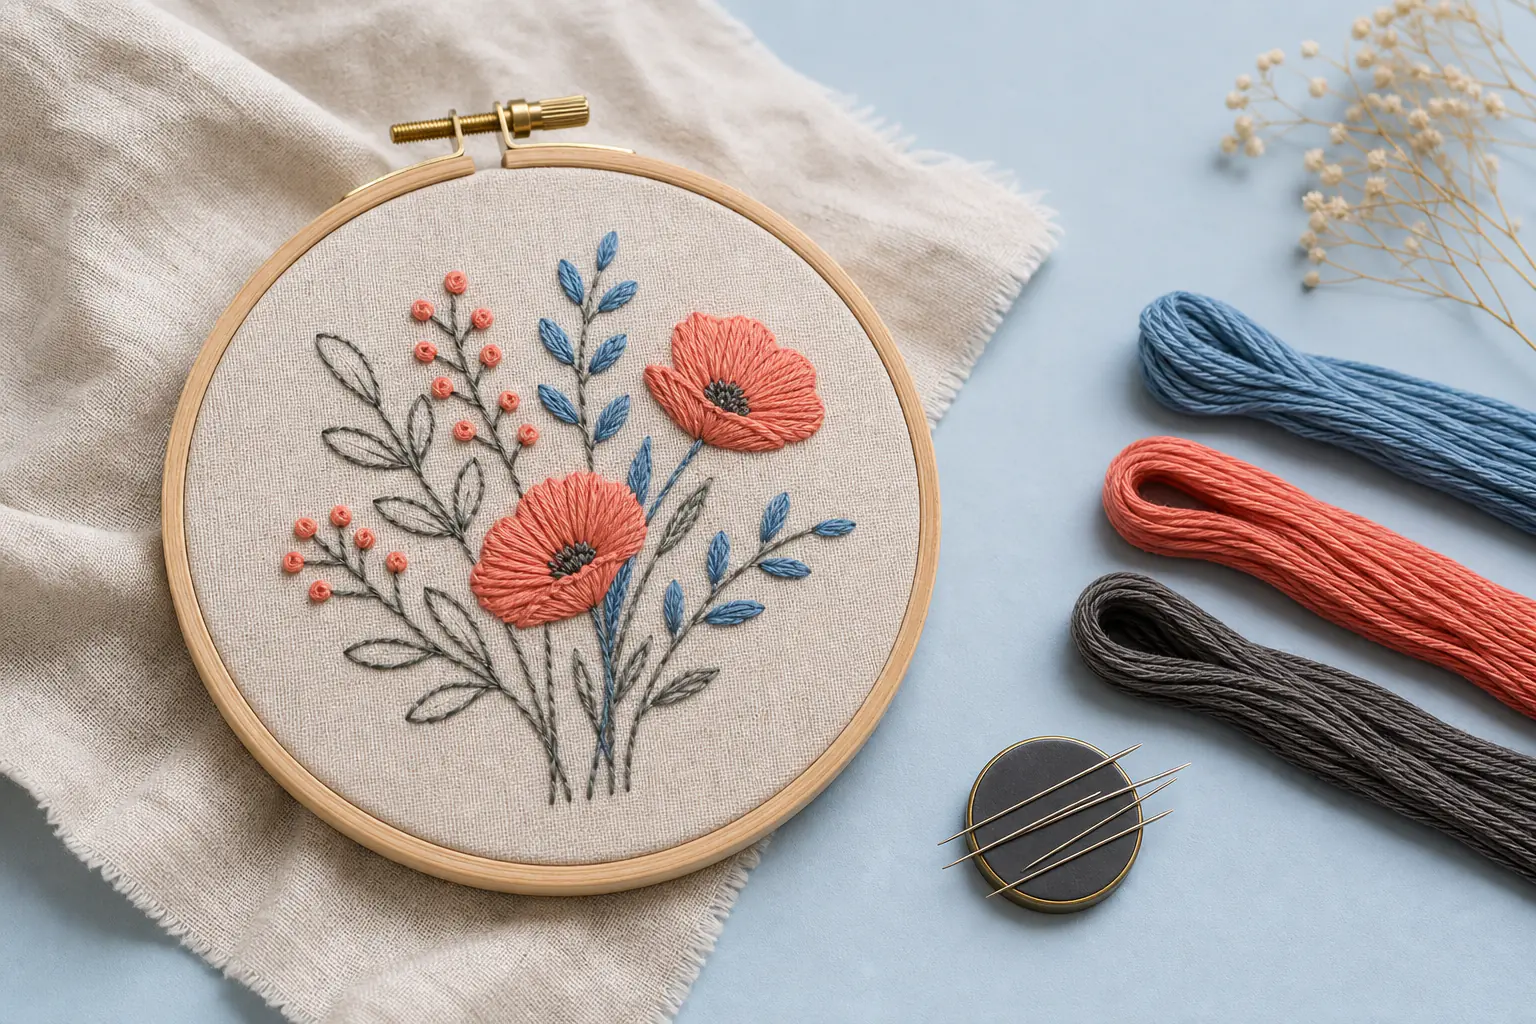
Start with a hoop, firmly woven cotton or linen, stranded thread and a small line design. This is free-form surface embroidery rather than counted cross-stitch.
Quick answer
Use a small design and a short length of thread
Put firmly woven cotton or linen taut in a hoop, transfer a simple leaf or geometric motif and thread an embroidery needle with two or three strands of six-strand cotton. Practise running stitch, backstitch, stem stitch, satin stitch and French knots on the edge, then complete the design from the centre outward using thread no longer than the forearm.
- 01
Surface embroidery places stitches freely on a transferred design; cross-stitch counts X-shaped stitches on an even grid.
- 02
Hoop tension should hold fabric like a soft drum without distorting weave or crushing finished stitches.
- 03
Six-strand floss can be separated one strand at a time and recombined for the desired line weight.
- 04
Knots are convenient for practice, but neat weaving under existing stitches makes flatter durable backs.
What to expect
Small changes in tension and direction remain visible
The first piece may show fuzzy thread, puckered fabric or uneven satin edges. These are specific skills rather than signs that the design failed.
Fabric
Loose, stretchy or very dark fabric complicates transfer and tension. Firm light cotton or linen is forgiving.
Needle
The eye must accept the thread while the point passes through fabric without leaving large holes.
Thread
Long lengths abrade, tangle and lose shine. Separate strands carefully and use shorter lengths.
Tension
Pull until the stitch rests on the surface, not until the cloth puckers.
Direction
Satin and stem stitches change appearance with angle. Draw guide lines and turn the hoop rather than the wrist.
Finishing
Transfer marks, colourfastness and fabric fibre determine washing and pressing; test materials first.
Core method
Prepare the fabric so the stitches can stay relaxed
Choose a design that fits one hoop
Use a simple motif with clear lines, two filled shapes and a few dots. Avoid tiny lettering and dense photorealistic shading. Wash and press fabric first when appropriate, then transfer with a method that can be removed under the intended finishing process. Keep the original design nearby rather than retracing repeatedly.
Hoop without stretching the weave
Place the inner ring under the fabric and outer ring above, tightening gradually while smoothing from opposite sides. The grain should remain square. Bind the inner hoop later if repeated slipping becomes a problem. Remove the hoop between long sessions where it may crease or crush completed stitches.
Manage strands, knots and tension
Cut a forearm-length piece, separate the required strands individually and recombine them. Use a small knot for the first sampler if desired, then practise an away knot or weaving ends under neighbouring stitches. Pull each stitch until it lies flat. When thread twists, let the needle hang and untwist.
Build lines before fills
Backstitch a clean outline, use stem stitch for a curve and running stitch for texture. For satin stitch, make parallel stitches across a small shape and adjust angle gradually. Add French knots last where they cannot snag. Inspect the reverse for loops and repair them before they become trapped.
Useful products
Choose a guided practice kit or a flexible supply kit
The Myfelicity kit teaches named surface stitches through bounded designs. The Swpeet linen-and-floss set is a flexible supplies route for an original motif. The larger Pllieay assortment adds many colours and hoops but includes Aida and cross-stitch-oriented materials; use its floss and hoops for surface practice on suitable fabric.
Myfelicity Learn 28 Stitches Embroidery Kit, Three Designs
It supports the distinction between free-form surface embroidery and counted cross-stitch.
Swpeet Linen Embroidery Kit with Hoops and 50 Floss Colours
It includes the essential surface-embroidery components without forcing a printed pattern.
Pllieay Embroidery Starter Kit with Hoops and 100 Threads
Its floss and hoops can support many surface projects beyond the initial guided piece.
First project
Stitch a five-technique botanical sampler
Draw one curved stem, two leaves, a small filled petal and three dots. Limit the palette to three colours.
- 01
Transfer the motif
Test the marking method on a scrap and draw clean minimal lines.
- 02
Hoop the fabric
Keep grain straight and tension firm without distorting the weave.
- 03
Prepare short floss
Separate and recombine two or three strands and thread a suitable needle.
- 04
Outline and curve
Use backstitch for one edge and stem stitch for the main curved line.
- 05
Fill and texture
Use satin stitch on a small leaf, running stitch for detail and French knots for dots.
- 06
Secure and finish
Weave ends, remove marks by the tested method and press from the reverse over a towel.
What can wait
What can wait until the first result
A small well-finished hoop teaches more than a drawer of floss and unfinished patterns.
- 01
Hundreds of colours
A three-colour palette makes tension and stitch direction easier to judge.
- 02
Metallic thread
It frays and springs apart; learn with divisible cotton first.
- 03
Large clothing decoration
Garments add stretch, wear, laundering and placement decisions.
- 04
A punch needle
It is a different tool and fabric system, not an automatic faster version.
- 05
Permanent transfer pen
Use a removable tested method until stitch placement and finishing are reliable.
Upgrade path
Upgrade the repeated limitation
Upgrade materials or design complexity after tension and finishing remain consistent.
Guided sampler
About £13Kit + five stitches
Learn the hand movements and tension.Original hoop design
About £13–£20Linen/cotton + floss + transfer pen
Choose stitch to serve shape.Garment or bag
About £15–£50Stabiliser + washable materials + placement plan
Design for wear and laundering.Thread painting or goldwork
About £30+Specialist needles, threads and instruction
Add dense direction or dimensional materials.Safety & care
Manage sharp needles, posture and washable materials
Embroidery is low-risk, but needles, repetitive grip, dyes and small accessories deserve ordinary care.
- Store needles in a case or magnetic minder, count them after use and never leave them loose in upholstery.
- Use bright light, support the forearms and take movement and visual breaks before hand, neck or eye pain develops.
- Keep needles, beads and loose thread away from children and pets and do not put thread in the mouth.
- Test transfer removal and thread colourfastness on the actual fabric before washing a completed piece.
- Use thimbles or finger protection when needed and seek care for a deep puncture or retained needle fragment.
Outside help
When outside help earns its place
A stitch group can correct hand position and provide social practice, but a diagrammed kit is enough for the first motif.
Use clear diagrams for one stitch at a time and practise on a spare edge.
Check whether the class teaches transfer, finishing and several stitches rather than supplying only a pattern.
Representative UK prices and free learning routes checked 3 August 2026; local availability, materials and tutor support vary.
Sources
Where the guidance came from
Established thread and craft organisations provide stitch diagrams, material terminology and finishing practice.
-
01
DMC · Stitch guide
Manufacturer diagrams for common hand-embroidery stitches.
Open source -
02
Royal School of Needlework · Stitch Bank
Specialist searchable reference for stitch structure and use.
Open source -
03
Needlework Tips and Techniques · Embroidery basics
Detailed specialist tutorials on thread, hooping and hand stitches.
Open source -
04
Victoria and Albert Museum · Embroidery
Historical and material context for embroidery traditions and objects.
Open source -
05
Amazon UK · Myfelicity learn 28 stitches kit
Exact product page, model or ISBN, observed price and availability checked for this guide.
Open source -
06
Amazon UK · Swpeet linen embroidery set
Exact product page, model or ISBN, observed price and availability checked for this guide.
Open source -
07
Amazon UK · Pllieay embroidery starter assortment
Exact product page, model or ISBN, observed price and availability checked for this guide.
Open source
Guide information and links checked 3 August 2026.