Beginner’s guide · Make & build
Finish the first model.
Perfect the next one.
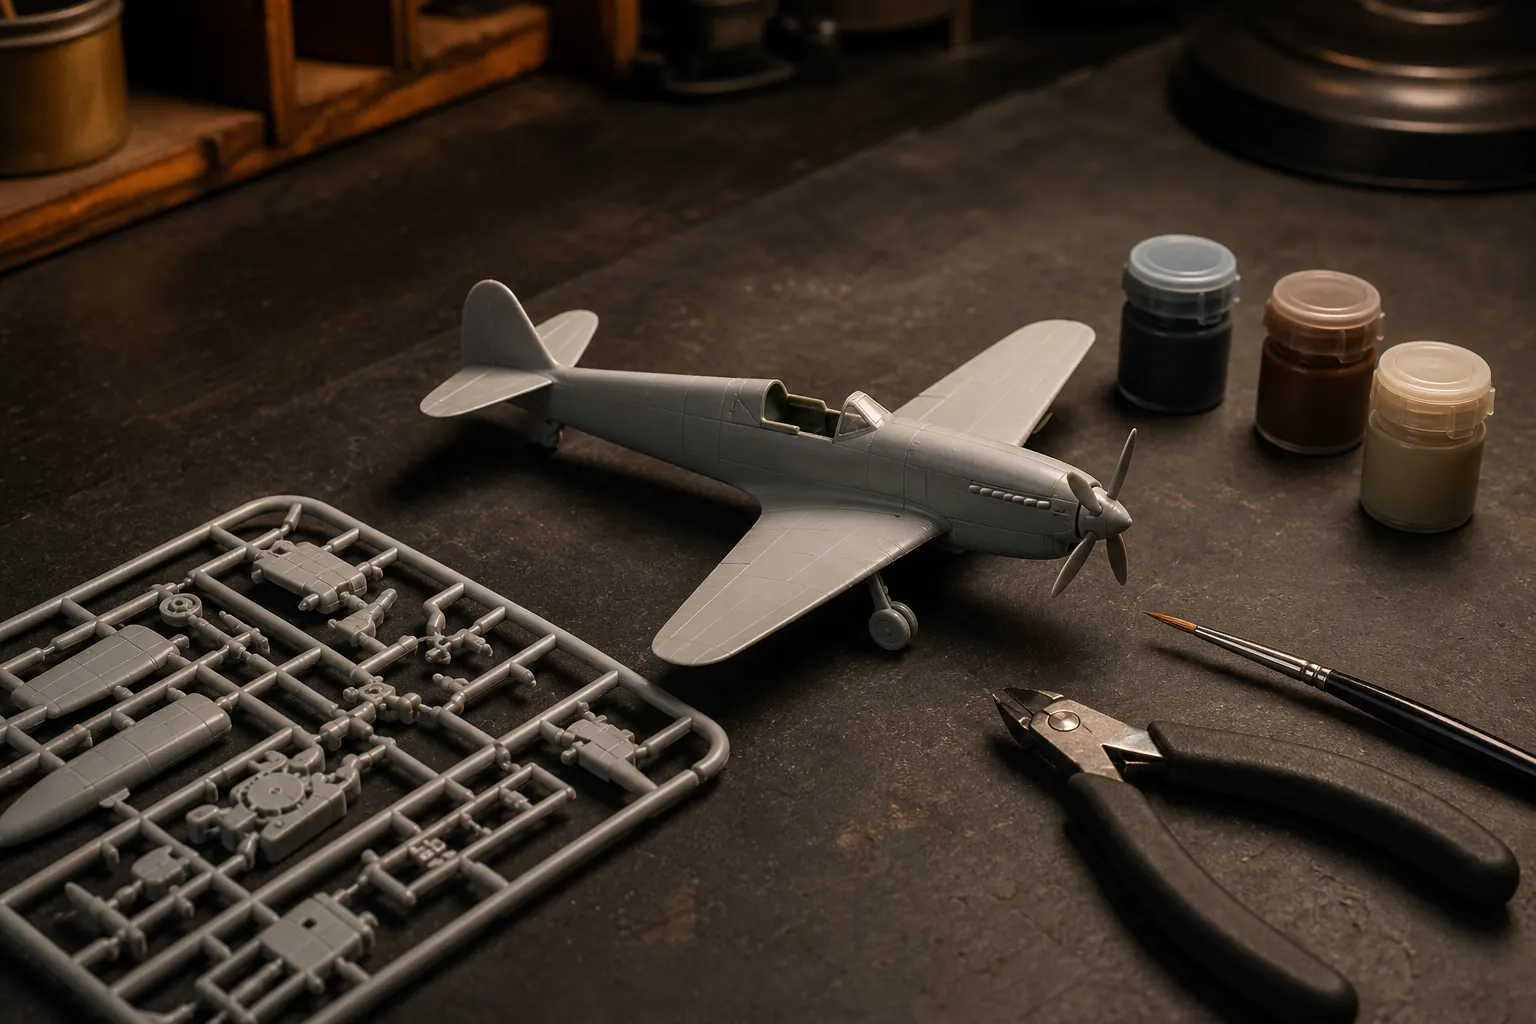
Start with a modern starter kit that includes its small paint set, brush and cement. Learn to remove parts cleanly, test the fit, use very little glue and build colour with thin coats before buying an airbrush or a wall of paint.
Quick answer
Choose a small kit and take it to the finish
Use a current Airfix starter set with paint, brush and poly cement included. Read the whole instruction sheet, remove only the parts needed for the current step, clean the attachment points and test every joint without glue before committing it. The first model is successful when it is complete and you understand what you would change next time.
- 01
A starter set keeps the first colour list and tool question contained, although basic side cutters and a file make part preparation much easier.
- 02
Plastic cement softens and welds compatible polystyrene. A small amount on the mating surface is enough; it is not a gap filler.
- 03
Brush paint usually looks uneven on the first thin coat. Let it dry and build coverage rather than hiding detail under one thick coat.
- 04
Dry-fit clear canopies and use the adhesive recommended by the kit maker; ordinary plastic cement or superglue can mark transparent parts.
What to expect
Most of the craft happens before the model looks finished
Model kits reward sequence and restraint. The visible painting is only one part of a process that includes reading diagrams, preparing joints, waiting for adhesives and deciding when a result is good enough to continue.
Part removal
Twisting parts from the sprue can tear an edge. Cut slightly away from the part, then trim or file the remaining nub.
Fit
A tiny uncleaned gate can push two halves apart. Test assembly exposes that problem while it is still reversible.
Glue
Too much cement squeezes onto detail and may leave fingerprints in softened plastic. Capillary applicators still need control.
Paint
Included acrylic pots are small and can thicken. Stir fully, use compatible thinning guidance and expect multiple light coats.
Decals
Water-slide markings need water, positioning time and a smooth surface. They are not ordinary stickers and can fold if rushed.
Expectations
Seams, brush marks and one crooked marking are normal first-build evidence. Keep the model rather than repeatedly stripping it.
Core technique
Build around fit, not corrective filler
Read the sequence before cutting
Mark the paint and decal stages that occur before parts become inaccessible. Check whether left and right pieces differ, and identify optional versions before removing anything. Place each clipped part in a shallow tray so small pieces do not disappear.
Prepare one joint at a time
Use side cutters for the first cut and a fine file or sanding stick for the remaining nub. Keep knives directed away from fingers and the finished face. Hold the two parts together without glue; if the seam opens, look for a gate, mould line or incorrect orientation rather than forcing it.
Use the adhesive the material expects
The included poly cement is intended for the polystyrene kit parts. Apply a trace to a mating edge, join and hold as instructed. Painted surfaces, clear parts and dissimilar materials may need another method, so do not assume one glue suits every stage. Work with ventilation and close the bottle between uses.
Let paint become opaque gradually
Stir pigment from the bottom of the pot. Test consistency on spare sprue, apply a thin coat and leave it alone while it levels and dries. The patchy first pass is not a reason to load the brush. Two or three controlled coats preserve panel lines better than one heavy coat.
Useful products
A complete first kit with two reusable bench tools
The Spitfire starter set supplies a contained first subject, paints, brush and cement. The four-piece Humbrol set adds the cutters, file, tweezers and knife that improve preparation. The Revell needle cement is a later replacement with more precise delivery, not another glue to open during the first kit.
Airfix A55001 Supermarine Spitfire Mk.Vc Starter Set
The current starter format includes the subject, its short colour list, brush, decals and compatible cement.
Humbrol AG9150 Four-Piece Model Tools Kit
These four tools cover cutting, smoothing, positioning and careful trimming without a large generic toolkit.
Revell Contacta Professional Needle Applicator Glue
The needle applicator makes small polystyrene joints easier to control after the included cement is understood.
First model
Build the starter Spitfire in short stages
Use the current instruction sheet as the authority for part numbers, colours, drying times and decal placement. The sequence below is a working rhythm, not a replacement manual.
- 01
Inventory the box
Check sprues, clear parts, decals, paints, brush and cement against the contents before starting.
- 02
Study the first assembly
Find every part in the diagram and note its orientation before cutting any of them free.
- 03
Cut and clean
Remove one part at a time, trim the gate and smooth only the area that affects the fit.
- 04
Dry fit
Hold the mating pieces together, confirm alignment and correct the cause of any gap without force.
- 05
Cement sparingly
Apply a small amount to the mating surface, join, align and support the assembly while it sets.
- 06
Brush in thin coats
Stir and test the paint, coat lightly and wait for it to dry before judging coverage.
- 07
Apply one decal at a time
Soak only as directed, slide into place with a damp brush and wick away excess water without rubbing.
- 08
Record the lesson
Photograph the finished model and note one preparation, paint and decal change for the next build.
What can wait
What can wait until the second or third model
Most specialist modelling products solve a specific problem. Buy one when that problem has appeared, not because it is present on an experienced builder’s desk.
- 01
An airbrush and compressor
They create smooth controlled coats but add ventilation, masking, paint compatibility and cleaning. Brush the starter colours first.
- 02
Large paint ranges
Buy the colours for a chosen kit. Paint chemistry, finish and thinning differ between ranges, and unused pots still age.
- 03
Filler and seam scribers
First learn whether a gap comes from poor preparation. Filler is useful for a genuine seam, not as a substitute for dry fitting.
- 04
Weathering products
Washes, pigments and chipping work best over a sound build and protected paint layer. They cannot rescue a badly aligned assembly.
- 05
Aftermarket detail
Photo-etch and resin can be fragile, hazardous to sand or difficult to bond. The detail already in a modern starter kit is enough.
Upgrade path
Let each model add one controlled skill
A better setup makes preparation and finish more repeatable; it does not remove the need to read, test and wait.
Starter box
About £12Included paint, brush and cement
Prove that the assembly and finishing rhythm is enjoyable.Reusable hand tools
About £10–£30Cutters, file, tweezers, knife and cutting mat
Cleaner gates, safer handling and fewer fit problems.Controlled brush finish
About £25–£70Separate brushes, primer, chosen paints and masking tape
More consistent surfaces and colour boundaries across several kits.Airbrushed finish
About £120–£350+Airbrush, compressor, extraction, respirator where required and cleaning kit
Fine, even coats and soft camouflage at the cost of more setup and maintenance.Safety
Treat sharp tools, cement and paint as workshop materials
The model is small, but the knife edge, solvents, aerosols and loose parts are real hazards.
- Cut on a stable mat, away from the body, and cover or retract blades immediately after use.
- Use cement and paint with the ventilation and personal protection stated by the manufacturer; keep them away from flames and heat.
- Do not spray primer or paint in a living room simply because the can is small. Use an appropriate controlled area.
- Keep parts, blades, liquids and sanding debris away from children, pets, food and drink.
- If sanding resin or older unknown materials later, identify the material and its dust controls before working it.
Outside help
When a demonstration is useful
A class is unnecessary for a starter set. A local club or model-shop demonstration becomes useful when you want to see airbrushing, filling or decal solutions used in person.
Use the exact kit video alongside the printed instructions for part orientation and paint order.
Take a finished or stalled model and ask about one visible issue rather than buying an entire new system.
Free manufacturer guidance and representative club options checked 31 July 2026; local fees and meeting arrangements vary.
Sources
Where the guidance came from
Manufacturer instructions establish the assembly sequence and adhesive expectations; experienced builders were used for recurring dry-fit, paint-layer and first-kit advice.
-
01
Airfix · Knowing your kit
Instruction reading, removing only current parts and checking fit before cement.
Open source -
02
Revell · Model making guide
Skill levels, starter formats and core tool guidance from a model-kit manufacturer.
Open source -
03
r/modelmakers · First Airfix kit advice
Repeated practitioner advice on dry fitting, thin paint coats, modest tools and realistic first-build expectations.
Open source -
04
Amazon UK · Airfix A55001 Supermarine Spitfire starter set
Exact product page, model or ISBN, observed price and availability checked for this guide.
Open source -
05
Amazon UK · Humbrol AG9150 four-piece model tool kit
Exact product page, model or ISBN, observed price and availability checked for this guide.
Open source -
06
Amazon UK · Revell Contacta Professional model cement
Exact product page, model or ISBN, observed price and availability checked for this guide.
Open source
Guide information and links checked 31 July 2026.