Beginner’s guide · Make & create
Carve a mark
and print it repeatedly.
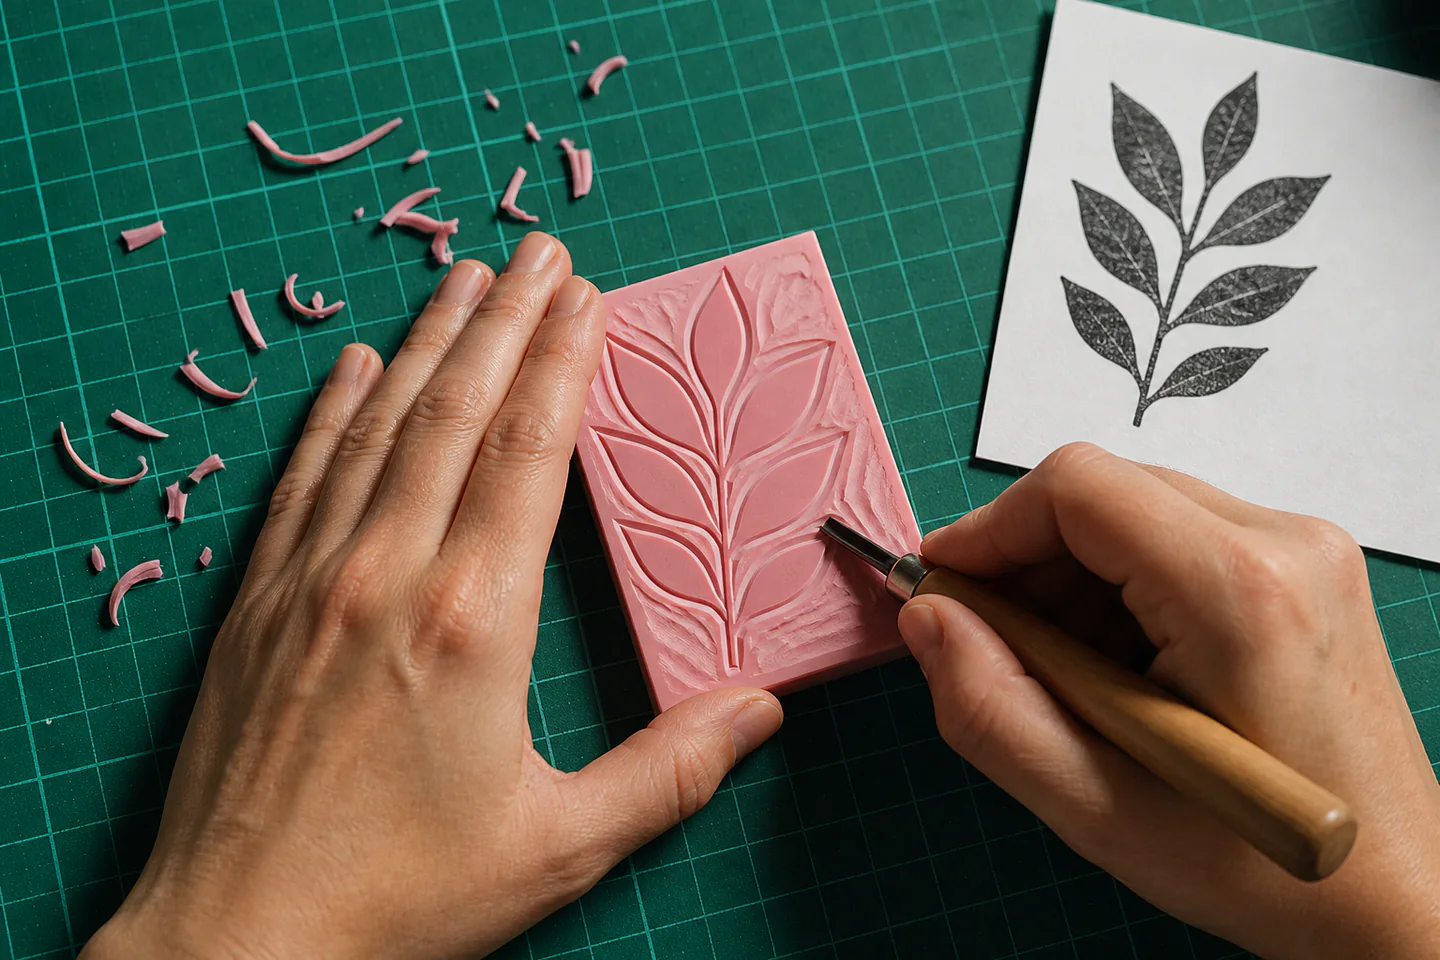
Soft carving block, a small V-gouge and water-based ink turn a simple drawing into a reusable stamp. Begin with a bold leaf or geometric mark and cut away from your hands.
Quick answer
Carve a bold design with generous white space
Transfer a simple high-contrast design to soft carving block, outline it with a small V tool, clear the background in shallow passes and proof it on scrap paper before refining.
- 01
Reverse any letters or directional image before transferring it to the block. Note the material, setting or measurement used so the result can be repeated or changed for a reason.
- 02
Secure the block on a non-slip surface and always carve away from hands and body. Note the material, setting or measurement used so the result can be repeated or changed for a reason.
- 03
Take shallow controlled cuts because removed material cannot be replaced. Note the material, setting or measurement used so the result can be repeated or changed for a reason.
- 04
Leave strong bridges around fine details so the stamp survives repeated pressure. Note the material, setting or measurement used so the result can be repeated or changed for a reason.
- 05
Proof early and use the print, not the uninked block, to decide what needs more carving. Note the material, setting or measurement used so the result can be repeated or changed for a reason.
What to expect
Every cut changes both image and structure
Stamp carving is quick to start, but line strength, safe tool direction and repeated proofing determine whether the block prints cleanly.
Positive and negative
Areas left high receive ink; carved areas remain paper colour. The design must be read in reverse and as a two-value image. For rubber-stamp carving, check this deliberately while the work is still easy to alter; correcting it after the next stage usually costs more time or materials.
Tool control
A sharp gouge needs little force. Deep pushing creates slips, tears and weak edges rather than cleaner white space. For rubber-stamp carving, check this deliberately while the work is still easy to alter; correcting it after the next stage usually costs more time or materials.
Ink film
Too much ink fills fine cuts, while too little prints dry patches. A thin even surface is part of the test. For rubber-stamp carving, check this deliberately while the work is still easy to alter; correcting it after the next stage usually costs more time or materials.
Pressure
A small hand stamp needs even pressure across its back. Uneven blocks may require mounting or a different printing method. For rubber-stamp carving, check this deliberately while the work is still easy to alter; correcting it after the next stage usually costs more time or materials.
Core method
Design for the material before carving
Simplify the drawing
Reduce the image to bold black shapes and clear gaps, mirror it if direction matters and size it to the block. For rubber-stamp carving, check this deliberately while the work is still easy to alter; correcting it after the next stage usually costs more time or materials.
Transfer clearly
Use graphite, tracing or another compatible method that leaves a visible guide without dissolving the block surface. For rubber-stamp carving, check this deliberately while the work is still easy to alter; correcting it after the next stage usually costs more time or materials.
Carve boundaries first
Outline important edges with a narrow V tool, turning the block rather than steering the blade towards the supporting hand. For rubber-stamp carving, check this deliberately while the work is still easy to alter; correcting it after the next stage usually costs more time or materials.
Clear and proof
Remove background with a wider gouge in shallow paths, brush debris away and print a proof before refining chatter. For rubber-stamp carving, check this deliberately while the work is still easy to alter; correcting it after the next stage usually costs more time or materials.
Useful products
Products with a clear job in the setup
A reputable cutter kit, a soft purpose-made block and washable block ink form a complete reusable setup.
Essdee Lino Cutting and Printing Kit, 23 Pieces
A named printmaking kit is safer and more predictable than an anonymous sharp-blade bundle.
Speedball Speedy-Carve Block, 4 × 6 in
Soft purpose-made material reduces force and makes proof-driven correction easier.
Speedball Water-Soluble Block Printing Ink, Black, 75 ml
Dedicated block ink rolls into a more useful film than colouring a large stamp with marker pen.
First project
Carve and proof one bold leaf stamp
A leaf combines outline, internal lines and open background without requiring fragile lettering.
- 01
Draw in two values
Make a black silhouette with three or four broad vein lines, then mirror the image if its direction matters. For rubber-stamp carving, check this deliberately while the work is still easy to alter; correcting it after the next stage usually costs more time or materials.
- 02
Transfer and mark waste
Copy the design to the block and shade every area intended to print white so positive shapes remain obvious. For rubber-stamp carving, check this deliberately while the work is still easy to alter; correcting it after the next stage usually costs more time or materials.
- 03
Cut the outline
Place the block on a non-slip mat and make shallow V cuts around the leaf while rotating the block. For rubber-stamp carving, check this deliberately while the work is still easy to alter; correcting it after the next stage usually costs more time or materials.
- 04
Clear and ink
Use a wider tool for background, roll a thin ink film on a separate smooth surface and ink only the raised areas. For rubber-stamp carving, check this deliberately while the work is still easy to alter; correcting it after the next stage usually costs more time or materials.
- 05
Proof and refine
Press onto scrap paper, circle unwanted marks on the print and remove only the corresponding high spots before a final impression. For rubber-stamp carving, check this deliberately while the work is still easy to alter; correcting it after the next stage usually costs more time or materials.
What can wait
What can wait until the first result
Fine lettering and large background clearances demand more tool control than a bold first stamp.
- 01
Tiny text
Letters must be mirrored, structurally strong and evenly inked. Learn line control with a non-verbal motif first. For rubber-stamp carving, check this deliberately while the work is still easy to alter; correcting it after the next stage usually costs more time or materials.
- 02
Large mounted stamp collection
Mounting helps repeat alignment, but proof a durable carving style before cutting and labelling many blocks. For rubber-stamp carving, check this deliberately while the work is still easy to alter; correcting it after the next stage usually costs more time or materials.
- 03
Oil-based ink
It has valuable print qualities but needs more deliberate cleanup. Water-based block ink keeps the first session simpler. For rubber-stamp carving, check this deliberately while the work is still easy to alter; correcting it after the next stage usually costs more time or materials.
Upgrade path
Upgrade the repeated limitation
Upgrade when the printed proof identifies a real need for finer cuts, registration or longer print runs.
Try it
£20–£45Starter cutter, soft block and water-based ink
Transfer, safe cuts and proofing are learned together.Refine lines
£15–£60 extraHigher-quality fine gouge and additional blocks
Narrow negative lines and small curves become more controlled.Print editions
£30–£100+Brayer, registration jig and suitable printmaking paper
Repeated impressions become aligned and consistent.Develop a library
VariableMounting blocks, archival storage and design system
Stamps remain identifiable, durable and easy to combine.Safety & care
Treat every gouge as a sharp blade
Safe direction and a stable workpiece matter more than speed or force.
- Carve away from hands and body, keep the supporting hand behind the cutting edge and rotate the block frequently. Follow the current instructions supplied with the exact material or tool.
- Use a non-slip mat or bench hook so the block cannot shoot forward under pressure. Follow the current instructions supplied with the exact material or tool.
- Store gouges capped or in a rigid case and replace damaged handles or loose blade fittings. Follow the current instructions supplied with the exact material or tool.
- Follow ink ventilation, skin-contact and cleanup guidance and protect the printing surface. Follow the current instructions supplied with the exact material or tool.
Outside help
When outside help earns its place
A careful video can teach a bold first stamp. In-person instruction is worthwhile if tool control feels unsafe or if multi-colour registration becomes the goal.
Use one complete lesson that includes preparation, the working method, troubleshooting and finishing. Avoid combining measurements from several creators on the first attempt.
Ask whether materials, safe tool use, individual correction and a finished take-home result are included before booking.
Representative UK learning options checked 29 August 2026; local prices, access, materials and tutor support vary.
Sources
Where the guidance came from
The method is grounded in specialist and manufacturer guidance, then checked against recurring beginner problems and the exact products linked here.
-
01
Speedball · Block printing
Manufacturer guidance for relief tools, blocks and inks.
Open source -
02
Essdee · Lino printing
UK manufacturer context for cutting tools and safe printmaking systems.
Open source -
03
Handprinted · Blog and resources
UK specialist tutorials for carving, inking and proofing.
Open source -
04
Tate · Printmaking
Museum context for relief print processes.
Open source -
05
V&A · Prints
Museum reference for repeat images and print design.
Open source -
06
Amazon UK · Lino Cutting and Printing Kit, 23 Pieces
Exact product catalogue page or ISBN used for the recommendation; current price, seller, specification and availability should be confirmed.
Open source -
07
Amazon UK · Speedy-Carve Block, 4 × 6 in
Exact product catalogue page or ISBN used for the recommendation; current price, seller, specification and availability should be confirmed.
Open source -
08
Amazon UK · Water-Soluble Block Printing Ink, Black, 75 ml
Exact product catalogue page or ISBN used for the recommendation; current price, seller, specification and availability should be confirmed.
Open source
Guide information and links checked 29 August 2026.