Beginner’s guide · Make & build
Change one block,
watch the board respond.
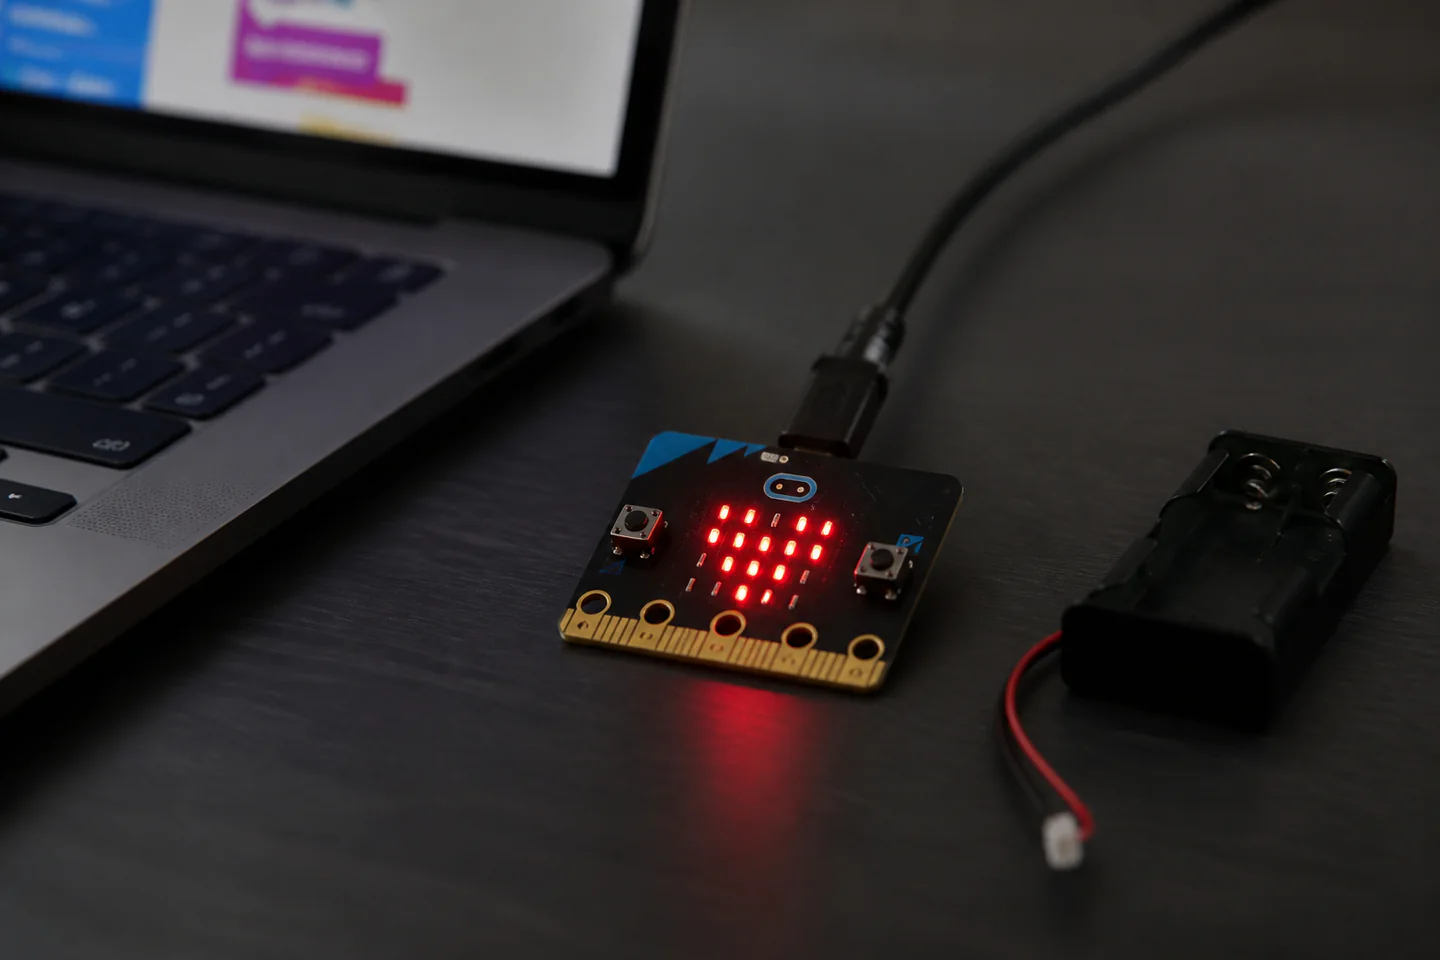
A BBC micro:bit can display, sense and control simple projects from a browser-based block editor. Start with the LED display before wiring external circuits.
Quick answer
Use the board’s built-in inputs before adding components
Use a genuine micro:bit V2 board or complete Go kit, open Microsoft MakeCode in a supported browser and create a simple LED icon. Download the program using a known data-capable USB cable, then add button input and the built-in temperature or light reading. Save a named working version before changing one block. Add external components only through a documented beginner kit whose voltage and pin connections match the board.
- 01
Choose a genuine micro:bit V2, data USB cable and MakeCode for the first result and resist substituting several unfamiliar materials at once. Record what you used on the first attempt so the result can be repeated or changed for a reason.
- 02
Make one-change testing and known working programs visible with a small test before committing the full project. Record what you used on the first attempt so the result can be repeated or changed for a reason.
- 03
Change one variable between attempts and keep the preparation otherwise consistent. Record what you used on the first attempt so the result can be repeated or changed for a reason.
- 04
Inspect the work at each reversible stage instead of waiting until a labelled low-voltage project. Record what you used on the first attempt so the result can be repeated or changed for a reason.
- 05
Finish one modest result and note the actual time, material use and recurring difficulty. Record what you used on the first attempt so the result can be repeated or changed for a reason.
What to expect
Most first problems are setup, not advanced coding
A charge-only cable, wrong download target, battery issue or miswired pin can look exactly like bad code until the system is tested in layers.
Cable
USB cables can provide power without data. Keep a confirmed data cable with the board. In micro:bit projects, this is worth checking deliberately rather than trying to correct it after the next stage.
Power
Use one approved supply route and remove batteries before changing external wiring. In micro:bit projects, this is worth checking deliberately rather than trying to correct it after the next stage.
Code
Save the last working program and modify one behaviour at a time. In micro:bit projects, this is worth checking deliberately rather than trying to correct it after the next stage.
Pins
The board uses 3.3 V logic and has current limits. Follow accessory documentation rather than guessing. In micro:bit projects, this is worth checking deliberately rather than trying to correct it after the next stage.
Radio
Wireless features transmit data. Avoid personal information and understand who else can receive it. In micro:bit projects, this is worth checking deliberately rather than trying to correct it after the next stage.
Core method
Prove code, board and power separately
Run the simulator
Build the icon and button behaviour in MakeCode before connecting hardware. In micro:bit projects, this is worth checking deliberately rather than trying to correct it after the next stage.
Flash one known program
Connect with a data cable, copy the program and wait for the board to finish. In micro:bit projects, this is worth checking deliberately rather than trying to correct it after the next stage.
Change one input
Add button or built-in sensor logic and keep the previous file. In micro:bit projects, this is worth checking deliberately rather than trying to correct it after the next stage.
Extend through a documented kit
Power off, follow the exact pin diagram and test one component at a time. In micro:bit projects, this is worth checking deliberately rather than trying to correct it after the next stage.
Useful products
Products with a clear job in the setup
The official Go kit is the clean board-first route. Kitronik’s Inventor’s Kit adds documented breadboard electronics but may require a separate board; Freenove’s Basic kit bundles a board and components. Choose one progression route.
Micro:bit Educational Foundation BBC micro:bit V2.2 Go Kit
Built-in LEDs, buttons, speaker and sensors allow real projects before loose wiring.
Kitronik Inventor’s Kit for BBC micro:bit 5603
Known diagrams reduce guessing around LEDs, motors and sensors.
Freenove Basic Starter Kit with BBC micro:bit V2
It suits someone who already knows they want breadboard electronics.
First project
Make a button-controlled mood badge
The project uses only built-in hardware and teaches events, display state, flashing and saving a known working version.
- 01
Open MakeCode and simulate
Display a neutral icon on start and test it in the browser. In micro:bit projects, this is worth checking deliberately rather than trying to correct it after the next stage.
- 02
Add button A
Show a happy icon and return to neutral after a short pause. In micro:bit projects, this is worth checking deliberately rather than trying to correct it after the next stage.
- 03
Add button B
Show a different icon without duplicating unnecessary blocks. In micro:bit projects, this is worth checking deliberately rather than trying to correct it after the next stage.
- 04
Connect by data USB
Flash the saved program and wait for the board to restart. In micro:bit projects, this is worth checking deliberately rather than trying to correct it after the next stage.
- 05
Test without batteries
Use USB first so only one power path is involved. In micro:bit projects, this is worth checking deliberately rather than trying to correct it after the next stage.
- 06
Save and change one feature
Name the working file, then add sound or a sensor reading as a separate version. In micro:bit projects, this is worth checking deliberately rather than trying to correct it after the next stage.
What can wait
What can wait until the first result
Motors, mains-connected devices and network services can wait until the board and one external circuit are understood.
- 01
Robot chassis
Movement adds current, mechanics and debugging before basic I/O is known. In micro:bit projects, this is worth checking deliberately rather than trying to correct it after the next stage.
- 02
Bare mains relay
A beginner microcontroller project must not expose mains voltage. In micro:bit projects, this is worth checking deliberately rather than trying to correct it after the next stage.
- 03
Large sensor assortment
Unlabelled modules create compatibility work rather than a learning sequence. In micro:bit projects, this is worth checking deliberately rather than trying to correct it after the next stage.
- 04
Permanent soldering
Breadboard or edge connectors keep first circuits reversible. In micro:bit projects, this is worth checking deliberately rather than trying to correct it after the next stage.
- 05
Personal radio messages
Wireless experiments should use anonymous test values. In micro:bit projects, this is worth checking deliberately rather than trying to correct it after the next stage.
Upgrade path
Upgrade the repeated limitation
Add hardware because the built-in board can no longer make the intended interaction.
Built-in badge
About £20–£30Go kit and MakeCode
Learn events and flashing.Breadboard circuit
About £35–£60Inventor kit and documented components
Control external I/O.Small robot or data logger
About £50–£120Motors or sensors with proper power
Integrate a system.Custom embedded build
About £100–£300+Enclosure, soldering and testing
Make a durable device.Safety & care
Keep every first circuit low voltage and documented
The board is robust for education, but pins, batteries, motors and external supplies can still be damaged or become hot when misused.
- Disconnect USB and batteries before moving wires or attaching edge connectors. Follow the current instructions supplied with the exact material, tool or living specimen.
- Never connect the micro:bit directly to mains voltage or undocumented high-current loads. Follow the current instructions supplied with the exact material, tool or living specimen.
- Prevent short circuits, inspect battery holders and remove leaking or hot batteries immediately. Follow the current instructions supplied with the exact material, tool or living specimen.
- Use eye protection and adult supervision if soldering is introduced later. Follow the current instructions supplied with the exact material, tool or living specimen.
- Treat radio and logged sensor data as potentially shareable information. Follow the current instructions supplied with the exact material, tool or living specimen.
Outside help
When outside help earns its place
A complete beginner tutorial is enough for the first controlled attempt. A class becomes useful when external circuits, motors or debugging several systems becomes the obstacle.
Follow one method using a genuine micro:bit V2, data USB cable and MakeCode, including preparation and finishing rather than only the photogenic middle stage.
Check whether materials, troubleshooting, a labelled low-voltage project and a finished take-home result are included.
Representative UK learning options checked 28 August 2026; local prices, access, materials and tutor support vary.
Sources
Where the guidance came from
The method is grounded in specialist and public guidance, then checked against recurring beginner questions and the exact products linked here.
-
01
BBC micro:bit · get started
Primary beginner setup and projects.
Open source -
02
Microsoft MakeCode for micro:bit
Official block and text programming environment.
Open source -
03
Espressif · ESP32 documentation
Primary ESP32 hardware and software documentation.
Open source -
04
Arduino · electronics foundations
Beginner circuit and component learning.
Open source -
05
Reddit · r/esp32
Community evidence on boards, drivers, power and project problems.
Open source -
06
Amazon UK · BBC micro:bit V2.2 Go Kit
Exact product catalogue page or ISBN used for the recommendation; current price, seller, specification and availability should be confirmed.
Open source -
07
Amazon UK · Inventor’s Kit for BBC micro:bit 5603
Exact product catalogue page or ISBN used for the recommendation; current price, seller, specification and availability should be confirmed.
Open source -
08
Amazon UK · Basic Starter Kit with BBC micro:bit V2
Exact product catalogue page or ISBN used for the recommendation; current price, seller, specification and availability should be confirmed.
Open source
Guide information and links checked 28 August 2026.