Beginner’s guide · Make & build
Build from a checked kit,
then measure the setup before changing wood.
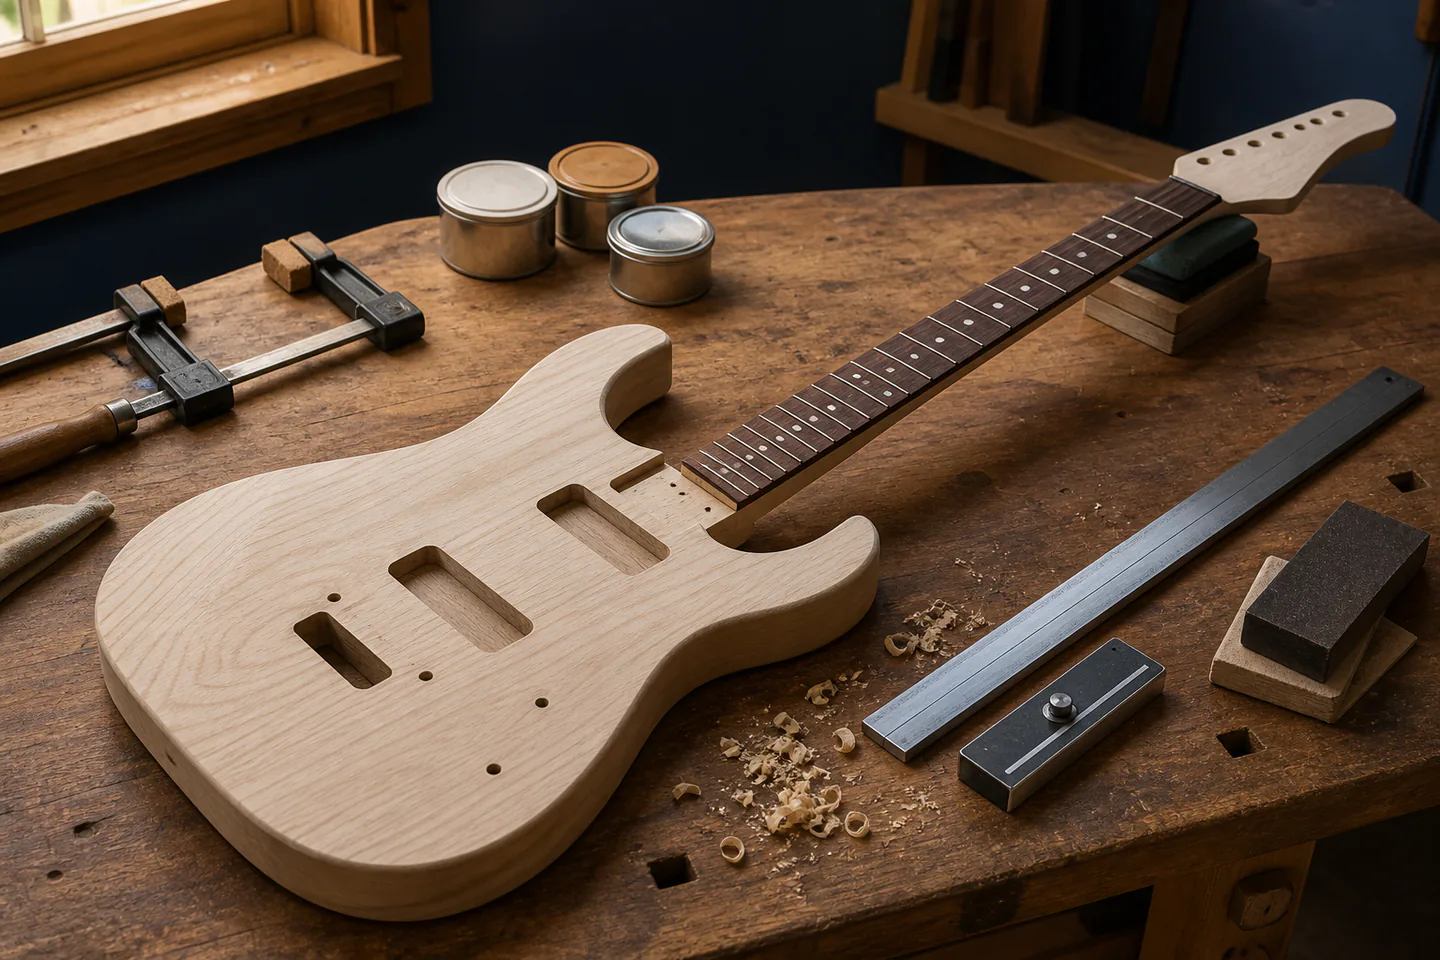
A pre-machined bolt-on electric kit teaches dry fit, neck alignment, scale length, fret condition, wiring and setup before scratch-building an acoustic instrument.
Quick answer
Complete one playable kit guitar before expanding the setup
Choose a reputable pre-machined bolt-on electric guitar kit with a complete drawing and support, inventory and measure every part, dry-fit neck, bridge, tuners and pickguard, verify scale-length geometry and string paths before drilling or finishing, level only proven fret issues with appropriate instruction, finish body and neck using one manufacturer-compatible system with ventilation, assemble electronics to the supplied diagram and complete nut, relief, action, intonation and electrical checks before any cosmetic upgrade.
- 01
Scale length, neck centreline and bridge position are geometric constraints, not styling choices. Record what happened during guitar making and luthiery so the next attempt changes one known variable instead of several guesses.
- 02
A kit reduces woodworking scope but still needs measurement, drilling discipline, fret inspection and setup. Record what happened during guitar making and luthiery so the next attempt changes one known variable instead of several guesses.
- 03
Wood moves with moisture and finish, so acclimation and staged fitting matter. Record what happened during guitar making and luthiery so the next attempt changes one known variable instead of several guesses.
- 04
Nut slots, fret levelling and truss-rod adjustment remove material or add force and should follow measurement. Record what happened during guitar making and luthiery so the next attempt changes one known variable instead of several guesses.
What to expect
What guitar making and luthiery is really like at the start
The useful beginner controls are preparation, one bounded task and a record of the result; specialist equipment matters only when it solves a repeated limitation.
Kit
Pre-drilled holes and pocket fit can still vary and should be verified rather than assumed. Record what happened during guitar making and luthiery so the next attempt changes one known variable instead of several guesses.
Finish
Colour reveals preparation scratches, glue contamination and rounded edges after it is too late to hide them. Record what happened during guitar making and luthiery so the next attempt changes one known variable instead of several guesses.
Frets
One high fret, poor nut slot or neck relief error can make an otherwise attractive build difficult to play. Record what happened during guitar making and luthiery so the next attempt changes one known variable instead of several guesses.
Electronics
A wiring diagram still requires correct grounding, insulation and strain relief. Record what happened during guitar making and luthiery so the next attempt changes one known variable instead of several guesses.
Core method
The core guitar making and luthiery method
Inventory and acclimate
Record wood, hardware, scale length, missing parts and workshop humidity before modification. Record what happened during guitar making and luthiery so the next attempt changes one known variable instead of several guesses.
Dry-fit the geometry
Clamp the neck lightly, run temporary strings or straight lines and verify bridge centre and usable adjustment. Record what happened during guitar making and luthiery so the next attempt changes one known variable instead of several guesses.
Prepare and finish deliberately
Sand through a documented sequence, protect joints and fretboard and use one compatible finish system. Record what happened during guitar making and luthiery so the next attempt changes one known variable instead of several guesses.
Assemble and set up by measurement
Wire and test before closing cavities, then set relief, nut, action and intonation in that order. Record what happened during guitar making and luthiery so the next attempt changes one known variable instead of several guesses.
Useful products
Products with a clear job in the route
The clamps support protected dry fitting, the caliper checks hardware and fret dimensions and the tenon saw is a later hand-tool option rather than a requirement for a pre-machined kit.
IRWIN Quick-Grip 300 mm Clamps, Twin Pack
Stable work improves repeatability and keeps hands farther from a tool path.
Kynup Digital Caliper, 150 mm
It makes small fit differences visible instead of relying on feel.
Spear & Jackson Predator 10-Inch Tenon Saw
A backsaw supports a straightforward plywood or timber build before machinery is justified.
First project
Assemble one bolt-on electric guitar kit to playing condition
Treat neck and bridge alignment, safe finish and measured setup as the finished project.
- 01
Inventory and measure
Compare every part with the instructions and record scale length, pocket fit and hardware dimensions. Record what happened during guitar making and luthiery so the next attempt changes one known variable instead of several guesses.
- 02
Dry-fit neck and bridge
Protect surfaces, clamp lightly and verify centreline and saddle adjustment with temporary string paths. Record what happened during guitar making and luthiery so the next attempt changes one known variable instead of several guesses.
- 03
Prepare and apply finish
Test the complete finish schedule on scrap, preserve joint surfaces and allow full curing time. Record what happened during guitar making and luthiery so the next attempt changes one known variable instead of several guesses.
- 04
Wire and bench-test
Follow the diagram, control solder fume and verify pickup, switch and controls before closing cavities. Record what happened during guitar making and luthiery so the next attempt changes one known variable instead of several guesses.
- 05
Assemble and set up
Fit hardware, bring strings to tension gradually and measure relief, nut clearance, action and intonation. Record what happened during guitar making and luthiery so the next attempt changes one known variable instead of several guesses.
What can wait
What can wait until the first result
Delay anything that adds cost, risk or another variable before the basic workflow has produced something you can review.
- 01
Scratch-built acoustic guitar
Plate thickness, bending, bracing, neck joint and bridge geometry multiply irreversible operations. Record what happened during guitar making and luthiery so the next attempt changes one known variable instead of several guesses.
- 02
Router jigs
A pre-machined kit can teach geometry before high-speed cutting tools. Record what happened during guitar making and luthiery so the next attempt changes one known variable instead of several guesses.
- 03
Aggressive fret levelling
Measurement should demonstrate the problem before metal is removed. Record what happened during guitar making and luthiery so the next attempt changes one known variable instead of several guesses.
- 04
Spray booth finishing
Aerosol and catalysed coatings require appropriate extraction and respiratory controls. Record what happened during guitar making and luthiery so the next attempt changes one known variable instead of several guesses.
Upgrade path
Add the capability you can now name
Each stage should remove a demonstrated constraint rather than make the setup look more advanced.
Use what you own
£0–£20Existing equipment and one written plan
Study setup and assemble a pre-machined bolt-on kit.Repeat the first route
About £180–£500 including tools and finishA complete repeatable starter setup
Repeat a kit with a more demanding finish or fret correction.Add one capability
Often £50–£250One selected tool, service or learning resource
Build a simple solid body from plans with supervised machinery.Build specialist depth
Club, course or specialist dependentA documented specialist workflow
Study acoustic construction, repair and advanced fretwork through a luthiery course.Safety & care
Wood dust, cutters, finish and string tension each need their own controls
A musical result does not justify improvised machine work or unventilated coating.
- Use guards, work holding, dust extraction, eye and hearing protection appropriate to each hand or power tool.
- Control hardwood and composite dust and never rely on a loose mask without assessing fit and extraction.
- Use finishes, solvents and adhesives only with their stated ventilation, fire, skin and respiratory controls.
- Disconnect soldering equipment when finished, extract flux fume and inspect all wiring before stringing.
- Bring strings to tension gradually, keep the face away from the string path and stop at cracking or unstable hardware.
Outside help
When outside help earns its place
A luthiery course is valuable before routing, neck work or acoustic construction because small geometric errors can become permanent quickly.
For a first course, choose a complete supported kit build that includes fret, nut and setup instruction.
Use outside help after the first guitar making and luthiery attempt can reveal the exact technique, access or safety problem that needs live correction.
Representative UK learning and access routes checked 1 September 2026; local prices, permissions, equipment and tutor support vary.
Sources
Where the guidance came from
Authoritative and specialist guidance supports the method and safety boundaries; community discussion contributes recurring beginner problems rather than unsupported claims.
-
01
StewMac · Online resources
Manufacturer-supported building, fretting, setup and finishing references.
Open source -
02
StewMac · S-style kit instructions
Dry fit, assembly, fret and finish sequence.
Open source -
03
StewMac · Fretting resources
Fret seating, levelling and tool context.
Open source -
04
Coban Guitars · Electric guitar kits
UK kit contents, construction types and support expectations.
Open source -
05
HSE · Woodworking health topics
Wood dust, machinery and workshop health controls.
Open source -
06
Reddit · r/Luthier
Community evidence on kit geometry, finishing, frets, setup and scratch-build limits.
Open source -
07
Amazon UK · Quick-Grip 300 mm Clamps, Twin Pack
Exact Amazon UK product page or ISBN used for this recommendation; current price, seller, specification and availability should be confirmed.
Open source -
08
Amazon UK · Digital Caliper, 150 mm
Exact Amazon UK product page or ISBN used for this recommendation; current price, seller, specification and availability should be confirmed.
Open source -
09
Amazon UK · Predator 10-Inch Tenon Saw
Exact Amazon UK product page or ISBN used for this recommendation; current price, seller, specification and availability should be confirmed.
Open source
Guide information and links checked 1 September 2026.