Beginner’s guide · Make & create
Shape it small.
Bake it accurately.
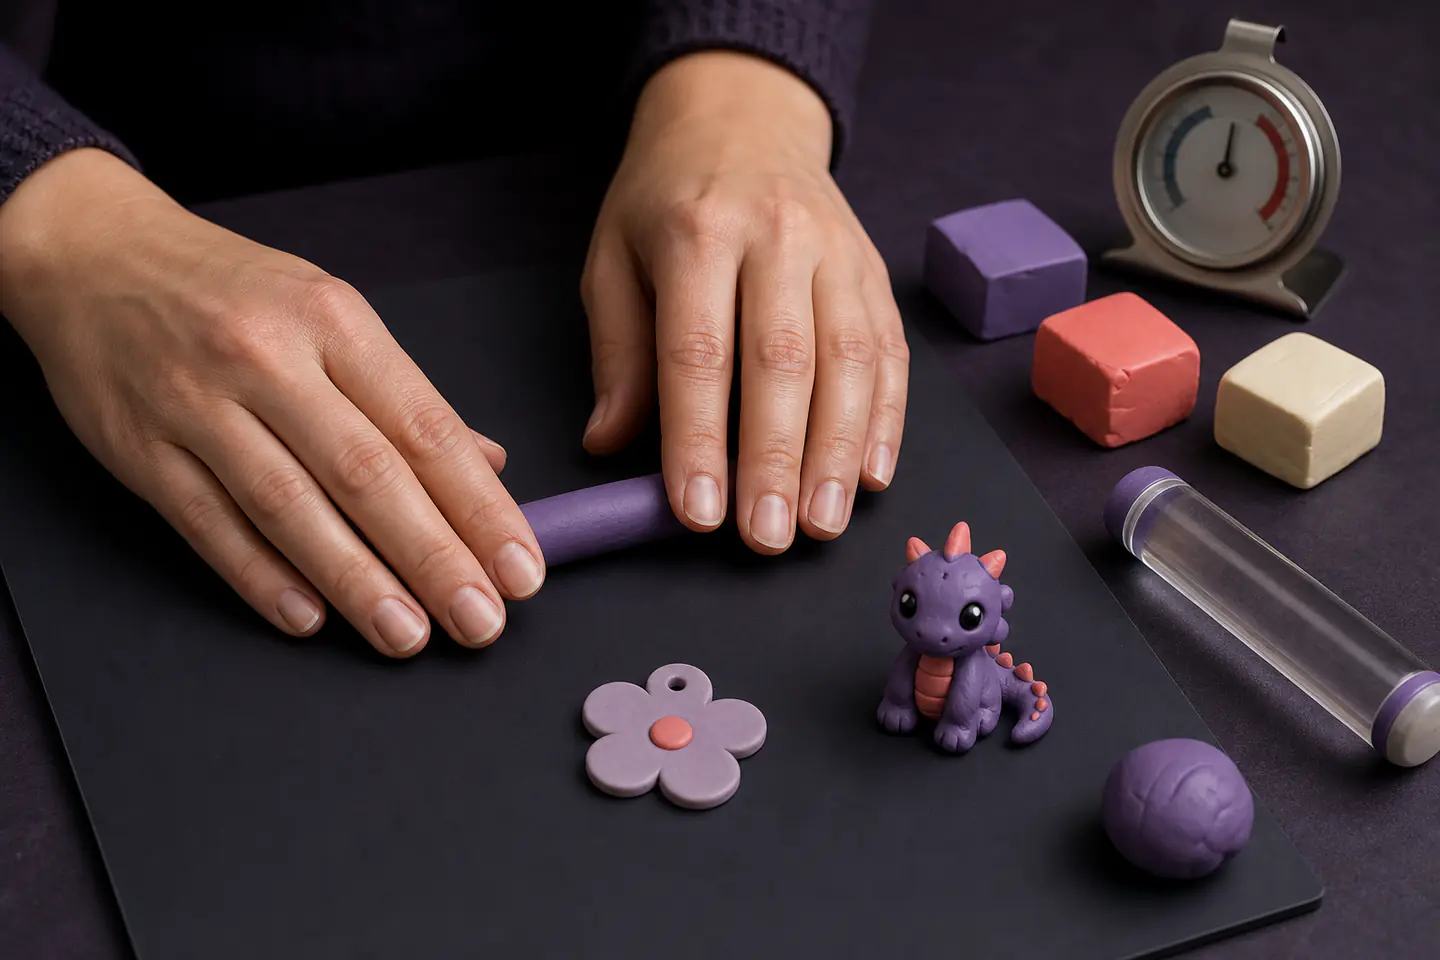
Start with a few soft polymer-clay colours and make one flat charm or tiny figure. Careful conditioning and the clay maker’s baking instructions matter more than a cupboard of cutters, moulds and finishing products.
Quick answer
One clay range, one small form, one measured bake
Condition a small amount of polymer clay until it bends smoothly, form a simple piece of even thickness and cure it exactly as its packet directs. Use a separate oven thermometer to check the real temperature; domestic oven dials can be inaccurate.
- 01
Keep colours and scraps within one compatible clay range for the first project.
- 02
Work on a clean non-porous surface and keep the clay away from food tools.
- 03
Thin parts need support and a complete cure; underbaked polymer clay is often brittle.
- 04
There is no microwave shortcut. Do not exceed the temperature printed on the packet.
What to expect
Soft in the hand does not mean cured in the oven
Polymer clay remains workable until heated. That gives generous modelling time, while making thickness and oven control the technical part.
Conditioning
Cold or firm clay may crumble at first. Warm small pieces in the hands and repeatedly roll and fold without trapping large air pockets.
Dust
Dark colours show lint and crumbs. Clean the surface, tools and hands before opening a new colour.
Detail
Fingerprints and tool marks stay. Smooth deliberately before baking rather than expecting the oven to erase them.
Curing
Time, temperature and thickness work together. The packet for the exact clay is the authority.
Strength
A correctly cured thin piece can flex; a fragile result may be underbaked, too thin at a stress point or based on an incompatible mix.
Core technique
Treat baking as part of the model
Condition only what is needed
Cut or pinch off a small piece, warm it in the hands and roll, fold and compress until the colour is even and the clay bends without cracking. If it is sticky, let it rest and follow the manufacturer’s advice rather than adding household flour or unknown powders.
Design for even thickness
A flat charm, bead or simple miniature avoids a very thick solid centre. Support projections and round sharp internal corners where cracks would start. Pierce holes before baking with an appropriate tool and leave enough material around them.
Verify the oven
Preheat the oven and place a separate oven thermometer close to the work. Bake on a clean oven-safe surface according to the clay packet, including its temperature and minimum time. Allow the piece to cool before judging its final flexibility. If the oven produces smoke or strong irritation, turn it off, ventilate and leave the area.
Starter products
Clay and temperature control first
The FIMO Soft pack supplies a manageable colour range. The oven thermometer checks the part a dial cannot prove. The roller-and-blade set is useful later for even sheets and clean cuts, but fingers and a simple non-food tool can make the first model.
STAEDTLER FIMO Soft Basic Colours, 12 × 25 g
Small blocks support several tiny practice pieces while keeping the first material family consistent.
Salter Analogue Oven Thermometer, 50–300°C
It gives an independent temperature reading beside the work, reducing underbaking and accidental overheating.
First project
Make one flat two-colour charm
Keep the shape broad, the thickness even and the colour plan simple.
- 01
Prepare a clean surface
Use a smooth non-porous tile or board reserved for craft. Tie back hair, wash hands and remove crumbs and lint.
- 02
Condition two small colours
Work each colour separately until smooth. Begin with less clay than seems necessary; scraps remain usable if kept clean.
- 03
Form a broad shape
Make a flat disc, leaf or simple geometric charm without thin unsupported points. Smooth the front, back and edge.
- 04
Add one detail
Press on a small contrasting shape or make a shallow texture. Avoid deep cuts that almost divide the piece.
- 05
Make the hanging hole
Pierce or drill only as the clay maker permits, leaving enough clay between the hole and edge to resist tearing.
- 06
Bake and cool
Use the exact packet instructions and verify the oven temperature. Cool fully before adding a jump ring or testing the piece.
Troubleshooting
Fix the process before adding varnish
Cracks often begin before baking
Poorly conditioned clay, sharp joins and thin stress points can fail after curing. Blend seams while the clay is raw and support attachments mechanically where possible. A longer bake within the manufacturer’s approved temperature is often stronger than an overheated short bake.
Bubbles come from trapped air
Fold clay so air can escape rather than enclosing it. Pop visible pockets before baking and avoid repeatedly chopping and loosely stacking pieces. A roller helps create even sheets, but flexible blades are sharp and must be handled by their safe edges.
Finish only when it adds something
Polymer clay normally does not need varnish for basic durability. Sanding and buffing can refine a cured surface, but wet-sand to control dust and follow the manufacturer’s compatibility list for glazes. Nail varnish and unknown sealers can remain sticky or damage the clay.
Skip for now
What can wait
Specialist tools are valuable after a repeated shape reveals the limitation they solve.
- 01
The blade-and-roller set
Useful for even sheets, canes and clean cuts. Flexible blades are sharp, so they are not a casual child’s tool.
- 02
A pasta machine
It conditions and sheets clay quickly but needs dedicated storage and should never return to food use.
- 03
Large mould collections
Moulds produce repeatable surfaces but can replace modelling practice with shopping. Make several hand-shaped objects first.
- 04
Varnish and resin
Neither is required for an ordinary charm. Compatibility and curing failures add more variables than they solve.
- 05
A dedicated craft oven
Useful only when regular output justifies space and expense. A correctly monitored domestic oven can start the hobby.
Upgrade path
Add precision where the work asks for it
The best upgrades make thickness, repetition or finishing more controllable.
Hand-shaped first piece
About £15–£25Small clay pack + oven thermometer + clean tile
Learn conditioning, joining, thickness and accurate curing.Even slabs and clean cuts
About £10–£35Acrylic roller + guides + flexible blades
Build earrings, tiles and layered shapes with more consistent thickness.Repeatable production
About £40–£120Dedicated pasta machine + cutters + storage
Condition batches and repeat component sizes with less hand strain.Advanced surfaces
Project dependentWet-sanding papers + buffing + compatible finishes
Refine cured surfaces after the model and bake are already reliable.Safety
Use the clay and oven as directed
Manufacturer instructions control the safe temperature, time and compatible materials for the exact clay.
- Do not microwave polymer clay and do not exceed the temperature printed on its packaging.
- Use an oven thermometer, ventilate the room and supervise baking; children should not operate the oven alone.
- Keep clay and dedicated tools away from food preparation, mouths and pets; wash hands after use.
- If clay burns or produces irritating fumes, switch off the oven, ventilate and leave the area until the air clears.
- Flexible blades and needles are sharp; store them covered and use a stable cutting surface.
- Polymer clay is not a material for food-contact surfaces unless the manufacturer explicitly approves that exact use.
Classes
When outside help is useful
A class becomes useful for canes, colour mixing, jewellery assembly and diagnosing repeated curing problems.
A supplied-material session can demonstrate conditioning, cutters, texture and jewellery finishing before tools are bought.
Check whether clay, findings and baking are included and whether finished pieces are collected later.
Use the exact clay maker’s instructions for temperature and compatibility even when following an independent design tutorial.
Representative UK workshop prices and manufacturer learning resources checked 27 July 2026.
Sources
Where the guidance came from
Manufacturer instructions set baking and handling boundaries. Community discussions informed the oven-thermometer recommendation and common problems with brittle or bubbled pieces.
-
01
Sculpey · Baking polymer clay
Manufacturer guidance on oven curing, timing and temperature.
Open source -
02
Sculpey · Frequently asked questions
Manufacturer answers on handling, curing, storage and finishes.
Open source -
03
Sculpey · Tips for baking polymer clay
Use of an oven thermometer and common baking errors.
Open source -
04
STAEDTLER · FIMO Soft
Exact product family characteristics and manufacturer route.
Open source -
05
STAEDTLER · FIMO instructions for use
Manufacturer conditioning, modelling and oven-hardening instructions.
Open source -
06
r/polymerclay · Beginner supplies and oven temperature
Community experience on starting small and checking domestic oven accuracy.
Open source -
07
r/polymerclay · Beginner guide discussion
Recurring community advice on conditioning, baking and specialist tools.
Open source -
08
Mail Order Beads · Introduction to polymer clay techniques
Representative £45 UK beginner workshop.
Open source -
09
Amazon UK · STAEDTLER FIMO Soft basic colours
Exact twelve-colour 25 g pack; £6.80 observed and available.
Open source -
10
Amazon UK · Salter analogue oven thermometer
Exact 50–300°C oven thermometer; £11.99 observed and available.
Open source -
11
Amazon UK · Four-piece clay tool set
Exact flexible blades, roller and board set; £7.99 observed and available.
Open source
Guide information and links checked 27 July 2026.