Beginner’s guide · Make & create
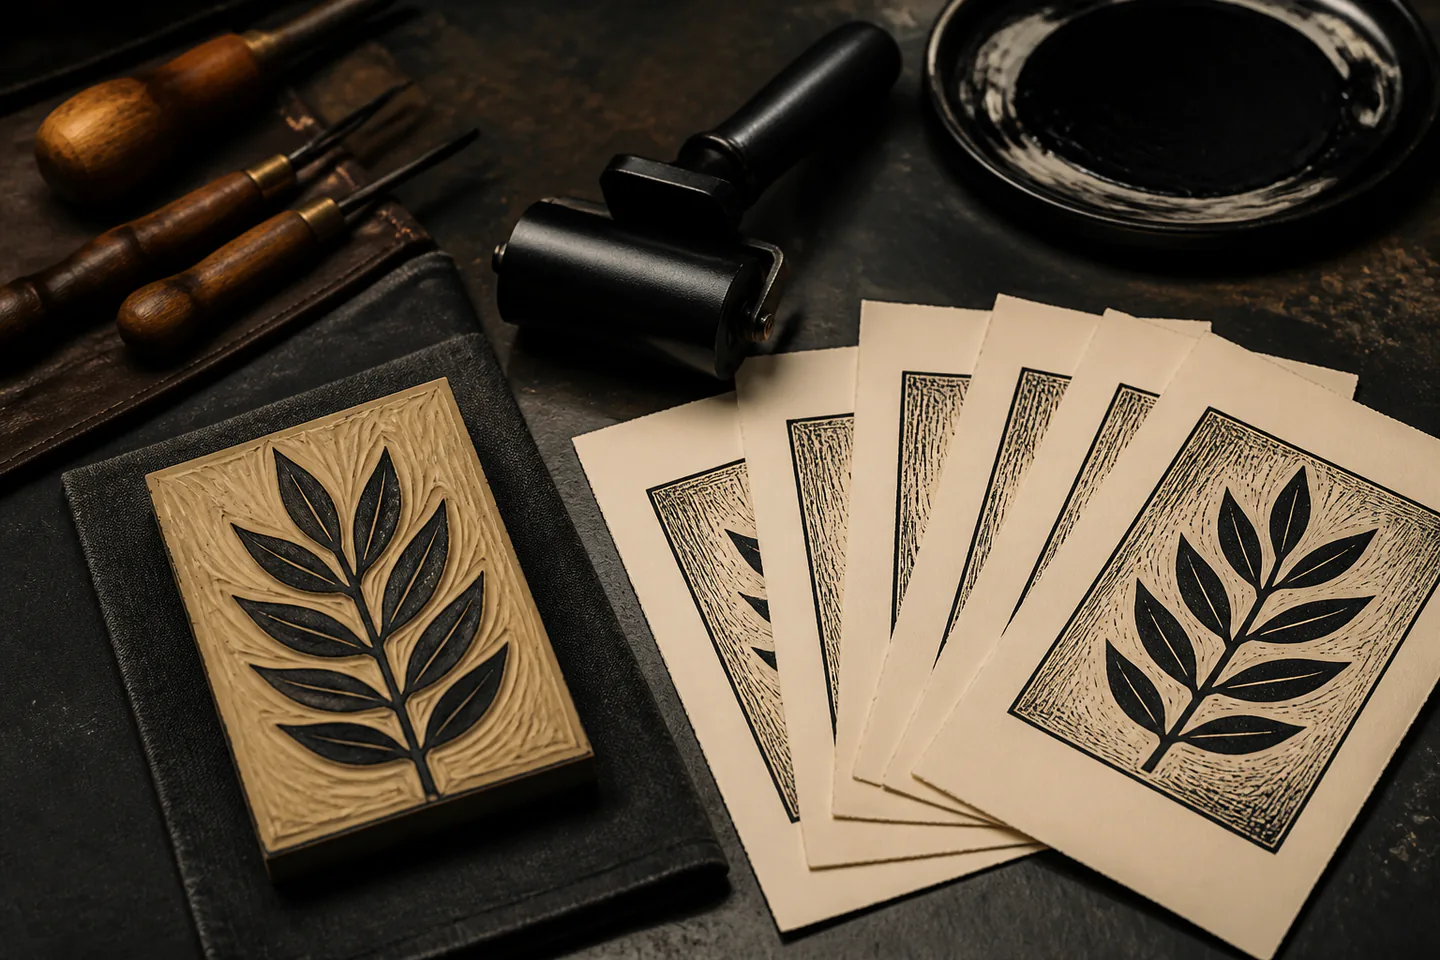
A clean run of five bold single-colour relief prints
Cut away from the hand and print before carving more.
Start with a small soft-cut block, guarded carving tools, water-based relief ink and hand pressure. A bold two-tone stamp teaches safe cutting, reversed design and inking before a press or multi-colour block.
Quick answer
Carve a postcard-size two-tone image and print it by hand
Draw a high-contrast leaf, fish or tool silhouette the size of a postcard, reverse it and transfer only the large shapes to a small soft-cut block. Secure the block against a bench hook or non-slip stop, keep the supporting hand behind the cutting path and carve shallow channels away from the body. Roll a thin even film of water-based relief ink, place paper without sliding and burnish with a clean baren or spoon. Print a proof early, then remove only the unwanted marks the proof identifies.
- 01
The raised, uncarved surface prints; every carved channel stays paper-coloured. Text and directional images must be reversed.
- 02
A sharp well-controlled tool is safer than forcing a blunt one, but every blade remains capable of serious cuts.
- 03
Soft-cut blocks reduce force for beginners; traditional battleship grey lino gives a different resistance and edge.
- 04
Block-printing ink is designed to roll tackily and transfer; ordinary acrylic can dry too fast and glue tools or give patchy results.
What to expect
Every proof is part of the carving process
A block is not designed perfectly and then printed once. Proofs expose chatter, weak contrast, unwanted ridges and areas that need to remain untouched.
Reverse
Mirror text and check directional subjects with tracing paper or a phone photo before cutting.
Depth
Shallow clean channels are usually enough; digging deeply increases force and can undercut wanted shapes.
Direction
Rotate the block so the tool still travels away from hands and body rather than carving toward a difficult corner.
Ink
Roll until the surface sounds softly tacky and shows an even skin without ridges or wet pools.
Pressure
Burnish all areas consistently and keep the sheet registered. Movement creates doubled or fuzzy edges.
Edition
Numbering implies a consistent edition. Beginners can label trial proofs honestly while learning ink and pressure.
Core method
Design for relief, carve with control and proof early
Simplify and reverse the design
Reduce the reference to connected black printing shapes and white carved areas. Keep narrow lines thick enough to survive. Trace the design, flip the tracing and transfer it to the block so the final print returns to the intended orientation. Mark the four edges clearly.
Secure the block and hands
Work at a stable table under strong light. Use a bench hook, proper block stop or non-slip system that does not put fingers in front of the blade. Fit the smallest appropriate cutter securely, carve shallow test lines in a waste corner and rotate the block instead of twisting the wrist.
Cut negative space in stages
Outline the protected printing shapes with controlled cuts, then clear larger areas using a suitable wider tool without levering. Brush chips away with a tool or cloth when the blade is down. Stop when tired, cover or remove cutters safely and never catch a rolling blade by hand.
Ink, proof and revise
Spread a small line of relief ink on a flat inking surface and roll it into a thin even patch. Ink the raised block, place scrap proof paper using registration marks and burnish systematically. Let the proof show which chatter marks or blocked areas need a final shallow cut; do not chase perfectly empty backgrounds automatically.
Useful products
Products with a clear job in the setup
The Essdee kit is the coherent first route with cutters, blocks and basic printing parts. Speedball black ink and Strathmore printmaking paper are useful consumable upgrades once the supplied materials have demonstrated the process.
Essdee Essdee Lino Cutting and Printing Kit, 23 Pieces
It supports one small carved and hand-printed result without piecing together every tool separately.
Speedball Water-Soluble Block Printing Ink, Black, 75 ml
A small black tube makes faults easy to read and avoids buying a colour set.
Strathmore Strathmore 300 Series Printmaking Pad
Purpose paper helps separate pressure and ink problems from a poor or highly sized sheet.
First project
Print a five-copy leaf block
A bold natural shape makes reversal, negative space and pressure visible without tiny dangerous cuts.
- 01
Draw connected black shapes
Keep veins broad and remove detail that will not survive carving.
- 02
Reverse and transfer
Flip the tracing and mark the block edges.
- 03
Secure the block
Place every finger behind the cutting path and test shallow cuts.
- 04
Carve white areas
Rotate the block and use the widest safe cutter for clearings.
- 05
Ink and proof
Roll a thin film, register scrap paper and burnish evenly.
- 06
Revise and print five
Remove only proofed distractions and label the successful pulls.
What can wait
What can wait until the first result
A press, reduction colour and premium carving set can wait until one small block prints consistently.
- 01
A printing press
A spoon, baren or hand system is adequate for postcard soft-cut prints.
- 02
Tiny lettering
Reversal and fragile narrow shapes add difficulty and are unforgiving of one wrong cut.
- 03
Multi-block registration
One colour already teaches transfer, pressure and block handling.
- 04
Power carving tools
They add speed, noise and injury risk without helping the first design decisions.
- 05
A huge ink palette
One dark colour makes carving and pressure faults easier to read.
Upgrade path
Upgrade the repeated limitation
Upgrade the limitation shown by the proof: cutter control, paper response, pressure or colour registration.
Complete starter route
About £35–£55Essdee kit + supplied materials
Learn safe relief cutting and hand printing.Better consumables
About £20–£60Specialist ink + printmaking paper
Improve roll, transfer and drying.Tool control
About £40–£150Sharpenable tools + bench hook + baren
Cut cleaner curves with less force.Studio editioning
About £150–£1,500+Press access + drying racks + registration system
Print larger or multi-colour editions consistently.Safety & care
Treat every cutter as a sharp workshop tool
The principal risk is a hand placed in the cutting path. Ink cleanup, posture and safe storage matter as well, especially in shared homes.
- Always secure the block and carve away from hands and body; rotate the block, keep the supporting hand behind the blade and never carve in the lap.
- Use sharp, undamaged cutters fitted correctly, apply controlled force and stop when fatigue reduces attention; seek hands-on tuition if control is uncertain.
- Cap, remove or store cutters in a rigid container immediately after use and keep them inaccessible to children and pets.
- Follow ink and cleaner labels, ventilate as specified, keep materials away from food and prevent pigment solids from entering drains.
- Dry prints flat in a protected area, wash hands after cleanup and use only properly maintained presses under competent instruction.
Outside help
When outside help earns its place
A guarded starter kit and careful video demonstration can support a simple soft-cut block. A studio class is strongly useful for hand placement, sharpening, press use and multi-colour registration.
Use current tool-fitting, hand-guard and printing demonstrations.
Check whether cutters, bench hooks, ink, paper and press instruction are included.
Representative UK product, workshop, lesson and club costs checked 13 August 2026; local prices, access, materials and tutor support vary.
Sources
Where the guidance came from
Tool manufacturers and print studios define safe use; experienced printmakers and relief-print communities provide evidence on blocks, inks, pressure and proofs.
-
01
Essdee · Linocut resources
Manufacturer tools, materials and beginner process guidance.
Open source -
02
Speedball · Block printing
Relief ink and tool information.
Open source -
03
Handprinted · Linocut tutorials
Specialist carving, inking and registration demonstrations.
Open source -
04
People of Print · Linocut
Contemporary relief-print practice and examples.
Open source -
05
Reddit · r/linocuts
Community discussion of starter tools, block types and proof problems.
Open source -
06
Amazon UK · Essdee 23-piece lino kit
Exact product page, model or ISBN, observed price and availability checked for this guide.
Open source -
07
Amazon UK · Speedball black block ink
Exact product page, model or ISBN, observed price and availability checked for this guide.
Open source -
08
Amazon UK · Strathmore printmaking pad
Exact product page, model or ISBN, observed price and availability checked for this guide.
Open source
Guide information and links checked 13 August 2026.