Beginner’s guide · Make & build
Make one tiny computer useful.
Start with a result you can see.
Set up Raspberry Pi OS, finish one small screen-based project and only then add a safe low-voltage sensor. The first lesson is a dependable setup, not a box of unexplained parts.
Quick answer
Prove the computer before adding electronics
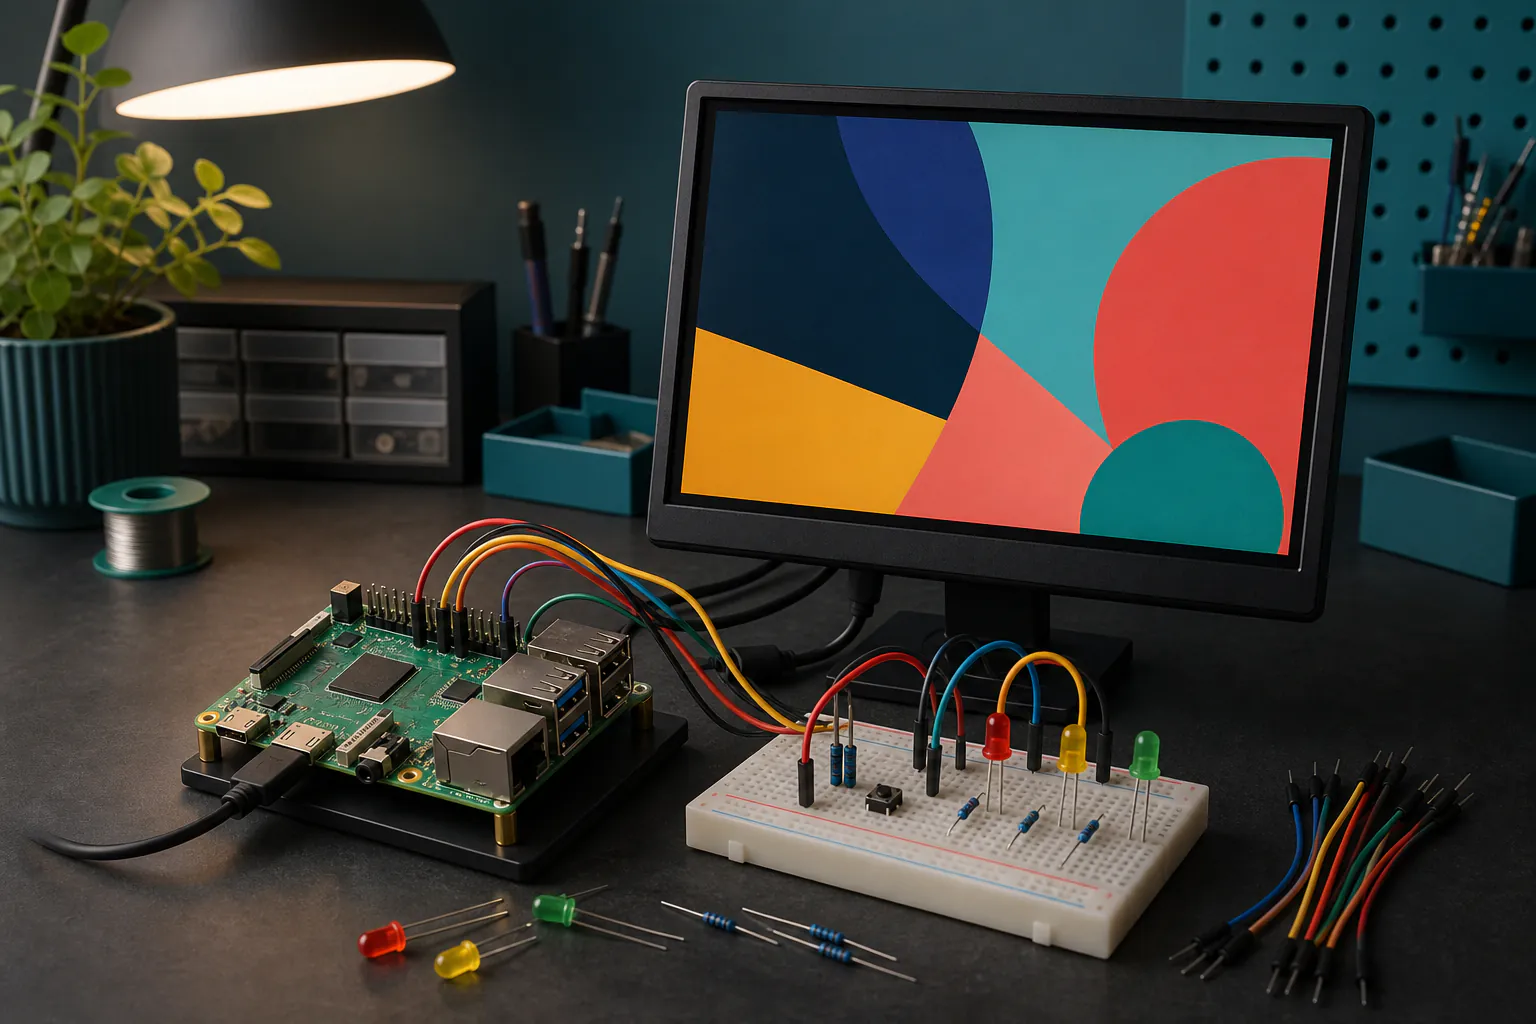
Use a complete Raspberry Pi 5 kit or a compatible board, microSD card, power supply, cooling and display cable. Install Raspberry Pi OS with Raspberry Pi Imager, boot to the desktop, update it and complete a small Python or Scratch project. When that is dependable, shut down and add one LED or sensor through a breadboard using a project diagram that names every pin.
- 01
A Raspberry Pi is a small Linux computer, not a microcontroller that tolerates careless wiring.
- 02
The Pi 5 expects a suitable USB-C supply and active cooling for sustained work; an arbitrary phone charger can throttle or fail to boot.
- 03
GPIO pins use 3.3 V logic and are not protected against every wiring error. Never connect mains voltage or feed 5 V into a GPIO pin.
- 04
A large component assortment becomes useful only when a chosen project identifies the next resistor, wire or sensor.
What to expect
Most early problems are setup problems, not coding problems
Power, storage, display input and copied commands can all fail before the project logic runs. Change one layer at a time and keep notes about what worked.
Power
Undervoltage can cause warnings, crashes and unreliable peripherals. Match the official power guidance for the exact Pi model.
Storage
A microSD card is both operating-system disk and project storage. Shut down properly and keep copies of code elsewhere.
Linux
Package names, permissions and paths matter. Read a command before pasting it and prefer the project or Raspberry Pi documentation.
GPIO
Physical pin numbers and BCM GPIO numbers are different conventions. Confirm which one a diagram uses before wiring.
Compatibility
Older tutorials may target another Pi, operating-system release or Python library. Check dates and model notes.
Progress
A weather display, timer or sensor logger can teach more than an ambitious robot that never reaches a working state.
Core method
Build a known-good base before experimenting
Inventory the complete setup
Confirm the board model, storage, suitable power supply, cooling, micro-HDMI cable where required, keyboard, mouse and display. Photograph the labels and keep the kit list. Assemble the case and cooler with power disconnected, then use Raspberry Pi Imager on another computer to write the recommended OS to the microSD card.
Boot, update and make a recovery point
Complete the first-boot prompts, connect to the network and install system updates. Create a folder for projects and save a simple program that prints a message or changes a Scratch sprite. Copy that folder off the Pi. A recoverable known-good system makes later wiring and software experiments much less intimidating.
Introduce GPIO with one controlled circuit
Shut the Pi down and unplug it before changing wires. Use a breadboard, a correctly chosen resistor and an LED or a module designed for 3.3 V logic. Follow a current diagram, check the ground and GPIO pin twice, then power up and run a short program. If it fails, test wiring, pin numbering and code as separate questions.
Keep projects small and documented
Write the goal, hardware, wiring, software source and result in a README. Change one thing, test it and record it. This turns a collection of components into reusable knowledge and makes it possible to rebuild the project after an OS update or a few months away.
Useful products
One complete computer route and parts for later experiments
The complete Pi 5 kit is the straightforward route when nothing is already owned. The component and sensor collections support later breadboard projects; they are not a reason to connect everything at once. The separate official cooler is useful only for a bare Pi 5 or case that accommodates it.
db-tronic Raspberry Pi 5 4GB Starter Kit
It reduces compatibility hunting and gets the operating-system project started with one checked bundle.
Miuzei 235-Piece Raspberry Pi Component Starter Kit
The labelled parts support many small projects without committing to one robot or enclosure.
ELEGOO 37-in-1 Sensor Module Kit
It supports comparison and follow-on projects without defining the first project.
Raspberry Pi Raspberry Pi 5 Active Cooler
It is the model-specific cooling option rather than a generic fan of uncertain fit.
First project
Make a desk-friendly status display
Start with a program that shows the time, a chosen message and one changing value on the connected display. It proves installation, files and iteration without involving GPIO.
- 01
Image the card
Use Raspberry Pi Imager, select the correct board and current recommended OS, and set login and network details deliberately.
- 02
Assemble and boot
Fit cooling and case parts with power removed, connect display and input devices, then apply the suitable power supply.
- 03
Update the system
Install updates from the desktop tools or documented terminal commands and reboot when requested.
- 04
Create one script
Write a small Python program that displays time and a rotating set of messages in a simple window.
- 05
Run it repeatedly
Close and reopen the project, correct the working directory and make the program understandable from its filenames.
- 06
Add one input later
After a clean shutdown, use a documented push-button or sensor circuit and keep the screen project working without it.
What can wait
What can wait until the first result
Wait for a project to expose the limitation before adding complexity.
- 01
A giant sensor collection
Three compatible modules are more useful than thirty-seven unexplained ones. Choose a project, then open only the parts it uses.
- 02
Running a public server
Network exposure brings updates, authentication and backup duties. Learn locally before opening ports or publishing services.
- 03
Mains switching
Do not use an exposed relay board to control household mains. Use certified finished products or qualified help.
- 04
A custom PCB
Breadboards and labelled jumpers make early mistakes visible and reversible.
- 05
The newest board for its own sake
A cheaper supported Pi already owned may be entirely adequate for learning code, files and basic GPIO.
Upgrade path
Upgrade the repeated limitation
Upgrade when performance, I/O or deployment has become a measured constraint.
Screen project
Existing kitPi OS + display + Python or Scratch
Learn the computer without hardware uncertainty.One physical input
About £5–£27Breadboard + labelled wires + compatible component
Connect code to a safely bounded real-world signal.Logged project
About £10–£40Sensor + enclosure + regular backups
Learn reliability, time-series data and recovery.Purpose-built system
VariableSelected HAT, SSD or another Pi model
Solve a defined speed, storage or connection need.Safety & care
Treat every pin and command as capable of changing the system
Low voltage reduces risk but does not make wiring, batteries, heat, downloaded code or network exposure consequence-free.
- Power down before altering GPIO wiring and verify the board pinout from current Raspberry Pi documentation.
- Keep conductive items away from a powered board and use standoffs or a suitable case with ventilation.
- Do not connect mains electricity, automotive power or an unknown voltage to the GPIO header.
- Read scripts and installation commands before running them; use maintained sources and install security updates.
- Back up code and important files off the microSD card, which can be corrupted or worn out.
Outside help
When outside help earns its place
A class is optional. A local maker session helps when a wiring diagram remains confusing or a project needs tools not worth buying.
Use the official step-by-step projects to learn setup and one concept at a time.
Choose supervised low-voltage work and confirm what boards and tools are supplied.
Representative UK prices and free learning routes checked 3 August 2026; local availability, materials and tutor support vary.
Sources
Where the guidance came from
Official Raspberry Pi documentation establishes power, cooling, imaging and GPIO constraints; structured projects provide the beginner sequence.
-
01
Raspberry Pi · Getting started
Current setup, operating-system imaging, first boot and configuration guidance.
Open source -
02
Raspberry Pi · Raspberry Pi 5
Model-specific connections, power, cooling and hardware guidance.
Open source -
03
Raspberry Pi Projects · Getting started
A maintained introductory project sequence for first use.
Open source -
04
Raspberry Pi · GPIO usage
Official GPIO identification and electrical cautions.
Open source -
05
Amazon UK · db-tronic Raspberry Pi 5 4GB Starter Kit
Exact product page, model or ISBN, observed price and availability checked for this guide.
Open source -
06
Amazon UK · Miuzei Raspberry Pi component kit
Exact product page, model or ISBN, observed price and availability checked for this guide.
Open source -
07
Amazon UK · ELEGOO 37-in-1 sensor kit
Exact product page, model or ISBN, observed price and availability checked for this guide.
Open source -
08
Amazon UK · Official Raspberry Pi 5 Active Cooler
Exact product page, model or ISBN, observed price and availability checked for this guide.
Open source
Guide information and links checked 3 August 2026.