Beginner's guide · Make & build
Clean before you sand.
Identify before you finish.
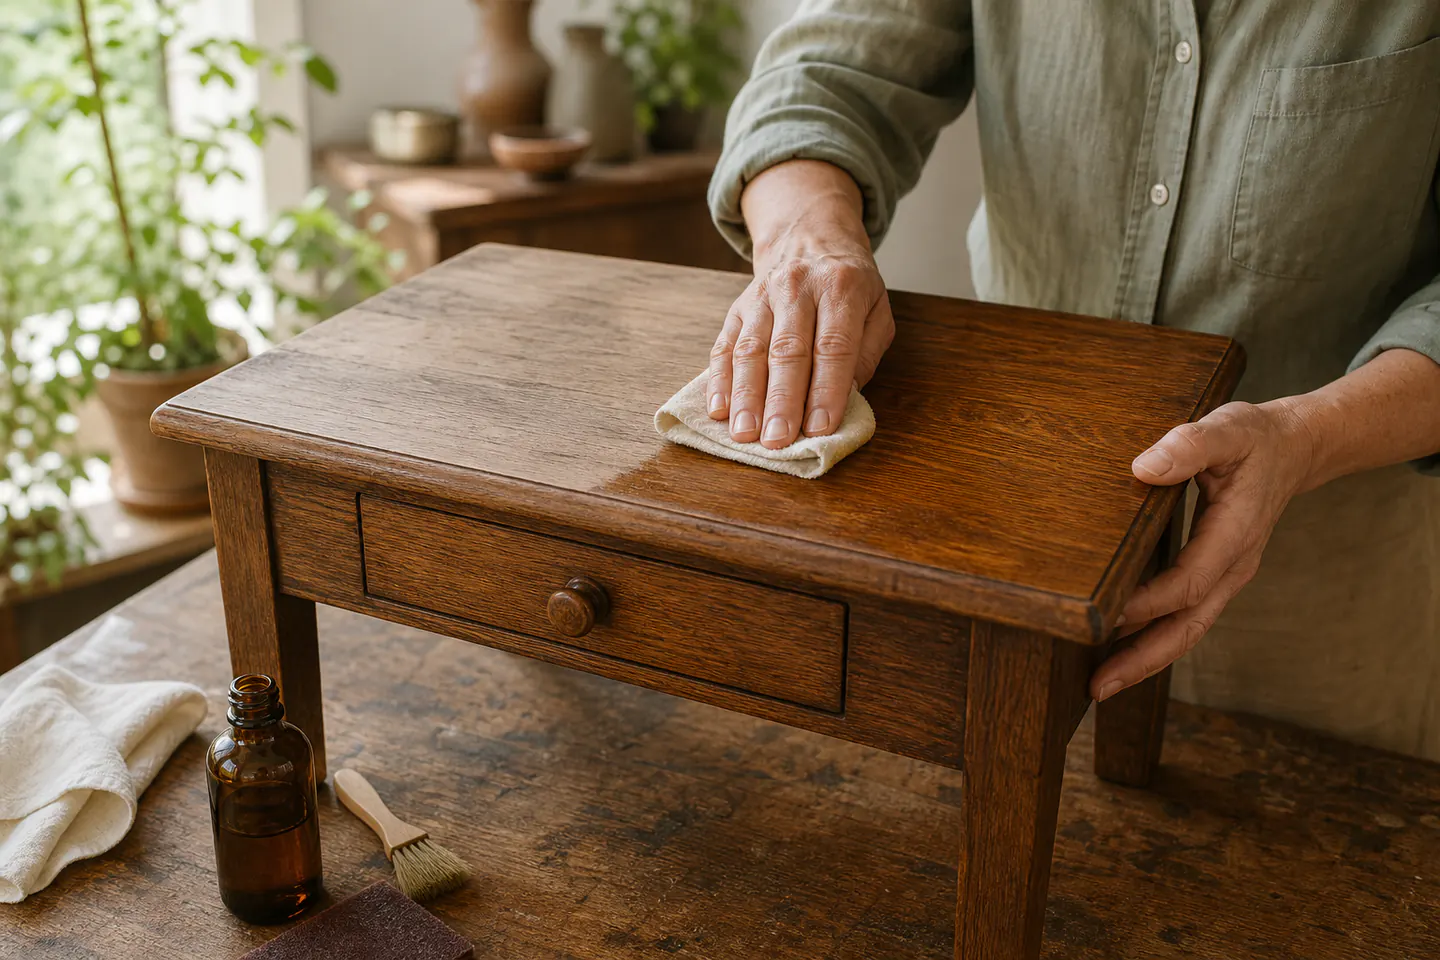
Start with a low-value solid-wood stool or side table that is structurally sound. Careful cleaning, finish testing and a compatible refresh teach more than stripping an unknown piece to bare wood.
Quick answer
Clean before you sand.
Choose a stable, inexpensive piece whose history and material are reasonably clear. Photograph every side, vacuum loose dirt with a soft brush, test a mild cleaner in a hidden area and stop as soon as an acceptable surface is revealed.
- 01
Do not begin by sanding. Veneer can be thinner than expected, old colour may be intentional and an existing finish may only need cleaning or wax.
- 02
A compact wood-oil kit is practical only for compatible bare or previously oiled indoor wood. Lacquer, laminate, paint and valuable antiques need a different plan.
- 03
Work on one hidden test patch through the full proposed sequence, including drying, before treating the visible top.
- 04
Loose joints, lifting veneer, active woodworm, mould, lead-containing paint or a historically important piece are reasons to pause and seek specialist advice.
What to expect
What the first attempts really involve
The first project is useful because it exposes the decisions that shopping pages tend to hide.
Identification
Solid wood, veneer, laminate and engineered board react differently. Edge grain, the underside and repeated patterns help reveal what is actually present.
Finish
Wax, oil, shellac, lacquer and modern coatings need different repairs. A product that looks good on bare oak can fail completely over a sealed film.
Cleaning
Years of dirt can resemble failed finish. Gentle cleaning often changes the diagnosis and preserves more original material.
Patina
Age, colour variation and small marks can be part of the piece's character. Restoration is not automatically a return to factory-new uniformity.
Drying
Cleaners and oils need time. A surface can feel dry while joints, pores or folded oil cloths still contain volatile or heat-producing material.
Assess the piece
Make a condition report before making dust
Decide whether the piece is a suitable learner
Look for a modest solid-wood stool, bedside table or small side table with intact structure and no claim to historical importance. Avoid a first project with loose structural joints, extensive veneer loss, deep mould, a strong chemical smell or paint that may contain lead. A cheap purchase can still be old enough to deserve caution.
Record what is already there
Photograph the top, underside, legs, joints, labels and every damaged area in neutral light. Note wobble, lifting edges, water rings, scratches and previous repairs. This separates existing damage from changes made during the work and makes a specialist consultation much more useful.
Test the least aggressive treatment
Remove loose dust, then use the selected cleaner exactly as directed on a tiny concealed patch. Let it dry completely and compare colour, sheen and tack. Only move to a finish refresh after confirming that the surface is compatible and that cleaning alone is not enough.
Starter products
A one-box oil route, with refills only when needed
The Wood Oil Kit combines cleaner, Danish oil, abrasives, brush and cloth for a compatible small indoor piece. The separate cleaner and oil are shown as later refills or replacements, not three products to buy together. None should be applied until the existing finish and substrate are identified.
Furniture Clinic Wood Oil Kit
The kit reduces cross-brand guesswork and includes the small consumables needed to test and refresh a modest surface.
First project
Refresh one compatible solid-wood top
This sequence is deliberately conservative. It assumes a low-value, structurally sound piece that has been identified as compatible with the chosen product instructions.
- 01
Document and inspect
Photograph the piece, check the underside and edges for veneer, and look for loose joints, mould, insect activity or suspect old paint.
- 02
Protect the workspace
Work in ventilation over a drop cloth, remove ignition sources and prepare a metal container or water-filled disposal route for oily materials as the product instructs.
- 03
Remove loose dirt
Use a soft brush and suitable vacuum without scraping the finish. Do not drive dust into joints with compressed air.
- 04
Test the cleaner
Follow the cleaner directions on a concealed patch. Stop if colour transfers unexpectedly, the surface becomes sticky or a film turns cloudy.
- 05
Evaluate after drying
Decide whether the cleaned result is already sufficient. Preserving a sound finish is a successful restoration decision.
- 06
Prepare only if compatible
If instructions call for abrasion on bare or previously oiled wood, work lightly with the grain and control dust. Never chase a stain through thin veneer.
- 07
Apply a thin oil coat
Use the maker's application and removal times, wipe off all excess and allow full ventilation and cure before judging sheen or adding another coat.
- 08
Handle oily waste safely
Do not leave oil-soaked cloths folded or piled. Follow the oil maker's fire-safety and disposal instructions immediately after each coat.
Troubleshooting
Stop when the material gives a warning
Colour on the cloth is diagnostic
A little dirt is expected; significant stain or finish transfer means the cleaner or pressure may be too aggressive. Stop, let the patch dry and reassess. Repeated scrubbing can create a pale halo that is harder to disguise than the original mark.
A sticky finish needs identification, not more product
Soft or tacky surfaces may be contaminated, chemically incompatible or not fully cured. Adding oil or wax can trap the problem. Isolate the piece from fabrics, record what was used and seek material-specific advice before continuing.
Sand-through cannot be polished away
A sudden colour or grain change can mean veneer has been breached. Stop sanding immediately. Colouring pens may disguise a tiny low-value repair, but a broad damaged veneer needs patching and colour matching that are better learned with guidance.
Skip for now
What can wait
Stripping and sanding feel decisive, which is exactly why they should wait until the material and finish have been identified.
- 01
A power sander
It removes thin veneer and softened edges quickly while producing significant dust. Controlled hand preparation is enough for a first compatible oil refresh.
- 02
Chemical stripper
Stripper adds skin, eye, ventilation, waste and compatibility hazards. It is not a universal reset button for an unknown coating.
- 03
Wood stain
Stain can exaggerate scratches, absorb unevenly and make colour matching harder. Reveal the clean wood and test the finish system first.
- 04
Decorative repair pens
Pens are useful for tiny, colour-matched cosmetic marks but do not repair loose veneer, missing wood or a failed finish.
- 05
A valuable antique
Maker's marks, original finish and evidence of construction can carry historical and financial value. Practise on an ordinary piece.
Upgrade path
What a better setup changes
A better restoration setup improves diagnosis, dust control and repair quality before it increases removal speed.
Gentle surface refresh
About £20–£40Cleaner + compatible finish + hand materials
Learn condition recording, testing, cleaning and thin finish application.Minor structural repairs
About £50–£150Appropriate clamps + glue knowledge + joint-cleaning tools
Rebuild selected simple joints after learning how the original was assembled.Veneer and colour work
About £100–£300Veneer tools + reversible repair materials + colour-matching practice
Repair losses without sanding away surrounding original surface.Equipped restoration space
£500+Extraction + benches + specialist hand and power tools
Handle larger projects safely, with the training to choose rather than merely own the tools.Safety
Work safely from the first attempt
Wood dust, old coatings, solvents and oil-soaked cloths are the serious hazards. Unknown finishes should be treated as unknown chemicals.
- Do not sand or heat old paint until lead and other coating risks have been assessed; use competent testing and specialist guidance.
- Control wood dust at source, ventilate appropriately and use respiratory protection selected for the task rather than a loose nuisance mask.
- Read cleaner, stripper, stain and finish labels before use; protect skin and eyes and keep products away from flames and children.
- Oil-soaked rags can self-heat and catch fire. Follow the finish maker's immediate drying, storage and disposal instructions without piling or binning wet cloths.
- Do not work on mouldy, pest-damaged or structurally unsafe furniture in an ordinary living area.
- Keep the piece out of use until every product has reached its stated full cure, especially surfaces near food, children or pets.
Classes
When outside help is useful
Outside help is most valuable before irreversible work: identifying finish, repairing veneer, rebuilding joints or deciding whether an old piece should be conserved.
Current London examples cover assessment, cleaning, repairs and finishing on a supervised learner piece.
Useful when joint repair, veneer, colour matching and traditional finishes need sustained bench time.
Appropriate only when restoration is becoming a trade, with systematic work on real antiques and conservation decisions.
Representative UK furniture-restoration course prices and 2026 dates checked 27 July 2026.
Sources
Sources and checking notes
UK safety authorities set the lead, dust and coating boundaries. Restorer and community discussions support cleaning and identification before abrasion, while manufacturer data anchors the selected finish route.
-
01
HSE · Woodworking and furniture health risks
UK guidance on respiratory disease and dust exposure in woodworking and furniture work.
Open source -
02
HSE · Woodworking hazards
Overview of machinery, dust, manual handling and chemical hazards.
Open source -
03
HSE · Wood dust exposure information sheet
Practical dust-control and respiratory-risk guidance.
Open source -
04
HSE · Control of lead at work
Authoritative UK guidance relevant to disturbing old lead-containing coatings.
Open source -
05
r/furniturerestoration · A suitable first restoration
Recent practitioner discussion about project selection, material identification and restraint.
Open source -
06
r/furniturerestoration · First-time restoration advice
Community warnings about veneer, cleaning and aggressive sanding.
Open source -
07
r/finishing · Complete furniture novice
Finish-focused advice on identifying the existing surface and testing before refinishing.
Open source -
08
Rustins · Danish Oil product data
Manufacturer-style application, drying and oily-cloth safety context for Danish-oil finishes.
Open source -
09
The School of Stuff · Furniture Fix
Current one-day London restoration class at £185.
Open source -
10
The Goodlife Centre · Introduction to wood restoration
Current 2026 one-day beginner class at £210.
Open source -
11
Amazon UK · Furniture Clinic Wood Oil Kit
Exact cleaner, Danish-oil and preparation kit selected for a compatible small project.
Open source -
12
Amazon UK · Furniture Clinic Wood Cleaner
Exact 250 ml cleaner shown as a later refill or standalone replacement.
Open source -
13
Amazon UK · Furniture Clinic Danish Oil
Exact 250 ml oil shown as a later refill for known compatible wood.
Open source
Guide information and links checked 27 July 2026.