Beginner’s guide · Observe & photograph
Look closer than a field guide can.
Start with the right scale.
Use a pocket microscope for leaf surfaces, moss, feathers and insect details, or a compound microscope for thin slides and pond water. Magnification is useful only when the specimen, lighting and focus match it.
Quick answer
Match the microscope to what you want to see
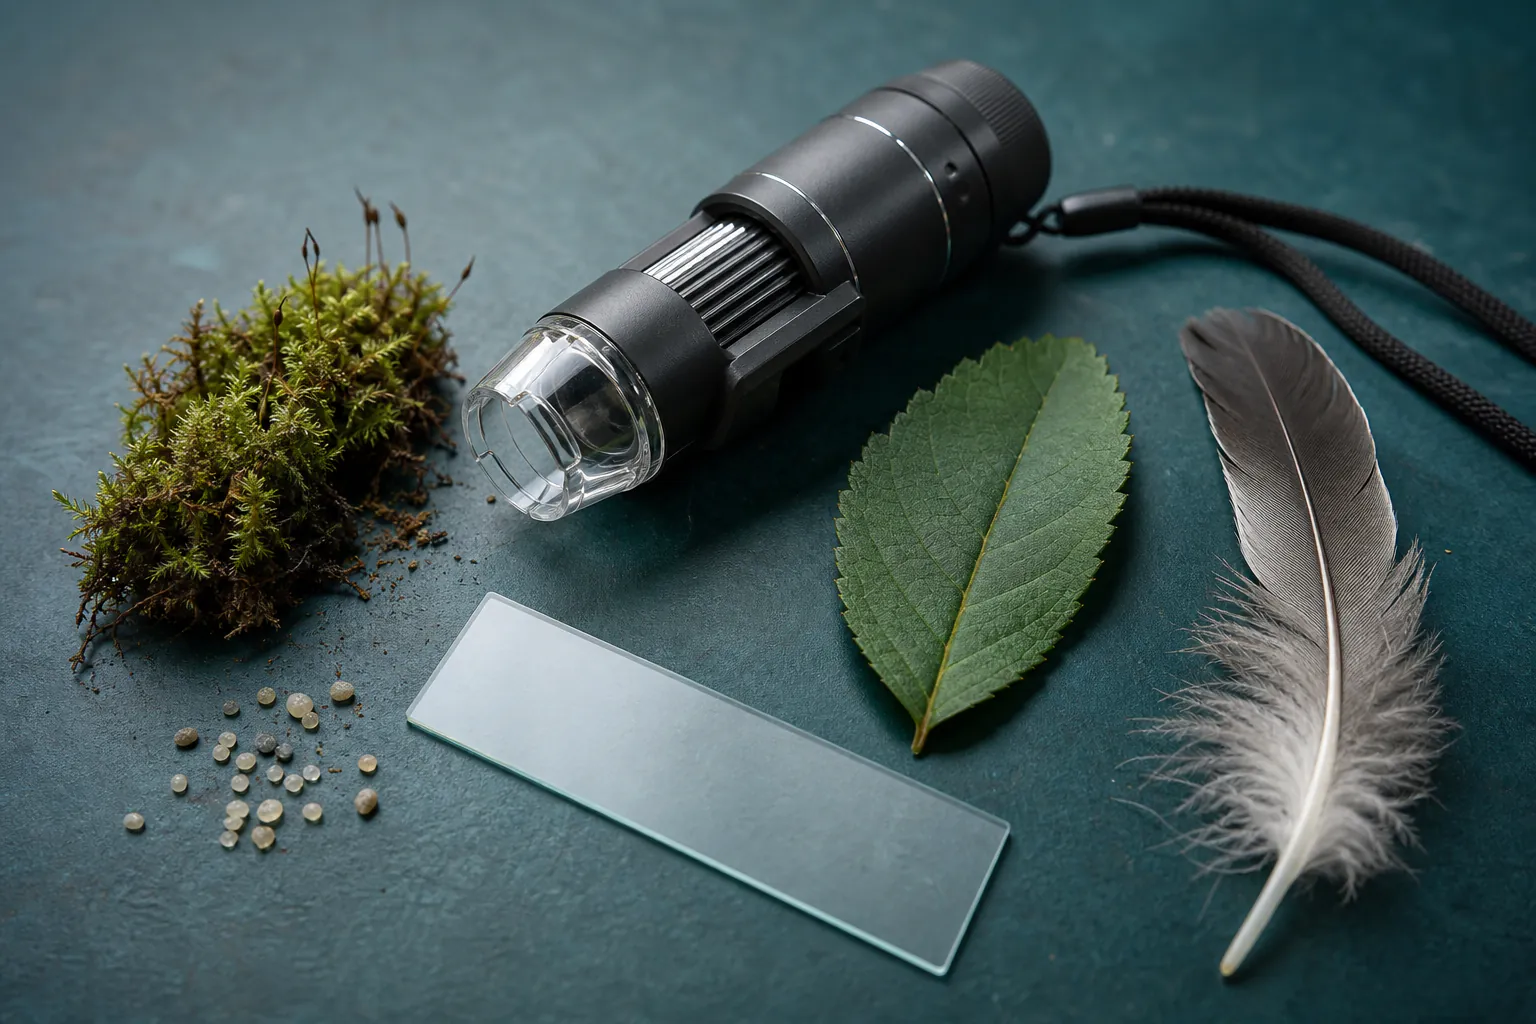
Choose the pocket route for bark, moss, leaf hairs, feathers, sand, lichens and small invertebrate details. Choose a compound microscope when the aim is translucent material on a slide, such as onion skin, algae or a shallow drop of pond water. A claim of 2,000× is not a reason to buy a microscope.
- 01
Low-power reflected-light viewing gives more depth and working room for intact natural objects.
- 02
Compound microscopes transmit light through thin specimens and normally begin with the 4× objective, not the highest one.
- 03
Total magnification is eyepiece multiplied by objective, but empty magnification enlarges blur without revealing new detail.
- 04
Good samples, clean optics, controlled light and fine focus produce more useful observations than a high number on the box.
What to expect
Finding and preparing the subject is half the hobby
Nature microscopy changes an ordinary walk into sample selection, note-taking and repeated comparison. The most interesting view is often found by moving slowly at low power rather than immediately increasing magnification.
Field of view
Higher magnification shows a smaller area, reduces depth and makes moving subjects harder to follow.
Working distance
A pocket or stereo-style instrument leaves room above an object; a compound objective sits close to a thin slide.
Preparation
A thick folded leaf will not become transparent because the objective is stronger. Thin sections and shallow water drops matter.
Lighting
Reflections can hide texture while excessive transmitted light washes out transparent organisms. Adjust light before blaming focus.
Focus
Start low, bring the subject into view and only then change objective. A moving stage and fine focus are valuable on compound scopes.
Identification
A microscope reveals features, not an automatic species name. Record size, habitat, date and several views before claiming an ID.
Choose a route
Use two routes instead of one misleading magnification ladder
Route one: inspect intact objects
Start with a pocket microscope or low-power instrument that lights the top of the subject. Stabilise a dry leaf, moss capsule, feather barb, lichen or grain of sand on a plain card. Begin at the lowest setting, move the whole instrument slowly and adjust the built-in light to reveal surface relief. This route is portable and needs almost no sample preparation.
Route two: look through thin material
A compound microscope is the route for cells and small freshwater life. Put a very small sample on a clean slide, add a coverslip at an angle to reduce bubbles and place it on the stage. Start with the 4× objective and centre the subject before moving to 10× or 40×. The 100× oil objective is specialist work and unnecessary for the first natural samples.
Treat pond water as a living sample
Collect only a small amount from an accessible edge, including a little plant material rather than only clear surface water. Keep the container out of heat, observe promptly, use a shallow drop so organisms do not crush or dry immediately and return unused material to the same site where appropriate and permitted. Never release purchased cultures or material into the wild.
Keep an observation record
Write the subject, location, date, illumination and magnification. Sketch the outline and one diagnostic detail. A phone photograph through an adapter is useful for comparison, but the image should not replace notes about movement and scale.
Useful products
A pocket start, a phone-recording option and a genuine compound upgrade
The MicroBrite Plus is the simplest route into surface detail. The MicroFlip adds a slide base and phone clip for recording small transmitted or illuminated specimens. The Swift SW200DL is the separate compound route for prepared slides and pond-water work; do not buy both pocket microscopes and the compound scope at once.
Carson MM-300 MicroBrite Plus 60–120× Pocket Microscope
It is portable, inexpensive and suited to the textures most easily collected without slide preparation.
Carson MP-250 MicroFlip 100–250× with Smartphone Clip
The slide base and phone clip add alignment features to a compact microscope rather than merely promising a larger number.
Swift SW200DL 40–1000× Compound Microscope
A mechanical stage, fine focus and compound objectives support transmitted-light samples that pocket scopes cannot show well.
First session
Compare five ordinary natural surfaces
Use dry, common material that can be observed without harming wildlife: for example a fallen leaf, loose feather, moss fragment from your own garden, clean sand and a piece of bark already detached from dead wood.
- 01
Make a sample card
Place five labelled subjects on separate areas of plain card so stray fibres and movement are easier to see.
- 02
Begin at the lowest power
Find an edge or repeated feature before increasing magnification.
- 03
Change the light angle
Rotate the sample or adjust the LED and note which texture appears or disappears.
- 04
Choose one repeatable feature
Count leaf hairs, compare sand grains or follow the branching of a feather barb instead of simply looking around.
- 05
Sketch before photographing
Draw the outline and mark one feature so the observation is not reduced to a blurry phone image.
- 06
Record magnification and subject
Write the instrument setting, approximate field, date and where the sample came from.
- 07
Clean only as directed
Brush loose material from the stage and use lens-safe methods on optics; household tissue can scratch coatings.
What can wait
What can wait until the subjects demand it
Different microscopes solve different viewing problems. An upgrade should open a new kind of specimen, not only enlarge the same view.
- 01
A compound microscope for surface collecting
The Swift becomes useful for thin slides and pond samples. It is awkward for an intact beetle, rock or folded leaf.
- 02
The MicroFlip as a second pocket scope
Its phone clip and slide base are useful when recording matters. They are not required for simply exploring opaque surfaces.
- 03
2,000× claims
Useful resolution depends on objective, condenser, optics and specimen. Extra eyepiece magnification often enlarges an empty image.
- 04
Prepared slide collections
They teach focusing and anatomy but can displace the nature-observation goal. Make a few simple fresh mounts first.
- 05
A camera system
Phone adapters and dedicated cameras add alignment, exposure and file work. Record only after the live view is reliable.
Upgrade path
Upgrade by specimen type
Ask what cannot be seen with the current instrument, then choose optics that create the missing working distance, transmission or resolution.
Pocket exploration
About £1860–120× pocket microscope
Reveal surface features on portable, opaque natural objects.Recorded pocket samples
About £22MicroFlip with phone clip and slide base
Capture centred views and handle small slide-like samples more easily.Compound beginner bench
About £90–£1804×, 10× and 40× objectives, mechanical stage, slides and coverslips
Observe thin plant material, algae and freshwater microorganisms.Stereo microscope
About £180–£600+True low-power binocular view with working distance
Manipulate insects, flowers, minerals and whole specimens with depth.Ethics & safety
Collect little and keep the optics clean
The microscope does not make collecting harmless, and unknown samples can contain sharp, irritating or living material.
- Take only common material where collection is permitted; do not remove protected species, nests, eggs or material from protected sites.
- Treat pond edges as slip and drowning hazards. Work from a stable accessible bank, supervise children and wash hands afterwards.
- Do not taste, sniff closely or culture unknown environmental material, mould or microorganisms.
- Use coverslips and glass slides carefully; discard chipped glass in an appropriate sharps container, not loose household waste.
- Never touch optical surfaces with fingers or use household cleaners unless the manufacturer explicitly permits them.
Outside help
When guided microscopy helps
A class is optional for pocket exploration. It becomes valuable when compound illumination, slide preparation or identification is blocking progress.
Use equipment explainers to compare stereo and compound instruments before upgrading.
Choose a session that includes live focusing and sample preparation rather than only a prepared slide presentation.
Free specialist resources and representative UK session pricing checked 31 July 2026; local programmes and equipment access vary.
Sources
Where the guidance came from
Microscopy-society guidance establishes the optical routes; community experience was used to identify the recurring high-magnification and pond-life equipment traps.
-
01
Quekett Microscopical Club · Starting microscopy
Beginner overview of microscopes, specimens and routes into practical microscopy.
Open source -
02
Quekett Microscopical Club · Stereo microscopes
Working distance, reflected-light use and suitability for intact specimens.
Open source -
03
Quekett Microscopical Club · Compound microscopes
Common objective powers, transmitted-light specimens and the limited need for 100× oil immersion.
Open source -
04
r/microscopy · Beginner microscope for pond life
Practitioner discussion of useful objectives and limits of inexpensive compound microscopes.
Open source -
05
Amazon UK · Carson MM-300 MicroBrite Plus pocket microscope
Exact product page, model or ISBN, observed price and availability checked for this guide.
Open source -
06
Amazon UK · Carson MP-250 MicroFlip with phone adapter
Exact product page, model or ISBN, observed price and availability checked for this guide.
Open source -
07
Amazon UK · Swift SW200DL compound microscope
Exact product page, model or ISBN, observed price and availability checked for this guide.
Open source
Guide information and links checked 31 July 2026.