Beginner’s guide · Make & create
Build a legal little console
and keep recovery simple.
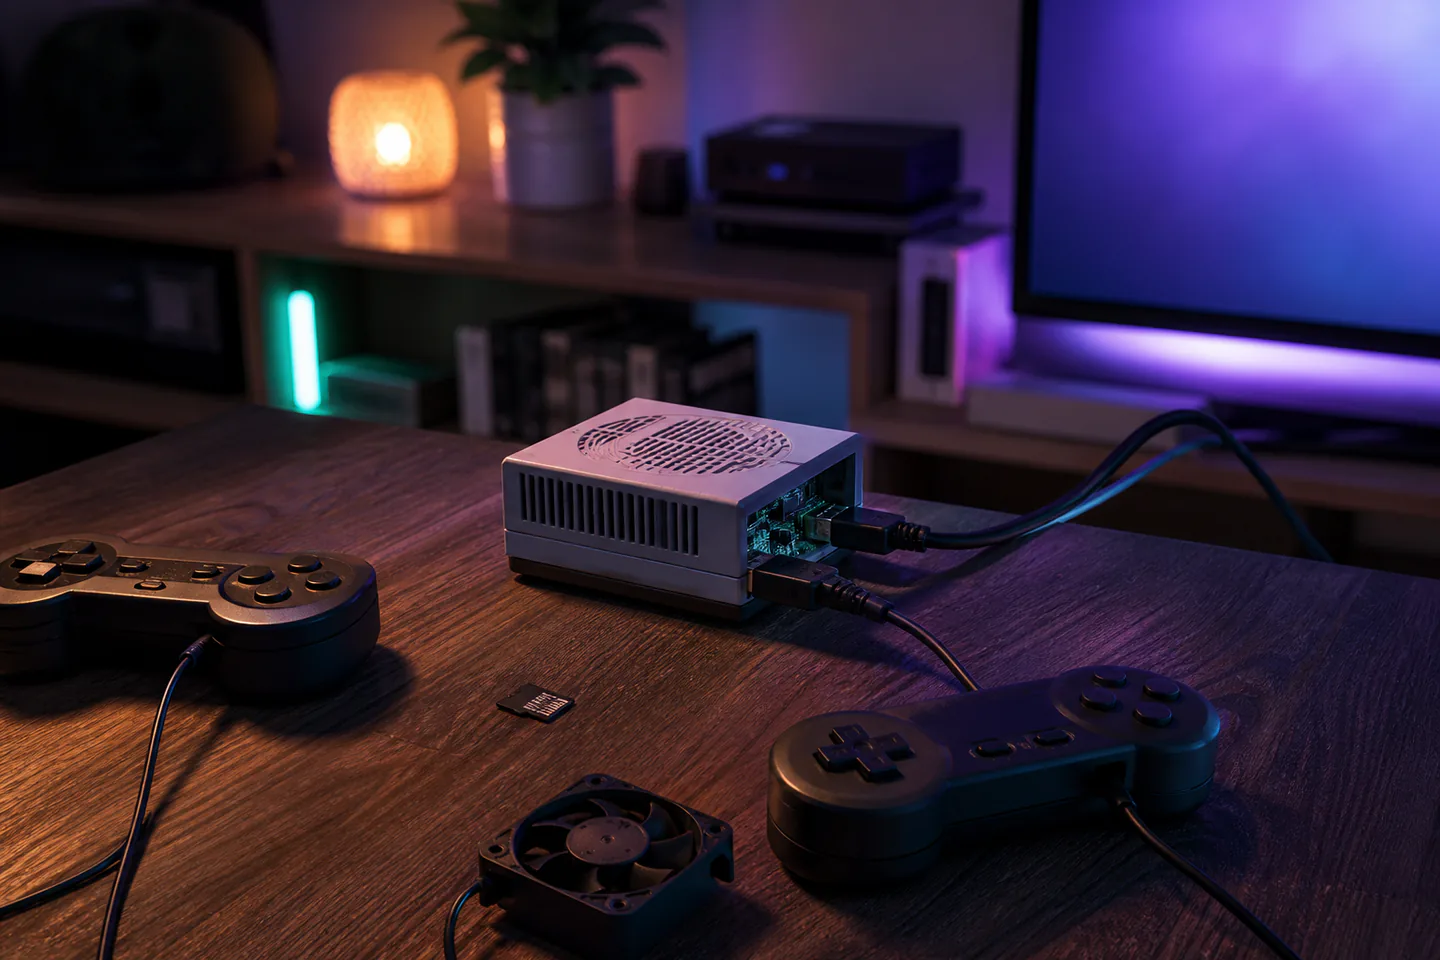
A Raspberry Pi retro console is a software-and-hardware project built around a supported image, a known controller, adequate cooling and legally obtained games.
Quick answer
Build one small, controlled result first
Start with a supported Raspberry Pi model, official-capacity power, a reputable microSD card and a simple wired controller. Install a documented retro-gaming image, complete updates and mapping, then test with homebrew or otherwise licensed games.
- 01
Confirm board model, power requirement, display cable, case clearance, cooling and controller support from current project documentation. Keep the first attempt narrow enough that preparation, the main action and the result can all be reviewed together.
- 02
Change one software or controller setting at a time and keep a clean known-working image or configuration backup. Keep the first attempt narrow enough that preparation, the main action and the result can all be reviewed together.
- 03
Test cold boot, shutdown, controller mapping, audio, display scaling, heat and one legal game before adding themes or a large library. Keep the first attempt narrow enough that preparation, the main action and the result can all be reviewed together.
- 04
Shut down through the interface before removing power, back up configuration files and label working microSD images by date and hardware. Keep the first attempt narrow enough that preparation, the main action and the result can all be reviewed together.
What to expect
Accuracy comes from the sequence, not the size of the toolkit
Preparation, one controlled variable and an honest inspection matter more than collecting specialist equipment.
The first attempt
A single homebrew game and wired controller prove the whole chain more clearly than importing an unsorted archive. For retro gaming console building, note what actually happened rather than relying on memory; that turns the next attempt into a controlled change instead of another guess.
The control point
Change one software or controller setting at a time and keep a clean known-working image or configuration backup. For retro gaming console building, note what actually happened rather than relying on memory; that turns the next attempt into a controlled change instead of another guess.
The useful signal
Test cold boot, shutdown, controller mapping, audio, display scaling, heat and one legal game before adding themes or a large library. For retro gaming console building, note what actually happened rather than relying on memory; that turns the next attempt into a controlled change instead of another guess.
The common trap
Most early failures come from weak power, poor cards, incompatible images, controller mapping or dubious ROM sources rather than insufficient RAM. For retro gaming console building, note what actually happened rather than relying on memory; that turns the next attempt into a controlled change instead of another guess.
Core method
Prepare, make, inspect and reset
Prepare deliberately
Confirm board model, power requirement, display cable, case clearance, cooling and controller support from current project documentation. For retro gaming console building, note what actually happened rather than relying on memory; that turns the next attempt into a controlled change instead of another guess.
Control the central variable
Change one software or controller setting at a time and keep a clean known-working image or configuration backup. For retro gaming console building, note what actually happened rather than relying on memory; that turns the next attempt into a controlled change instead of another guess.
Read the result
Test cold boot, shutdown, controller mapping, audio, display scaling, heat and one legal game before adding themes or a large library. For retro gaming console building, note what actually happened rather than relying on memory; that turns the next attempt into a controlled change instead of another guess.
Reset before repeating
Shut down through the interface before removing power, back up configuration files and label working microSD images by date and hardware. For retro gaming console building, note what actually happened rather than relying on memory; that turns the next attempt into a controlled change instead of another guess.
Useful products
Products with a clear job in the setup
A complete Pi kit reduces compatibility work, while cooling and storage should be added only when the case and bundle do not already provide them.
db-tronic Raspberry Pi 5 4GB Starter Kit
The bundle reduces power, storage, cooling and cable compatibility guesses.
Raspberry Pi Raspberry Pi 5 Active Cooler
It addresses thermal throttling only when the chosen case leaves room for it.
SanDisk Ultra 64 GB microSDXC Card
A separate card makes recovery and clean reinstalls easier.
First project
Boot, map and play one legal game
Treat the first successful cold boot and clean shutdown as part of the project, not merely setup.
- 01
Set up
Confirm board model, power requirement, display cable, case clearance, cooling and controller support from current project documentation. For retro gaming console building, note what actually happened rather than relying on memory; that turns the next attempt into a controlled change instead of another guess.
- 02
Begin the first attempt
A single homebrew game and wired controller prove the whole chain more clearly than importing an unsorted archive. For retro gaming console building, note what actually happened rather than relying on memory; that turns the next attempt into a controlled change instead of another guess.
- 03
Hold one variable steady
Change one software or controller setting at a time and keep a clean known-working image or configuration backup. For retro gaming console building, note what actually happened rather than relying on memory; that turns the next attempt into a controlled change instead of another guess.
- 04
Inspect the result
Test cold boot, shutdown, controller mapping, audio, display scaling, heat and one legal game before adding themes or a large library. For retro gaming console building, note what actually happened rather than relying on memory; that turns the next attempt into a controlled change instead of another guess.
- 05
Reset and record
Shut down through the interface before removing power, back up configuration files and label working microSD images by date and hardware. For retro gaming console building, note what actually happened rather than relying on memory; that turns the next attempt into a controlled change instead of another guess.
What can wait
What can wait until the first result
Delay equipment that solves no repeated problem in the first small project.
- 01
A large first setup
Scale multiplies Most early failures come from weak power, poor cards, incompatible images, controller mapping or dubious ROM sources rather than insufficient RAM. before the basic routine is known. For retro gaming console building, note what actually happened rather than relying on memory; that turns the next attempt into a controlled change instead of another guess.
- 02
Premium specialist equipment
It should solve a limitation you can describe after several retro gaming console building sessions. For retro gaming console building, note what actually happened rather than relying on memory; that turns the next attempt into a controlled change instead of another guess.
- 03
Several methods at once
Changing materials and technique together makes the cause of a result hard to see. For retro gaming console building, note what actually happened rather than relying on memory; that turns the next attempt into a controlled change instead of another guess.
- 04
Buying for a future version
Finish and review the small route before equipping an imagined advanced practice. For retro gaming console building, note what actually happened rather than relying on memory; that turns the next attempt into a controlled change instead of another guess.
Upgrade path
Upgrade the repeated limitation
Add capacity only after the basic process is repeatable.
Try it
About £90–£180Pi kit, wired controller and legal homebrew title
Complete one meaningful result and learn the whole sequence.Repeat it
About £90–£180Backed-up image and stable television profile
Reduce setup friction and compare several attempts.Improve the bottleneck
£100–£400Case or controller chosen for a proven need
Address Most early failures come from weak power, poor cards, incompatible images, controller mapping or dubious ROM sources rather than insufficient RAM. with a targeted change.Go deeper
VariableCurated licensed library and maintainable cabinet
Add scale, precision or public participation with evidence from practice.Safety & care
Respect power, cooling and copyright
Emulation software can be lawful while copied commercial game files remain protected.
- Use a power supply and cooling arrangement specified for the exact board and case. Follow current manufacturer, food-safety, access, wildlife or local guidance wherever it applies.
- Shut down cleanly before disconnecting power to reduce filesystem corruption. Follow current manufacturer, food-safety, access, wildlife or local guidance wherever it applies.
- Download software from the project’s official source and verify current instructions. Follow current manufacturer, food-safety, access, wildlife or local guidance wherever it applies.
- Use only games you are legally entitled to copy or distribute, including homebrew and authorised releases. Follow current manufacturer, food-safety, access, wildlife or local guidance wherever it applies.
- Route cables to prevent trips and allow heat to leave the case and television cabinet. Follow current manufacturer, food-safety, access, wildlife or local guidance wherever it applies.
Outside help
When outside help earns its place
Official Raspberry Pi tutorials and project forums are normally enough; a makerspace helps only when adding controls, soldering or a cabinet.
Use one complete lesson that covers preparation, the central technique, common mistakes and finishing. For a first retro gaming console building attempt, one coherent method is easier to diagnose than fragments collected from several creators.
Outside help earns its place when safe setup, access, identification or live correction removes a real obstacle. Ask what equipment, materials, access and follow-up support are included before booking.
Representative UK learning options checked 31 August 2026; local prices, access, materials and tutor support vary.
Sources
Where the guidance came from
The method is grounded in specialist, manufacturer and public guidance, then checked against recurring beginner problems and the exact products linked here.
-
01
Raspberry Pi · RetroPie tutorial
Official hardware, image, controller and legal-ROM route.
Open source -
02
Raspberry Pi · Getting started
Current setup, power and imaging guidance.
Open source -
03
RetroPie · Documentation
Project installation, controller and system documentation.
Open source -
04
Raspberry Pi Magazine · Legal ROMs
Homebrew and authorised game-file context.
Open source -
05
Reddit · r/RetroPie
Community evidence on power, controllers, cases and recovery.
Open source -
06
Amazon UK · Raspberry Pi 5 4GB Starter Kit
Exact Amazon UK product page or ISBN used for the recommendation; current price, seller, specification and availability should be confirmed.
Open source -
07
Amazon UK · Raspberry Pi 5 Active Cooler
Exact Amazon UK product page or ISBN used for the recommendation; current price, seller, specification and availability should be confirmed.
Open source -
08
Amazon UK · Ultra 64 GB microSDXC Card
Exact Amazon UK product page or ISBN used for the recommendation; current price, seller, specification and availability should be confirmed.
Open source
Guide information and links checked 31 August 2026.