Beginner’s guide · Make & build
Patch one voice,
before building a wall.
Start with a self-contained solderless synth kit or a protected breadboard oscillator. Learn signal flow, power and grounding before considering a Eurorack case full of modules.
Quick answer
Build one documented low-voltage instrument and map its signal path
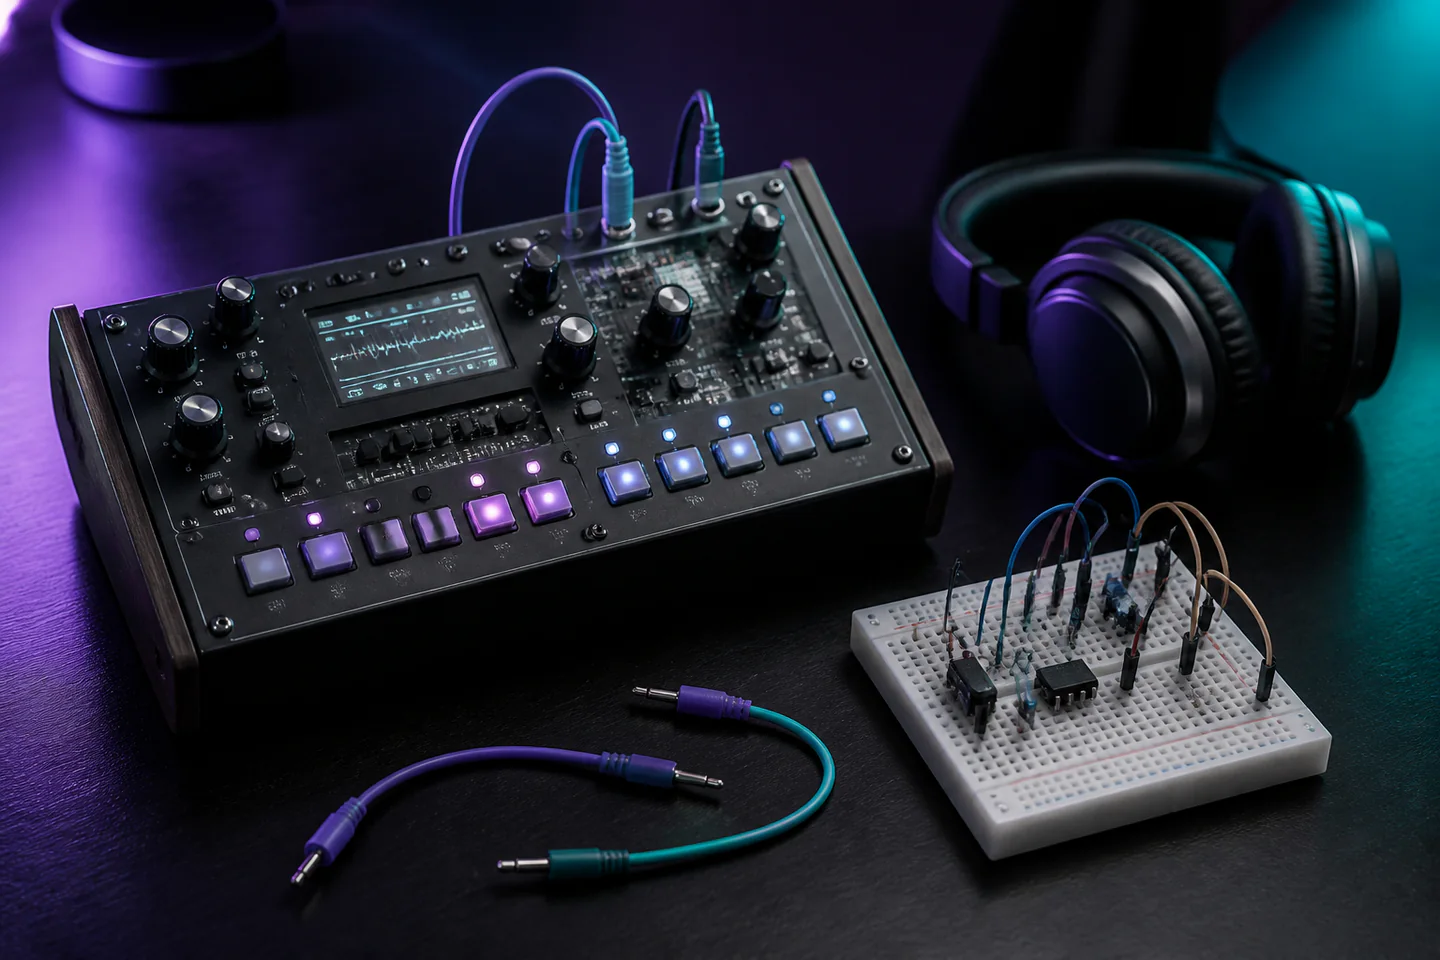
Choose a current solderless kit such as Korg’s NTS-1 mkII, or a documented battery-powered breadboard circuit from a reputable electronics educator. Inventory the parts, protect the work surface and complete only the manufacturer’s assembly. Connect headphones or a suitable powered monitor at low volume, generate one sound and write the route in plain language: oscillator to filter or effect to output. Change one parameter, listen, reset and repeat before adding any modular power system.
- 01
“Modular” describes signal blocks and patching, not a requirement to buy Eurorack immediately.
- 02
Power standards are not interchangeable. Never connect a module, breadboard or cable because the plug merely fits.
- 03
A self-contained solderless kit separates musical discovery from soldering and rack-power mistakes.
- 04
Headphone and line levels can still be unpleasantly loud. Begin at minimum gain and protect hearing.
- 05
Breadboards are for low-voltage documented experiments. Keep them away from mains circuits and verify rails with a multimeter.
What to expect
The hobby combines music, electronics and systems thinking
The first satisfying sound can happen quickly, while reliable instrument building takes patient work with signal levels, power, calibration and mechanical fit.
Signal flow
Audio moves through blocks; control voltage changes a parameter. Mixing those roles without documentation creates confusing results.
Power
Reversed polarity or wrong rails can destroy parts instantly. Mark positive, negative and ground clearly.
Gain
A modular signal can be hotter than consumer line level. Use a suitable output path rather than plugging blindly into equipment.
Tuning
Analogue oscillators can drift with temperature and component tolerance; musical tracking is a later calibration task.
Patching
One cable and one change at a time makes cause and effect audible. Dense patches hide the lesson.
Cost
Cases, power, modules, cables and output control accumulate. A small defined instrument is easier to finish and understand.
Core method
Learn the blocks before choosing a format
Separate assembly from circuit design
For the first result, use a current manufacturer kit whose mechanical steps, power input, audio output and firmware support are documented. If breadboarding, follow one low-voltage educational circuit exactly. Do not combine a synth schematic, random adapter and improvised speaker stage from unrelated sources.
Map input, process and output
Label where sound begins, which blocks transform it and where it leaves at a safe level. On a self-contained instrument, explore oscillator, filter or effects in isolation. On a breadboard, colour-code power and ground rails and photograph each completed stage before moving wires.
Check power before sound
Use the specified supply and connector. With power disconnected, inspect polarity and continuity; when the documented procedure calls for it, measure low-voltage rails with a multimeter before inserting sensitive devices. Begin listening with every level control down and increase slowly.
Patch deliberate experiments
Create a baseline tone and save or note the settings. Change one parameter such as waveform, cutoff, modulation rate or effect depth, then return to baseline. A notebook of ten small experiments teaches more signal flow than a chaotic patch whose success cannot be reproduced.
Useful products
Products with a clear job in the setup
The Arduino Starter Kit is a documented educational route to low-voltage control and sensor experiments rather than a complete modular synth. Preformed jumper wires make breadboard rails legible, and the ATH-M40x headphones provide a known closed-back listening option. A solderless instrument such as the Korg NTS-1 mkII is discussed because it is a strong first assembly route, but no Amazon recommendation is shown until an exact current UK catalogue page is verified.
Arduino Arduino Starter Kit Multi-language
Official exercises develop breadboard, power and control habits that transfer to sequencers and controllers.
ELEGOO Preformed Breadboard Jumper Wire Kit
Short colour-coded links reduce tangled flying leads and make photographs easier to compare with a schematic.
Audio-Technica ATH-M40x Professional Monitor Headphones
They reveal noise, clipping and effect changes and remain useful for music production.
First project
Assemble and map a one-voice desktop synth
The goal is not a song: it is a reproducible signal path and ten understood changes.
- 01
Read the whole assembly guide
Confirm required tools, parts, power, firmware and audio output before opening bags.
- 02
Inventory and assemble
Use the supplied fasteners and avoid overtightening boards or panels.
- 03
Start at minimum level
Connect the specified supply and suitable output, then raise volume slowly.
- 04
Find the dry oscillator
Disable or minimise effects and identify the basic sound source.
- 05
Run ten one-control tests
Change waveform, pitch, filter, envelope or effect separately and write the result.
- 06
Rebuild one sound
Power down correctly, reset and reproduce a favourite setting from the notes.
What can wait
What can wait until the first result
A rack full of modules is an expensive way to postpone learning what each block actually does.
- 01
A large Eurorack case
Case depth, rail current and module choice only become meaningful after signal flow is familiar.
- 02
DIY mains power
Use certified documented supplies; power design can expose lethal voltage and damage costly modules.
- 03
Rare analogue components
Musical experiments do not require obsolete parts or unverified marketplace substitutes.
- 04
A tangle of patch cables
A handful of short labelled cables is enough for a first small system.
- 05
Calibration equipment
Precision tracking and oscilloscope work belong after basic safe assembly and listening.
Upgrade path
Upgrade the repeated limitation
Expand only when the current instrument cannot perform a specific, named musical or technical job.
Self-contained kit
About £80–£180Solderless synth + suitable listening
Learn signal flow and effects.Breadboard experiments
About £60–£180Official electronics kit + meter
Understand control and low-voltage circuits.Small semi-modular setup
About £250–£700One instrument + sequencer or controller
Patch without case-power design.Focused Eurorack voice
About £700–£2,000+Certified powered case + chosen modules + output
Build a format-specific instrument deliberately.Safety & care
Respect power standards and hearing before making noise
The safe boundary is documented low-voltage assembly with suitable outputs. Mains power, unknown adapters and direct hot signals are not beginner experiments.
- Use only manufacturer-specified supplies, polarity, rail voltage and current capacity; unplug before changing wiring or modules.
- Never build or modify a mains power supply without appropriate professional competence, isolation, enclosure and regulatory knowledge.
- Verify breadboard rails and grounds before inserting ICs, keep metal debris away and use eye and fume controls if soldering is later added.
- Route modular or line signals through a suitable output or attenuator before consumer gear; start listening at minimum volume and protect hearing.
- Power down before repatching anything the manufacturer identifies as non-hot-swappable, and protect circuits from static, liquids and mechanical strain.
Outside help
When outside help earns its place
Manufacturer videos and one self-contained kit are enough to begin. A workshop earns its place when it supplies supervised power, test equipment and a clear line between safe low-voltage building and mains work.
Use the current manual and firmware information for the exact instrument.
Ask about voltage, soldering, test gear, take-home hardware and hearing practice.
Representative UK learning options checked 17 August 2026; local prices, access, materials and tutor support vary.
Sources
Where the guidance came from
Manufacturers define assembly, voltage and signal limits; music-technology educators and experienced synth communities add patching, format and long-term buying context.
-
01
Korg UK · Nu:Tekt NTS-1 mkII
Current solderless kit features, assembly route and power context.
Open source -
02
Arduino · Starter Kit
Official board, component and guided-project information.
Open source -
03
Doepfer · A-100 technical details
Established Eurorack voltage, connector and mechanical context.
Open source -
04
Learning Modular
Specialist teaching on signal flow, modulation and system planning.
Open source -
05
Reddit · r/synthdiy
Community evidence on kits, power errors, calibration and troubleshooting.
Open source -
06
Amazon UK · Arduino Starter Kit Multi-language
Exact product catalogue page or ISBN used for the recommendation; current price, seller and availability should be confirmed.
Open source -
07
Amazon UK · Preformed Breadboard Jumper Wire Kit
Exact product catalogue page or ISBN used for the recommendation; current price, seller and availability should be confirmed.
Open source -
08
Amazon UK · ATH-M40x Professional Monitor Headphones
Exact product catalogue page or ISBN used for the recommendation; current price, seller and availability should be confirmed.
Open source
Guide information and links checked 17 August 2026.