Beginner’s guide · Play & perform
Record one source cleanly,
then listen for the room before buying treatment.
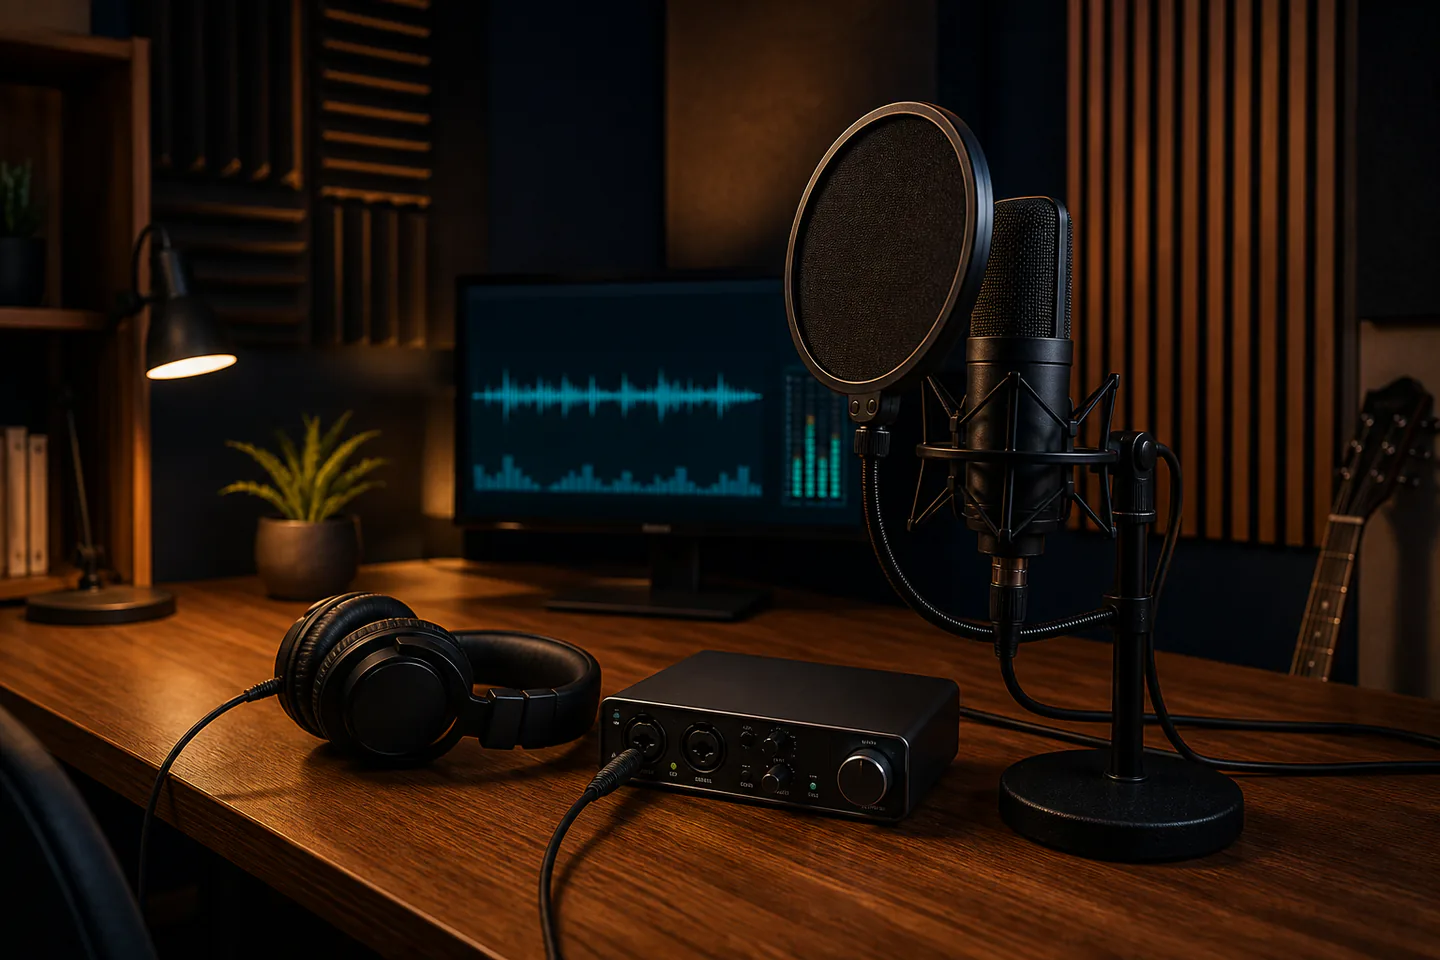
A microphone, simple interface, closed headphones and a short DAW session reveal gain, distance, noise and room sound before a studio shopping list.
Quick answer
Complete one clean one-source recording before expanding the setup
Install one supported DAW, connect a class-compliant or correctly driven interface, plug one appropriate microphone into the named input, place it on a stable stand away from reflections and computer noise, set the project sample rate once, monitor through closed headphones, adjust gain so the loudest rehearsal remains safely below clipping, record room tone and three sixty-second takes, then trim, level and export one file without compression, noise removal or mastering presets.
- 01
Microphone position and room sound change the recording before any plug-in does. Record what happened during home recording so the next attempt changes one known variable instead of several guesses.
- 02
Gain should leave headroom for the loudest real performance, not fill every meter. Record what happened during home recording so the next attempt changes one known variable instead of several guesses.
- 03
Direct monitoring reduces delay, while software monitoring depends on buffer and system stability. Record what happened during home recording so the next attempt changes one known variable instead of several guesses.
- 04
A raw take, room-tone recording and named project folder make later editing and diagnosis possible. Record what happened during home recording so the next attempt changes one known variable instead of several guesses.
What to expect
What home recording is really like at the start
The useful beginner controls are preparation, one bounded task and a record of the result; specialist equipment matters only when it solves a repeated limitation.
Room
Bare walls, traffic, heating and computer fans can dominate a sensitive microphone. Record what happened during home recording so the next attempt changes one known variable instead of several guesses.
Signal
XLR, instrument, line and speaker signals are not interchangeable just because connectors can be adapted. Record what happened during home recording so the next attempt changes one known variable instead of several guesses.
Latency
Round-trip delay can make performance difficult even while the recorded track is in time. Record what happened during home recording so the next attempt changes one known variable instead of several guesses.
Editing
Noise reduction and heavy processing can add artifacts when microphone placement was the real problem. Record what happened during home recording so the next attempt changes one known variable instead of several guesses.
Core method
The core home recording method
Map the signal path
Write source, microphone, cable, interface input, gain, computer, DAW track and headphone output in order. Record what happened during home recording so the next attempt changes one known variable instead of several guesses.
Choose the quietest position
Listen at the intended time, turn off avoidable noise and compare two microphone distances with headphones. Record what happened during home recording so the next attempt changes one known variable instead of several guesses.
Set gain from rehearsal
Ask for the loudest passage, keep clear headroom and confirm no interface or DAW clipping. Record what happened during home recording so the next attempt changes one known variable instead of several guesses.
Record and archive cleanly
Capture room tone and three takes, label them immediately, back up the project and export one unprocessed WAV. Record what happened during home recording so the next attempt changes one known variable instead of several guesses.
Useful products
Products with a clear job in the route
The Scarlett Solo provides the simple input path, the AT2020 supplies a conventional XLR condenser option and the M40x headphones support tracking without speaker spill.
Focusrite Scarlett Solo 4th Gen USB Audio Interface
The simple input layout makes signal flow visible without a larger mixer.
Audio-Technica AT2020 Cardioid Condenser Microphone
Its conventional connection supports learning distance, room sound, gain and monitoring.
Audio-Technica ATH-M40x Professional Monitor Headphones
Closed backs suit tracking and the first editing passes in a shared home.
First project
Record and export one clean sixty-second performance
Use one source and no corrective plug-ins so the room, distance and gain are audible.
- 01
Install and connect once
Use official drivers or class-compliant setup, select the interface in the DAW and create a project folder. Record what happened during home recording so the next attempt changes one known variable instead of several guesses.
- 02
Place the microphone
Use a stable stand, correct side address and two test distances in the quietest furnished part of the room. Record what happened during home recording so the next attempt changes one known variable instead of several guesses.
- 03
Set safe gain
Rehearse the loudest phrase and leave headroom on both interface and DAW meters. Record what happened during home recording so the next attempt changes one known variable instead of several guesses.
- 04
Capture room tone and takes
Record ten seconds of the room and three complete takes without changing the setup. Record what happened during home recording so the next attempt changes one known variable instead of several guesses.
- 05
Choose, trim and export
Select the strongest complete take, add short fades, save the project and export a WAV copy. Record what happened during home recording so the next attempt changes one known variable instead of several guesses.
What can wait
What can wait until the first result
Delay anything that adds cost, risk or another variable before the basic workflow has produced something you can review.
- 01
Studio monitors
Headphones and ordinary-device checks can reveal the workflow before room-dependent speakers. Record what happened during home recording so the next attempt changes one known variable instead of several guesses.
- 02
Acoustic foam bundles
Treatment should address measured reflection or low-frequency problems, not decorate the wall. Record what happened during home recording so the next attempt changes one known variable instead of several guesses.
- 03
Large microphone collections
Positioning one known microphone teaches more than switching models. Record what happened during home recording so the next attempt changes one known variable instead of several guesses.
- 04
Mastering plug-ins
Arrangement and capture problems do not become mastering problems by adding a preset. Record what happened during home recording so the next attempt changes one known variable instead of several guesses.
Upgrade path
Add the capability you can now name
Each stage should remove a demonstrated constraint rather than make the setup look more advanced.
Use what you own
£0–£20Existing equipment and one written plan
Use a phone or existing microphone to learn the DAW.Repeat the first route
About £200–£400 plus computerA complete repeatable starter setup
Build one interface, microphone and headphone signal path.Add one capability
Often £50–£250One selected tool, service or learning resource
Add a second input, room treatment or monitors for a demonstrated limitation.Build specialist depth
Club, course or specialist dependentA documented specialist workflow
Develop multi-mic, mixing and mastering workflows with calibrated monitoring.Safety & care
Protect hearing, data and electrical signal paths
A modest home setup can still produce damaging level, lost sessions or equipment faults.
- Keep headphone and loudspeaker levels conservative, take breaks and stop at ringing, pain or temporary dullness.
- Use stable stands, route cables away from walkways and keep liquids away from mains-powered equipment.
- Enable phantom power only for compatible connected equipment and turn monitoring down before patching.
- Never connect a power-amplifier or speaker output to a microphone or line input.
- Back up sessions to a second location and use only licensed software, samples and performances.
Outside help
When outside help earns its place
A short recording workshop is useful when microphone placement, gain and room sound can be compared live with the same source.
Choose a class that supplies isolated tracks and teaches signal flow before plug-ins.
Use outside help after the first home recording attempt can reveal the exact technique, access or safety problem that needs live correction.
Representative UK learning and access routes checked 1 September 2026; local prices, permissions, equipment and tutor support vary.
Sources
Where the guidance came from
Authoritative and specialist guidance supports the method and safety boundaries; community discussion contributes recurring beginner problems rather than unsupported claims.
-
01
Focusrite · Scarlett Solo user guide
Official connection, gain, direct monitoring and software setup.
Open source -
02
Focusrite · Getting started with recording hardware
Microphone, interface, headphones and room considerations.
Open source -
03
Audio-Technica · AT2020
Manufacturer pickup pattern, connection and handling reference.
Open source -
04
Audacity · Recording
DAW device, level and recording workflow.
Open source -
05
WHO · Safe listening
Hearing-risk and safe-listening principles.
Open source -
06
Reddit · r/audioengineering
Community evidence on room sound, gain, signal types, monitoring and beginner purchases.
Open source -
07
Amazon UK · Scarlett Solo 4th Gen USB Audio Interface
Exact Amazon UK product page or ISBN used for this recommendation; current price, seller, specification and availability should be confirmed.
Open source -
08
Amazon UK · AT2020 Cardioid Condenser Microphone
Exact Amazon UK product page or ISBN used for this recommendation; current price, seller, specification and availability should be confirmed.
Open source -
09
Amazon UK · ATH-M40x Professional Monitor Headphones
Exact Amazon UK product page or ISBN used for this recommendation; current price, seller, specification and availability should be confirmed.
Open source
Guide information and links checked 1 September 2026.