Beginner’s guide · Make & create
Carve one bold block
and proof it often.
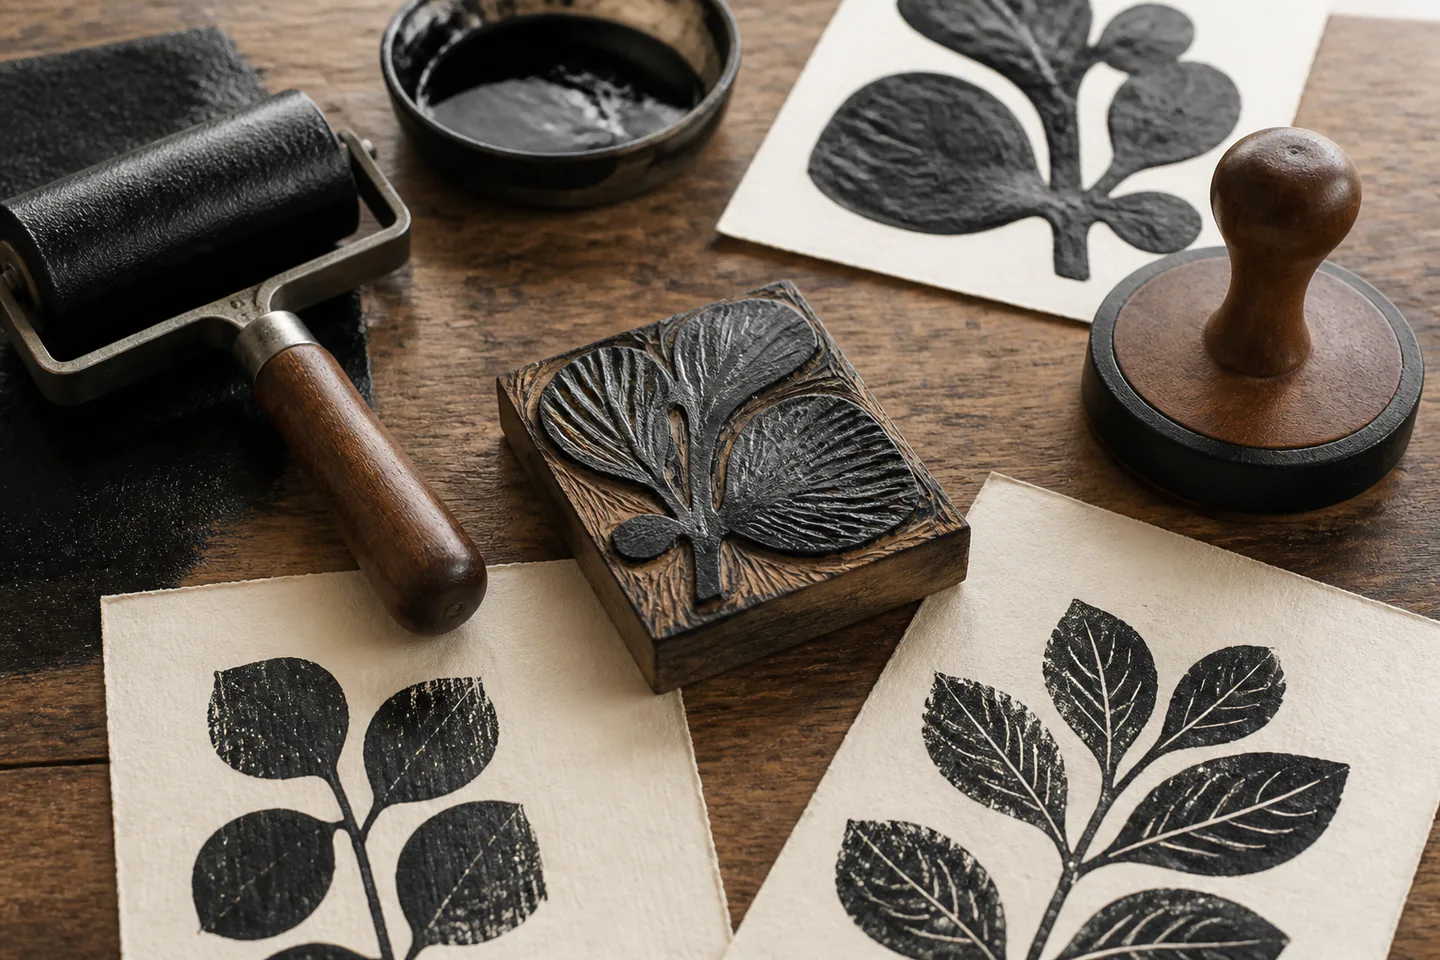
Woodblock printing uses grain-aware carving, a restrained image, thin even ink and repeated proofs to make a clear relief print.
Quick answer
Build one small, controlled result first
Transfer a bold reversed design to a smooth stable block, carve shallowly with the block held against a stop, proof after each major area and print a small one-colour edition on consistent paper.
- 01
Choose an identifiable printmaking block, simplify the image into black and white shapes and mark every area that must remain raised. Keep the first attempt narrow enough that preparation, the main action and the result can all be reviewed together.
- 02
Keep both hands behind the cutting edge, turn the block to change direction and use shallow cuts that respect grain and tool profile. Keep the first attempt narrow enough that preparation, the main action and the result can all be reviewed together.
- 03
Proof frequently and inspect crushed whites, chatter, missing detail, excess ink and uneven pressure before removing more wood. Keep the first attempt narrow enough that preparation, the main action and the result can all be reviewed together.
- 04
Clean ink with the manufacturer’s method, dry tools immediately and store the finished block flat with a labelled proof. Keep the first attempt narrow enough that preparation, the main action and the result can all be reviewed together.
What to expect
Accuracy comes from the sequence, not the size of the toolkit
Preparation, one controlled variable and an honest inspection matter more than collecting specialist equipment.
The first attempt
A palm-sized motif with broad shapes reveals reversal, carving and ink coverage without demanding fine lettering. For woodblock printing, note what actually happened rather than relying on memory; that turns the next attempt into a controlled change instead of another guess.
The control point
Keep both hands behind the cutting edge, turn the block to change direction and use shallow cuts that respect grain and tool profile. For woodblock printing, note what actually happened rather than relying on memory; that turns the next attempt into a controlled change instead of another guess.
The useful signal
Proof frequently and inspect crushed whites, chatter, missing detail, excess ink and uneven pressure before removing more wood. For woodblock printing, note what actually happened rather than relying on memory; that turns the next attempt into a controlled change instead of another guess.
The common trap
Deep forceful cuts and tiny detail create slips and irreversible losses before the printer can read a proof. For woodblock printing, note what actually happened rather than relying on memory; that turns the next attempt into a controlled change instead of another guess.
Core method
Prepare, make, inspect and reset
Prepare deliberately
Choose an identifiable printmaking block, simplify the image into black and white shapes and mark every area that must remain raised. For woodblock printing, note what actually happened rather than relying on memory; that turns the next attempt into a controlled change instead of another guess.
Control the central variable
Keep both hands behind the cutting edge, turn the block to change direction and use shallow cuts that respect grain and tool profile. For woodblock printing, note what actually happened rather than relying on memory; that turns the next attempt into a controlled change instead of another guess.
Read the result
Proof frequently and inspect crushed whites, chatter, missing detail, excess ink and uneven pressure before removing more wood. For woodblock printing, note what actually happened rather than relying on memory; that turns the next attempt into a controlled change instead of another guess.
Reset before repeating
Clean ink with the manufacturer’s method, dry tools immediately and store the finished block flat with a labelled proof. For woodblock printing, note what actually happened rather than relying on memory; that turns the next attempt into a controlled change instead of another guess.
Useful products
Products with a clear job in the setup
A lino kit provides a lower-resistance practice route; black relief ink and printmaking paper transfer directly to a suitable beginner wood block.
Essdee Essdee Lino Cutting and Printing Kit, 23 Pieces
The same inking discipline transfers to simple woodblock work.
Speedball Water-Soluble Block Printing Ink, Black, 75 ml
Black reveals carving, pressure and registration errors immediately.
Strathmore Strathmore 300 Series Printmaking Pad
Known paper makes pressure and ink-film changes easier to compare.
First project
Print a bold botanical or geometric block
Carve the negative space in stages and let proofs decide whether another cut is needed.
- 01
Set up
Choose an identifiable printmaking block, simplify the image into black and white shapes and mark every area that must remain raised. For woodblock printing, note what actually happened rather than relying on memory; that turns the next attempt into a controlled change instead of another guess.
- 02
Begin the first attempt
A palm-sized motif with broad shapes reveals reversal, carving and ink coverage without demanding fine lettering. For woodblock printing, note what actually happened rather than relying on memory; that turns the next attempt into a controlled change instead of another guess.
- 03
Hold one variable steady
Keep both hands behind the cutting edge, turn the block to change direction and use shallow cuts that respect grain and tool profile. For woodblock printing, note what actually happened rather than relying on memory; that turns the next attempt into a controlled change instead of another guess.
- 04
Inspect the result
Proof frequently and inspect crushed whites, chatter, missing detail, excess ink and uneven pressure before removing more wood. For woodblock printing, note what actually happened rather than relying on memory; that turns the next attempt into a controlled change instead of another guess.
- 05
Reset and record
Clean ink with the manufacturer’s method, dry tools immediately and store the finished block flat with a labelled proof. For woodblock printing, note what actually happened rather than relying on memory; that turns the next attempt into a controlled change instead of another guess.
What can wait
What can wait until the first result
Delay equipment that solves no repeated problem in the first small project.
- 01
A large first setup
Scale multiplies Deep forceful cuts and tiny detail create slips and irreversible losses before the printer can read a proof. before the basic routine is known. For woodblock printing, note what actually happened rather than relying on memory; that turns the next attempt into a controlled change instead of another guess.
- 02
Premium specialist equipment
It should solve a limitation you can describe after several woodblock printing sessions. For woodblock printing, note what actually happened rather than relying on memory; that turns the next attempt into a controlled change instead of another guess.
- 03
Several methods at once
Changing materials and technique together makes the cause of a result hard to see. For woodblock printing, note what actually happened rather than relying on memory; that turns the next attempt into a controlled change instead of another guess.
- 04
Buying for a future version
Finish and review the small route before equipping an imagined advanced practice. For woodblock printing, note what actually happened rather than relying on memory; that turns the next attempt into a controlled change instead of another guess.
Upgrade path
Upgrade the repeated limitation
Add capacity only after the basic process is repeatable.
Try it
About £50–£140Soft practice block and one cutter
Complete one meaningful result and learn the whole sequence.Repeat it
About £50–£140Known wood block, bench stop and brayer
Reduce setup friction and compare several attempts.Improve the bottleneck
£100–£400Baren, registration jig and better paper
Address Deep forceful cuts and tiny detail create slips and irreversible losses before the printer can read a proof. with a targeted change.Go deeper
VariableMulti-block colour and specialist Japanese tools
Add scale, precision or public participation with evidence from practice.Safety & care
A carving cut should never meet the holding hand
Sharp tools are controllable only when the block, body and exit path are planned.
- Hold the block against a bench hook or non-slip stop and keep hands behind every cutting edge. Follow current manufacturer, food-safety, access, wildlife or local guidance wherever it applies.
- Sharpen and maintain tools according to the maker rather than forcing a dull edge. Follow current manufacturer, food-safety, access, wildlife or local guidance wherever it applies.
- Control wood dust and splinters when preparing blocks. Follow current manufacturer, food-safety, access, wildlife or local guidance wherever it applies.
- Read ink and cleanup guidance and ventilate solvent-containing products. Follow current manufacturer, food-safety, access, wildlife or local guidance wherever it applies.
- Store cutters capped or boxed and keep drying prints away from food and flames. Follow current manufacturer, food-safety, access, wildlife or local guidance wherever it applies.
Outside help
When outside help earns its place
A relief-printing class helps with tool grips, ink film and hand pressure; Japanese mokuhanga deserves method-specific instruction.
Use one complete lesson that covers preparation, the central technique, common mistakes and finishing. For a first woodblock printing attempt, one coherent method is easier to diagnose than fragments collected from several creators.
Outside help earns its place when safe setup, access, identification or live correction removes a real obstacle. Ask what equipment, materials, access and follow-up support are included before booking.
Representative UK learning options checked 31 August 2026; local prices, access, materials and tutor support vary.
Sources
Where the guidance came from
The method is grounded in specialist, manufacturer and public guidance, then checked against recurring beginner problems and the exact products linked here.
-
01
V&A · Woodblock printing
Historical woodblock process and object context.
Open source -
02
The Met · Woodblock printing
Woodblock print history and technique context.
Open source -
03
Speedball · Relief printing
Manufacturer block, cutter and ink guidance.
Open source -
04
Handprinted · Relief printing
UK specialist methods, papers and tools.
Open source -
05
Reddit · r/printmaking
Community evidence on blocks, carving, inking and proofs.
Open source -
06
Amazon UK · Essdee Lino Cutting and Printing Kit, 23 Pieces
Exact Amazon UK product page or ISBN used for the recommendation; current price, seller, specification and availability should be confirmed.
Open source -
07
Amazon UK · Water-Soluble Block Printing Ink, Black, 75 ml
Exact Amazon UK product page or ISBN used for the recommendation; current price, seller, specification and availability should be confirmed.
Open source -
08
Amazon UK · Strathmore 300 Series Printmaking Pad
Exact Amazon UK product page or ISBN used for the recommendation; current price, seller, specification and availability should be confirmed.
Open source
Guide information and links checked 31 August 2026.