Beginner’s guide · Make & build
Build one robot that moves reliably.
Then teach it one new behaviour.
Choose one supported wheeled robot kit, assemble it carefully and test power, motors, sensors and code in separate stages. A dependable straight line is a better first result than every feature enabled.
Quick answer
Choose one supported kit and prove each subsystem
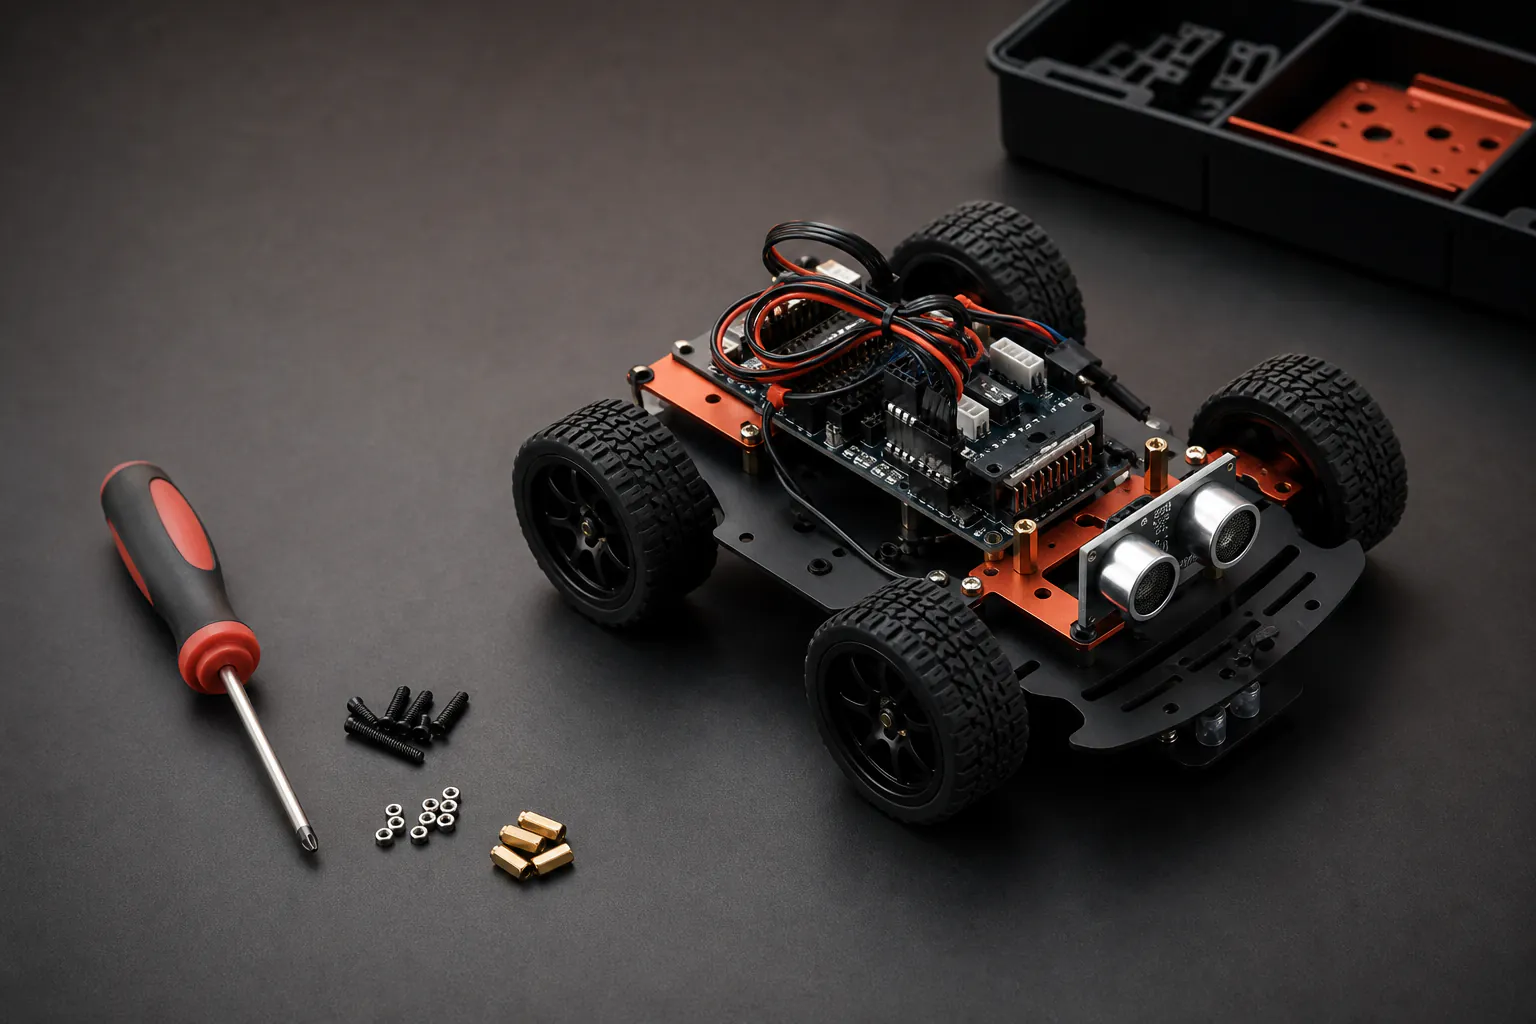
Buy one robot-car kit with a clear manual, controller, chassis, motor driver, sensors and intended battery arrangement. Sort the hardware, assemble the rolling chassis, check polarity and cable routing, then upload the supplied basic movement example. Test forward, reverse and stop before obstacle avoidance, line following, Bluetooth or camera control.
- 01
The listed robots are alternative routes, not a combined shopping list.
- 02
A car that veers may have mechanical friction, wheel fit, motor variation or code timing problems; calibration is part of the hobby.
- 03
Battery chemistry, cell count and polarity must match the kit instructions. Do not improvise a higher-voltage pack.
- 04
Example code is a starting point. Change one value or behaviour and keep the last working version.
What to expect
Robots combine several ordinary problems at once
A loose wheel can look like bad code and a weak battery can look like a faulty sensor. Isolate mechanics, electricity and software before replacing parts.
Assembly
Spacers, motor orientation and cable clearance affect whether the robot rolls freely and survives turns.
Power
Motors create electrical noise and voltage dips. Use the specified cells and charge them with the correct equipment.
Code
Libraries and board selections must match the kit version. Save the supplied example before modifying it.
Sensors
Ultrasonic and line sensors need position and threshold calibration for the actual room, surface and light.
Control
Bluetooth, infrared and Wi-Fi add connection steps. Make autonomous movement reliable before remote control.
Expectation
A kit teaches integration and debugging; it does not arrive as a general-purpose intelligent household robot.
Core method
Assemble, test, calibrate, then extend
Select by documentation rather than feature count
Open the manufacturer manual and download page before buying. Check the controller, supported operating systems, battery requirements and whether example code matches the exact kit revision. A popular supported platform makes replacement screws, libraries and troubleshooting easier to find.
Build a free-rolling chassis
Sort fasteners by size and assemble on a tray. Keep wires away from wheels, gears and sharp board edges. Before installing batteries, turn each wheel by hand and look for binding, reversed motors or a caster that catches. Photograph connectors before cable ties hide them.
Test the motion layer
Use the manufacturer movement example to run one motor at a time, then both. Lift driven wheels clear for the first powered test. Confirm stop, forward and reverse, place the robot on the floor and adjust left-right speed until a short straight route is repeatable.
Add one behaviour with evidence
For line following, record sensor values over black and light surfaces and place a wide course on the floor. For obstacle avoidance, log distance readings and choose a conservative stopping distance. Change one threshold, test several runs and keep notes instead of rewriting the whole program.
Useful products
Three complete robot routes—choose one
The ELEGOO UNO-based car is the broad beginner route with a large community. The KEYESTUDIO kit is a lower-cost 4WD alternative. The SunFounder ESP32-CAM route adds wireless video and is the more complex choice. Buy one complete robot, not several competing platforms.
ELEGOO Smart Robot Car Kit V4.0
It keeps mechanics, electronics and example code within one documented ecosystem.
KEYESTUDIO 4WD Smart Coding Robot Car
It supplies a coherent platform without requiring a separate chassis and controller selection.
SunFounder Smart Robot Car Kit with ESP32-CAM
It provides a clear future-facing upgrade inside one kit instead of an improvised camera add-on.
First project
Make a repeatable out-and-back route
Mark a one-metre lane with tape. The first project is to start, drive the lane, stop, reverse and return without touching a wall.
- 01
Inventory parts
Compare boards, fasteners, motors, cables and battery holder with the manual before assembly.
- 02
Build the chassis
Fit motors and wheels squarely, route wires with slack for steering and verify free movement.
- 03
Install software
Use the exact board selection, driver and library versions documented for the kit revision.
- 04
Test each motor
Lift wheels clear and confirm direction and stop behaviour before a floor test.
- 05
Calibrate straight travel
Adjust left and right speed or timing over several measured runs.
- 06
Add one sensor rule
Stop for an obstacle or follow one broad line; keep the plain movement program as a recovery file.
What can wait
What can wait until the first result
Extra features multiply fault paths. Add them after basic movement is boringly reliable.
- 01
Several robot kits
Each uses different hardware, libraries and documentation. Finish one platform before comparing another.
- 02
Camera streaming
Video adds network setup, latency and power demand. It belongs after chassis and control tests.
- 03
A custom chassis
The kit frame provides known dimensions and mounting points while the integration skills develop.
- 04
Higher-speed motors
More speed increases stopping distance, current demand and collision risk without teaching better control.
- 05
Soldered modifications
Use the supplied connectors first; permanent changes can wait until the circuit and purpose are understood.
Upgrade path
Upgrade the repeated limitation
Add a capability only when the current robot can demonstrate a stable baseline.
Basic movement
About £52–£71One complete car kit
Learn assembly, upload, power and motor control.Calibrated autonomy
Usually includedLine or distance sensor + measured course
Turn raw readings into a repeatable decision.Wireless control
Included on some kitsBluetooth or Wi-Fi + documented app
Learn communication and command handling.Custom behaviour
About £5–£40One compatible sensor or servo
Design a new function rather than replaying every demo.Safety & care
Control power, movement and sharp workbench risks
Small robots move with enough force to catch hair or fingers, and rechargeable cells require the same respect as other battery-powered devices.
- Use only the battery type, cell count, polarity and charger specified for the exact kit.
- Lift wheels clear during the first motor test and keep fingers, hair, fabric and cables away from moving parts.
- Power off before changing connections; do not rest a live circuit board on metal.
- Supervise soldering and cutting, ventilate fumes and use eye protection where the project requires them.
- Keep Wi-Fi or camera robots on a secured network and do not record people without a clear, lawful and respectful reason.
Outside help
When outside help earns its place
A maker group can help with a stubborn mechanical or wiring fault, but the supported manual should be enough for a first kit.
Follow the exact kit revision and complete movement examples before mixing instructions.
Choose one with take-home code, battery safety and time for debugging.
Representative UK prices and free learning routes checked 3 August 2026; local availability, materials and tutor support vary.
Sources
Where the guidance came from
Manufacturer documentation establishes kit-specific assembly and code; Arduino material explains the controller workflow and safe incremental testing.
-
01
ELEGOO · Smart Robot Car Kit V4.0
Official kit contents, features, downloads and version context.
Open source -
02
Arduino · Hardware and learning
Official board, IDE, example and programming documentation.
Open source -
03
Arduino · Alvik robotics platform
Official educational robot documentation showing subsystem and sensor concepts.
Open source -
04
SunFounder · Robot car documentation
Manufacturer project documentation and software support for its robot kits.
Open source -
05
Amazon UK · ELEGOO Smart Robot Car Kit V4.0
Exact product page, model or ISBN, observed price and availability checked for this guide.
Open source -
06
Amazon UK · KEYESTUDIO 4WD Smart Coding Robot Car
Exact product page, model or ISBN, observed price and availability checked for this guide.
Open source -
07
Amazon UK · SunFounder ESP32-CAM Robot Car Kit
Exact product page, model or ISBN, observed price and availability checked for this guide.
Open source
Guide information and links checked 3 August 2026.