Beginner’s guide · Make & create
Melt a small pool,
press once and wait.
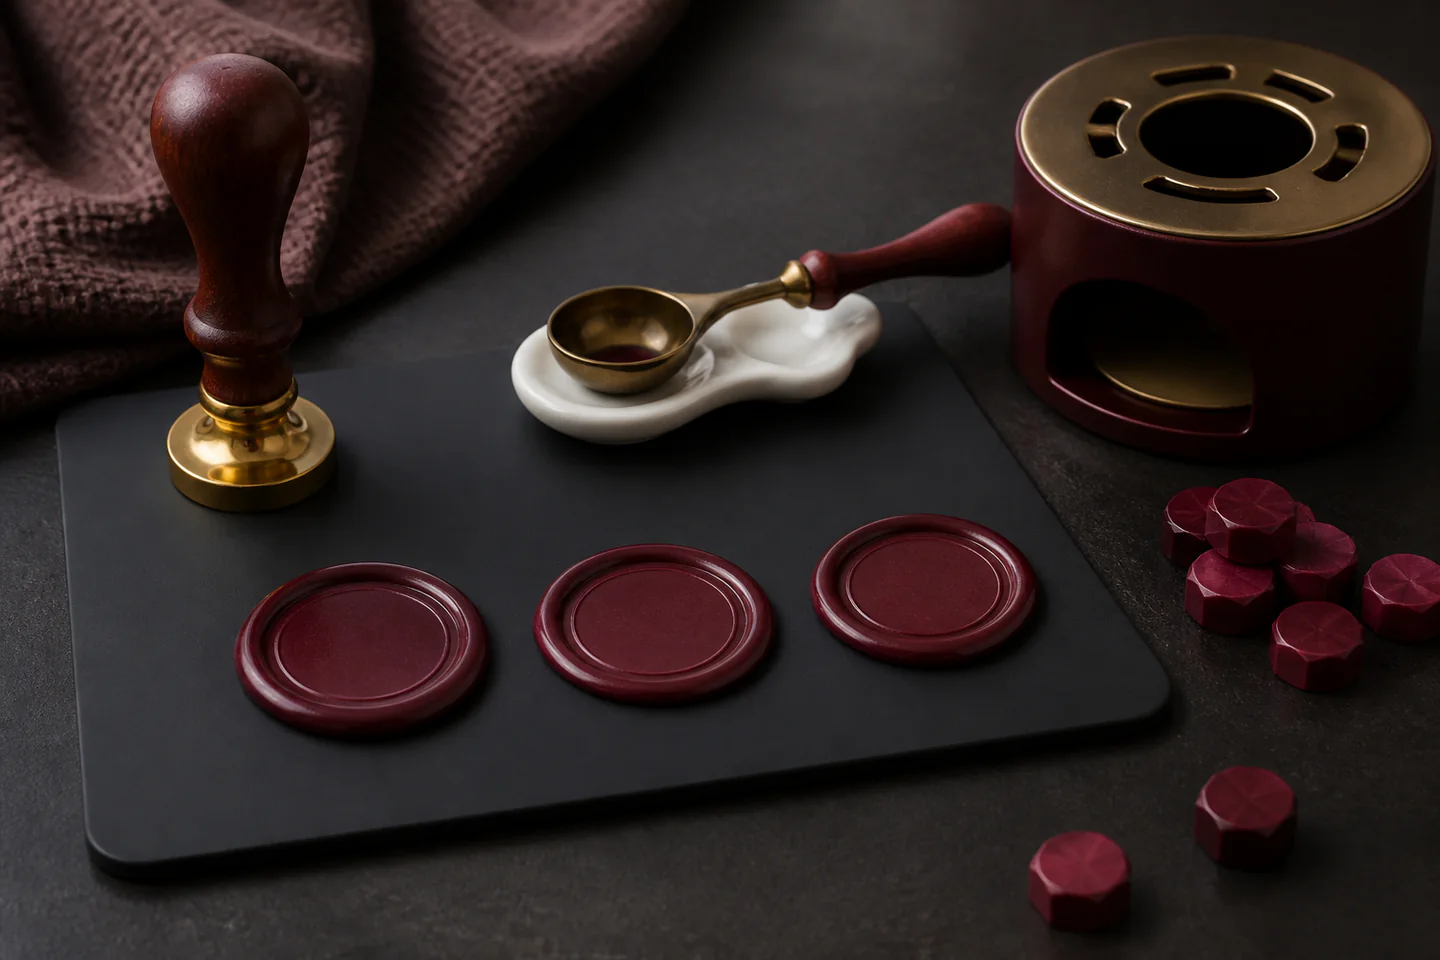
Begin by making detachable seals on a silicone mat. Controlled wax quantity, a level stamp and full cooling produce cleaner results than a large collection of colours.
Quick answer
Practise six seals on silicone before touching an envelope
Set an approved wax warmer or spoon on a stable heat-resistant surface, clear loose paper and read the kit’s heat instructions. Count the same small number of beads for every attempt, melt only until fluid and pour one compact pool onto a clean silicone mat. Lower the cool, dry stamp vertically without rocking, hold it still and wait until the wax is fully set before lifting straight up. Compare the six results, then attach the best detachable seal with suitable adhesive rather than risking the finished invitation.
- 01
Use sealing wax intended for the chosen warmer or glue gun. Candle wax is formulated differently and often breaks, smokes or records poorly.
- 02
Consistency comes from counting or weighing wax, not guessing the size of a puddle.
- 03
The stamp face should be cool, clean and dry. A slightly chilled stamp can release more cleanly, but condensation must be wiped away.
- 04
Detachable seals separate the hot process from valuable paper and are easier to batch, reject and post.
- 05
Flame, hot metal and molten wax cause burns and fire. Work with adult supervision where relevant and never leave heat unattended.
What to expect
Temperature changes the edge before the design
Wax that is barely melted can pour in ridges; overheated wax spreads thinly, bubbles or discolours. A repeatable bead count and slow pour reveal the useful window.
Wax
Flexible modern sealing wax survives mail better than brittle decorative wax, but formulations and colours still behave differently.
Volume
Too little leaves the design incomplete; too much makes a wide thin rim. Count beads for the stamp diameter.
Pour
A compact circular pool centres more easily than a high wandering stream. Keep the spoon close to the surface.
Stamp
Rocking or pressing repeatedly smears detail. Lower once, let the stamp’s weight work and resist checking early.
Cooling
The impression may look set at the edge while the centre remains soft. Give every test the same waiting time.
Posting
Sorting machinery can crack or detach a direct seal. Use inner envelopes, detachable seals or current postal guidance for important mail.
Core method
Make the hot process repeatable away from finished paper
Prepare the heat zone
Use the warmer, spoon, fuel and clearances specified by the maker on a non-combustible surface. Tie back hair, remove loose sleeves and keep an extinguisher or other appropriate response available for the actual heat source. Place the stamp, mat and cooling area before lighting anything.
Calibrate wax quantity
Start with the kit’s bead recommendation for the stamp diameter. Melt slowly, stirring only if instructed and avoiding smoke. Pour one compact circle on silicone, then note whether the finished edge is too narrow, balanced or excessively wide before changing the count by one bead.
Press vertically
Clean and dry the stamp face. Position it above the centre, lower straight down and do not twist. Let the head rest under its own weight for a consistent time. Lift vertically only when the wax has cooled and release resistance has reduced.
Batch and attach
Make detachable seals one at a time, allowing tools to cool and keeping failed wax separate if remelting is supported. Match finished seals by size and colour, then attach with a suitable adhesive dot or backing. Test one complete envelope through the intended handling route before committing important stationery.
Useful products
Products with a clear job in the setup
The CHUHUAYUAN set contains the warmer, beads and stamp needed to test the full process, although the very large assortment should be sorted and inspected rather than treated as a quality guarantee. A thick silicone pastry mat creates a generous detachable-seal area. The small precision scale is optional but useful when repeatability matters more than counting mixed-size beads.
CHUHUAYUAN Wax Seal Stamp Kit with Warmer and 24 Colours
It provides the core process in one box and enough colours to discover preferences without separate orders.
Generic Thick Silicone Pastry Mat with Measurements, 40 × 50 cm
The generous area separates hot wax from the table and allows several seals to cool without crowding.
ACCUWEIGHT 300 g × 0.01 g Precision Scale
Weight makes experimental colour blends and remelted offcuts more repeatable than visual guessing.
First project
Make a six-seal calibration strip
Repeating one colour and one stamp makes quantity, heat and cooling visible without blaming the design.
- 01
Clear the heat zone
Remove paper clutter and place the warmer, tool rest, mat and cooling space.
- 02
Count equal portions
Use the same bead number for the first three seals and record it.
- 03
Melt without smoking
Stop heating once the wax flows smoothly and follow the warmer instructions.
- 04
Pour one compact pool
Keep the spoon low and aim for a circle slightly wider than the design.
- 05
Lower and wait
Press vertically, use the same cooling time and lift without twisting.
- 06
Adjust one variable
Change only wax amount, melt time or stamp temperature for the next three.
What can wait
What can wait until the first result
A clear, centred impression is the reusable skill. More stamp heads and metallic pigments only add variables.
- 01
Personalised brass stamp
Confirm that the basic diameter and impression depth suit the intended paper first.
- 02
A hundred wax colours
Formulations and melting behaviour vary; learn one flexible wax before blending.
- 03
Direct seals on invitations
Practise detachable seals and test postage before risking finished stationery.
- 04
Open-flame batch production
Repeated heating increases burn, fire and fume exposure; reassess equipment and ventilation.
- 05
Remelting every offcut
Mixed colours, dust and overheated fragments can produce unpredictable wax.
Upgrade path
Upgrade the repeated limitation
Upgrade the part that repeatedly limits edge shape, speed or postal durability.
Six practice seals
About £20–£55Kit + silicone mat
Learn quantity, heat and release.Stationery batch
About £35–£90Chosen wax, backing dots and cooling plate
Make matching detachable seals.Custom identity
About £55–£160Engraved stamp and tested wax
Create a repeatable personal mark.High-volume work
About £120–£400+Electric warmer or glue-gun wax system
Reduce open flame and improve throughput.Safety & care
Molten wax and hot brass stay dangerous after the pour
The stamp, spoon and warmer retain heat, and the neat appearance can disguise it. Define a hot zone, a cooling zone and a clear end-of-session check.
- Use only the approved heat source, fuel and clearances for the kit; never leave a flame or electric warmer unattended.
- Keep paper, solvents, hair, sleeves, children and pets away from molten wax and hot metal, and know how to respond to the actual fire source.
- Use ventilation and stop if wax smokes or produces unexpected odour; do not overheat unknown wax or pigments.
- Place hot tools on a stable non-combustible rest and allow full cooling before cleaning, changing heads or storage.
- Check current postal guidance and test important mail; a rigid external seal may be damaged by machinery or create handling problems.
Outside help
When outside help earns its place
A documented kit is sufficient for detachable seals. A stationery workshop is useful for custom stamp sizing, marbling, layered impressions and choosing a mail-safe attachment method.
Look for exact wax quantities, heat control and vertical release.
Ask whether wax, stamp use, detachable seals and take-home work are included.
Representative UK learning options checked 18 August 2026; local prices, access, materials and tutor support vary.
Sources
Where the guidance came from
Specialist wax suppliers explain formulation and pressing technique. Postal guidance and active maker communities add the practical evidence about cracking, attachment and real-world handling.
-
01
Spellbinders UK · Wax seal
Specialist introductory equipment and technique guidance.
Open source -
02
LetterSeals · How to use sealing wax
Detailed wax formats, melting and stamping workflow.
Open source -
03
Wax Letter · How to use a wax seal
Current practical guide to clean impressions and attachment.
Open source -
04
Royal Mail · Preparing mail
Current UK posting options and preparation context.
Open source -
05
Reddit · r/WaxSealers
Community evidence on wax, temperatures, mats, release and mail durability.
Open source -
06
Amazon UK · Wax Seal Stamp Kit with Warmer and 24 Colours
Exact product catalogue page or ISBN used for the recommendation; current price, seller, specification and availability should be confirmed.
Open source -
07
Amazon UK · Thick Silicone Pastry Mat with Measurements, 40 × 50 cm
Exact product catalogue page or ISBN used for the recommendation; current price, seller, specification and availability should be confirmed.
Open source -
08
Amazon UK · 300 g × 0.01 g Precision Scale
Exact product catalogue page or ISBN used for the recommendation; current price, seller, specification and availability should be confirmed.
Open source
Guide information and links checked 18 August 2026.