Beginner's guide · Observe & photograph
Move closer slowly.
Focus becomes the subject.
Begin with a stationary coin, leaf or household texture and the closest focusing option already available. Macro magnifies camera movement and shallow depth of field, so light, support and tiny changes in distance matter before a dedicated lens.
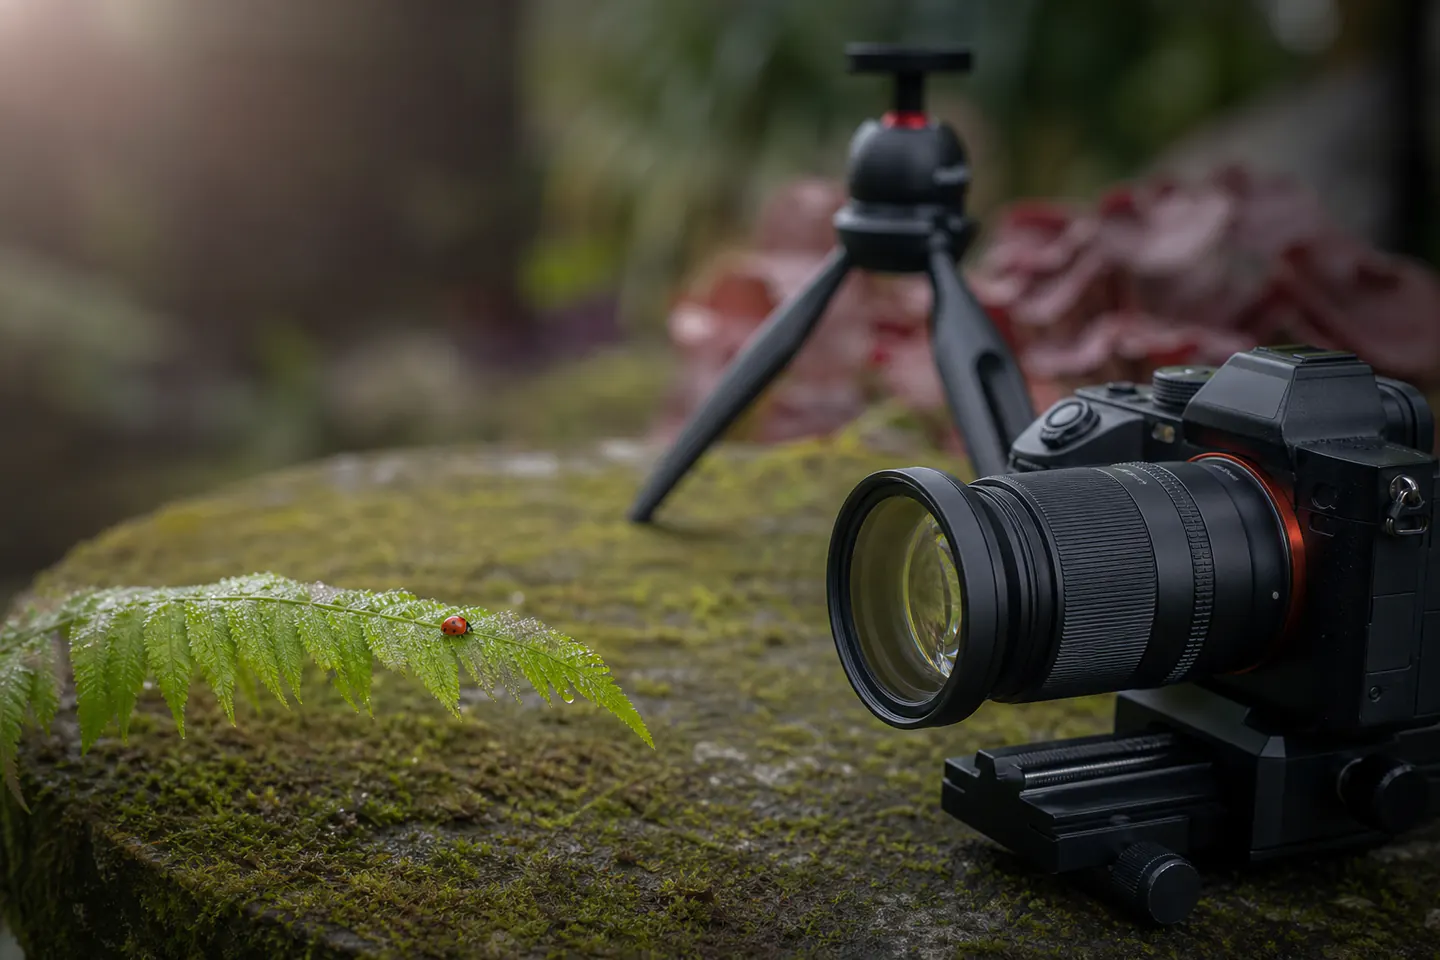
Quick answer
Move closer slowly.
Place a stationary subject beside a bright window, stabilise the camera, select its normal or macro-capable lens and focus as close as the system allows without digital zoom. Set one deliberate focus point, then move the whole camera forwards or backwards by a few millimetres until the important texture is sharp. Compare several apertures or phone focus distances before buying optics.
- 01
Close-up means photographing small details; true 1:1 macro means the subject is projected life-size on the sensor. A useful beginner image does not need to meet the technical ratio.
- 02
Depth of field becomes extremely thin at close distances. A smaller aperture can increase it on a camera, but demands more light or a slower shutter and can eventually soften through diffraction.
- 03
A clip-on close-up lens such as the Raynox changes working distance and magnification. Lens filter diameter, focal length, vignetting and physical clearance must be checked.
- 04
Focus rails make repeatable millimetre movements and stacks easier. They do not stabilise a weak tripod or make a moving insect wait.
What to expect
What the first attempts really involve
Macro reveals every vibration, dust mark and focus error while hiding most of the scene. The craft is deciding which tiny plane must be sharp and controlling the light around it.
Working distance
Some close-up combinations focus only a few centimetres from the subject, leaving little room for light and making living subjects easy to disturb.
Depth of field
At high magnification, an insect's eye may be sharp while its wing is not. That can be intentional rather than a failed image.
Light
Moving closer can block a window or cast the lens's shadow. A white card or diffused lamp may improve the image more than a new lens.
Movement
Camera shake, breeze and subject motion are separate problems. A tripod controls only the camera, while faster shutter and shelter address the others.
Focus stacking
Combining several focus distances can extend sharpness for still subjects, but creates processing work and fails when the subject moves between frames.
Fundamentals
Build the first attempt on reliable fundamentals
Start with an honest close-focus test
Clean the lens, choose a detailed flat subject and move closer until autofocus repeatedly fails, then step back slightly. Record that distance and frame. On a phone, compare the native camera's macro mode, main lens and any optical telephoto; avoid assuming a heavily cropped digital zoom contains new detail.
Choose the important plane
For a coin it may be the raised lettering plane; for a flower, the nearest anther; for a living subject, usually the nearest visible eye. Use single-point focus or manual focus where available, magnify the live view and move the camera rather than spinning the focus ring through an uncertain range.
Build soft directional light
Use a bright window at roughly forty-five degrees and a piece of white card opposite to lift shadow. Keep household lamps and diffusers away from heat-sensitive subjects. A small LED or flash becomes useful when shutter speed must rise, but direct bare light makes reflective surfaces and insect wings harsh.
Separate one-variable experiments
Keep framing and subject fixed while changing only aperture, support or light. Review at full size for actual focus rather than judging the whole frame on a phone screen. Note shutter speed and ISO as aperture closes, because extra apparent depth may arrive with blur or noise.
Useful products
Close-up reach, stable support and precise movement
The Raynox is a proven clip-on route for compatible camera lenses, the Manfrotto PIXI stabilises a light setup and the Neewer rail is a later controlled-movement tool. None is required to photograph a stationary first subject with an existing phone or camera.
Raynox DCR-250 Super Macro Conversion Lens
It is a well-established way to explore higher magnification without buying a dedicated macro lens first.
Manfrotto PIXI Mini Tripod
It makes a six-frame controlled study possible without a full-size tripod.
First study
Make a six-frame focus and light study
Use a coin, feather found lawfully, houseplant leaf or textured fabric that will not move. Keep the same composition and learn from six purposeful variations.
- 01
Prepare the subject
Choose a stable clean object, place it on a simple background and remove distracting dust with a safe method.
- 02
Find the close limit
Move in until focus becomes unreliable, then back away enough to establish one repeatable sharp baseline.
- 03
Stabilise the camera
Use a tripod, beanbag or solid surface, turn off incompatible stabilisation modes and use a timer or remote release.
- 04
Choose one focus plane
Select the most informative texture and magnify live view to confirm it rather than letting the camera choose the nearest edge.
- 05
Make the baseline frame
Use soft side light, expose without clipping highlights and record the settings or phone mode.
- 06
Change only the light
Add a white reflector or move the window angle while leaving focus and framing unchanged.
- 07
Change only depth of field
On a camera, compare two or three apertures with corrected exposure; on a phone, compare focus points or distance.
- 08
Review at full size
Mark which frame has the intended plane, useful texture and cleanest background, then write the one limitation worth addressing next.
Troubleshooting
Read the result before changing the setup
Soft images need cause separation
Check whether the intended plane is misplaced, the whole frame moved or high ISO removed detail. Repeat with a still subject, timer and bright light before blaming the lens.
A dark lens shadow needs geometry changed
Move the light to the side, use a reflector or increase working distance. Do not crowd a living subject with a hot lamp simply to retain magnification.
Vignetting indicates an unsuitable combination
A clip-on lens may show dark corners at short focal lengths or with certain filter arrangements. Zoom only optically where appropriate, change the host lens or accept a deliberate crop after checking real resolution.
A focus stack with halos needs fewer moving variables
Use a rigid subject, manual exposure and white balance, smaller focus increments and stable light. Wind or a living subject may make a single carefully placed focus plane the better choice.
Skip for now
What can wait
The first useful lesson is control at close distance. Specialist gear is valuable only when the existing setup's precise limitation is visible.
- 01
A premium macro lens
It improves optical quality and working distance but cannot choose focus, remove shake or shape light. Rent or try the focal length after close-up habits are established.
- 02
A ring flash
It gives convenient even light but can create flat reflections. Learn window light, a reflector and simple diffusion first.
- 03
Motorised focus stacking
Automation helps repeatable studio stacks, not a first single-frame study. Manual movement shows whether stacking is actually needed.
- 04
Handling live insects
Do not chill, trap or reposition wildlife for a photograph. Work at the subject's pace and leave if behaviour changes.
Upgrade path
What a better setup changes
A better setup changes magnification, working distance, light consistency or movement precision. Choose the one that blocks the intended subject.
Existing close-focus setup
Already ownedPhone or camera + window + white card + stable surface
Teaches focus placement, distance, background and soft light.Clip-on close-up optics
About £70–£85Compatible lens + Raynox DCR-250 + support
Raises magnification at the cost of shorter working range and stricter focusing.Controlled tabletop macro
Add about £30–£100Tripod + diffused light + manual rail
Makes framing and focus increments repeatable for static subjects and stacks.Dedicated macro system
Often £350–£1,000+Macro lens + flash/diffuser + robust support
Improves optical integration and working distance for regular field or studio use.Before upgrading
A useful check before spending more
Name the missed shot
If the subject cannot fill the frame, magnification may help. If the eye is blurred, technique or shutter speed may help. If the lens blocks light, working distance matters. Those are different purchases.
Check compatibility from both sides
For a close-up converter, verify the host lens's filter diameter, focal-length behaviour, minimum focus and physical clearance. A clip that attaches does not guarantee an undarkened usable frame.
Safety
Protect living subjects and stable equipment
Macro work brings glass, tripod legs and light very close to small subjects. Distance and temperature need active attention.
- Do not chill, pin, glue, bait or handle living wildlife for a photograph.
- Back away if an animal changes feeding, courtship, sheltering or escape behaviour.
- Keep hot lamps, flashes and reflectors from overheating plants or animals.
- Stabilise rails and tripods before attaching a camera and stay within every load rating.
- Watch cables, kneeling positions, traffic, water and fragile habitat while concentrating on the view.
- Do not collect protected plants, nests, eggs or living specimens as tabletop subjects.
Classes
When outside help is useful
A workshop is useful for flash diffusion, fieldcraft and focus stacking after the close-focus routine is familiar. The first still-life study works at home without one.
Look for small groups, ethical fieldcraft and time spent on focus and light rather than gear demonstrations.
Useful for rails, controlled lighting and software after single frames are reliably sharp.
Representative UK photography workshop formats checked 30 July 2026; equipment loans and editing time vary.
Sources
Sources and checking notes
Camera-maker guidance establishes focus and aperture behaviour, nature-photography teaching adds field technique and current community questions reveal common budget routes.
-
01
Nikon · Macro photography quickstart
Current beginner guidance on tripod use, manual focus and aperture control.
Open source -
02
Raynox · DCR-250 product information
Manufacturer specifications and attachment information for the close-up converter.
Open source -
03
Nature TTL · Macro photography tutorials
Specialist tutorials covering light, field technique and small-subject photography.
Open source -
04
r/canon · Starting macro on a budget
Current community comparison of close-up filters, extension tubes and dedicated lenses.
Open source -
05
r/canon · Getting into macro photography
Current practitioner discussion of lens choices, flash and working distance.
Open source -
06
Amazon UK · DCR-250 Super Macro Conversion Lens
Exact Raynox product and direct Amazon UK listing checked for current availability, price context and model identity.
Open source -
07
Amazon UK · PIXI Mini Tripod
Exact Manfrotto product and direct Amazon UK listing checked for current availability, price context and model identity.
Open source -
08
Amazon UK · Four-way Macro Focusing Rail
Exact NEEWER product and direct Amazon UK listing checked for current availability, price context and model identity.
Open source
Guide information and links checked 30 July 2026.