Beginner’s guide · Make & create
Make the mechanism visible
before attempting a restoration.
Beginner clockmaking is best learned through a documented kit or movement study where gear train, escapement, power and adjustment can be observed safely.
Quick answer
Build one small, controlled result first
Choose a complete supported clock kit with instructions and replacement parts. Inventory every component, build subassemblies in order, verify free movement without power and make only the adjustment the manual describes.
- 01
Read the complete instructions, identify springs or weights that store energy and arrange parts in order before removing packaging or opening a movement. Keep the first attempt narrow enough that preparation, the main action and the result can all be reviewed together.
- 02
Keep pivots, gears, spacers and fasteners in their documented positions and never add oil or bend a part without explicit movement guidance. Keep the first attempt narrow enough that preparation, the main action and the result can all be reviewed together.
- 03
Test free movement, depthing, beat, escapement action and run duration in the manual’s sequence, recording each adjustment and its effect. Keep the first attempt narrow enough that preparation, the main action and the result can all be reviewed together.
- 04
Let down or isolate stored energy as instructed, cover the mechanism from dust and keep removed parts and notes with the exact movement. Keep the first attempt narrow enough that preparation, the main action and the result can all be reviewed together.
What to expect
Accuracy comes from the sequence, not the size of the toolkit
Preparation, one controlled variable and an honest inspection matter more than collecting specialist equipment.
The first attempt
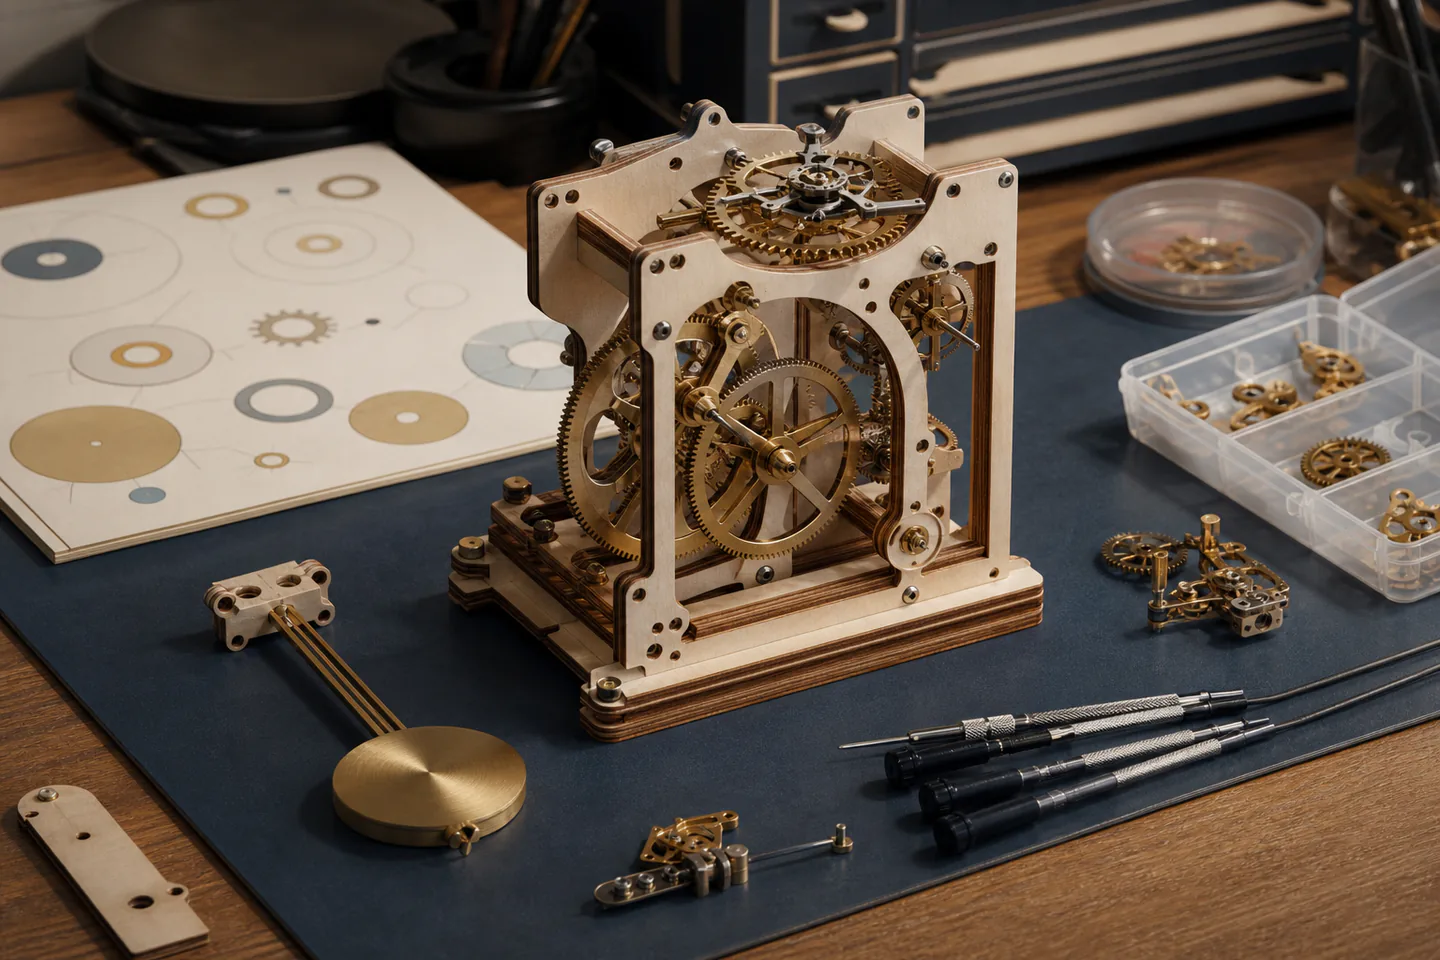
A laser-cut wooden kit can show gear ratios and escapement while avoiding the hidden wear and stored energy of an unknown antique movement. For clockmaking, note what actually happened rather than relying on memory; that turns the next attempt into a controlled change instead of another guess.
The control point
Keep pivots, gears, spacers and fasteners in their documented positions and never add oil or bend a part without explicit movement guidance. For clockmaking, note what actually happened rather than relying on memory; that turns the next attempt into a controlled change instead of another guess.
The useful signal
Test free movement, depthing, beat, escapement action and run duration in the manual’s sequence, recording each adjustment and its effect. For clockmaking, note what actually happened rather than relying on memory; that turns the next attempt into a controlled change instead of another guess.
The common trap
Taking apart a complete clock before understanding power, part order and adjustment can damage the mechanism and create an untraceable box of parts. For clockmaking, note what actually happened rather than relying on memory; that turns the next attempt into a controlled change instead of another guess.
Core method
Prepare, make, inspect and reset
Prepare deliberately
Read the complete instructions, identify springs or weights that store energy and arrange parts in order before removing packaging or opening a movement. For clockmaking, note what actually happened rather than relying on memory; that turns the next attempt into a controlled change instead of another guess.
Control the central variable
Keep pivots, gears, spacers and fasteners in their documented positions and never add oil or bend a part without explicit movement guidance. For clockmaking, note what actually happened rather than relying on memory; that turns the next attempt into a controlled change instead of another guess.
Read the result
Test free movement, depthing, beat, escapement action and run duration in the manual’s sequence, recording each adjustment and its effect. For clockmaking, note what actually happened rather than relying on memory; that turns the next attempt into a controlled change instead of another guess.
Reset before repeating
Let down or isolate stored energy as instructed, cover the mechanism from dust and keep removed parts and notes with the exact movement. For clockmaking, note what actually happened rather than relying on memory; that turns the next attempt into a controlled change instead of another guess.
Useful products
Products with a clear job in the setup
A visible wooden automata kit and a practical reference teach motion and mechanism without representing professional repair tools; precision cutters and trays support only documented kit work.
Timberkits Beam Engine Wooden Automata Kit
It teaches part order, friction and adjustment before a clock escapement.
Robert Race Making Simple Automata
Visible low-energy mechanisms make cause and effect easier to diagnose.
LIHAO 10-Piece Basic Model Building Tool Set
It covers the repetitive hand work shared by models and miniatures.
First project
Assemble and diagnose a visible mechanism kit
Prove free movement and understand the power path before expecting accurate timekeeping.
- 01
Set up
Read the complete instructions, identify springs or weights that store energy and arrange parts in order before removing packaging or opening a movement. For clockmaking, note what actually happened rather than relying on memory; that turns the next attempt into a controlled change instead of another guess.
- 02
Begin the first attempt
A laser-cut wooden kit can show gear ratios and escapement while avoiding the hidden wear and stored energy of an unknown antique movement. For clockmaking, note what actually happened rather than relying on memory; that turns the next attempt into a controlled change instead of another guess.
- 03
Hold one variable steady
Keep pivots, gears, spacers and fasteners in their documented positions and never add oil or bend a part without explicit movement guidance. For clockmaking, note what actually happened rather than relying on memory; that turns the next attempt into a controlled change instead of another guess.
- 04
Inspect the result
Test free movement, depthing, beat, escapement action and run duration in the manual’s sequence, recording each adjustment and its effect. For clockmaking, note what actually happened rather than relying on memory; that turns the next attempt into a controlled change instead of another guess.
- 05
Reset and record
Let down or isolate stored energy as instructed, cover the mechanism from dust and keep removed parts and notes with the exact movement. For clockmaking, note what actually happened rather than relying on memory; that turns the next attempt into a controlled change instead of another guess.
What can wait
What can wait until the first result
Delay equipment that solves no repeated problem in the first small project.
- 01
A large first setup
Scale multiplies Taking apart a complete clock before understanding power, part order and adjustment can damage the mechanism and create an untraceable box of parts. before the basic routine is known. For clockmaking, note what actually happened rather than relying on memory; that turns the next attempt into a controlled change instead of another guess.
- 02
Premium specialist equipment
It should solve a limitation you can describe after several clockmaking sessions. For clockmaking, note what actually happened rather than relying on memory; that turns the next attempt into a controlled change instead of another guess.
- 03
Several methods at once
Changing materials and technique together makes the cause of a result hard to see. For clockmaking, note what actually happened rather than relying on memory; that turns the next attempt into a controlled change instead of another guess.
- 04
Buying for a future version
Finish and review the small route before equipping an imagined advanced practice. For clockmaking, note what actually happened rather than relying on memory; that turns the next attempt into a controlled change instead of another guess.
Upgrade path
Upgrade the repeated limitation
Add capacity only after the basic process is repeatable.
Try it
About £60–£250 for a kit routeVisible wooden mechanism kit
Complete one meaningful result and learn the whole sequence.Repeat it
About £60–£250 for a kit routeSupported clock kit and parts trays
Reduce setup friction and compare several attempts.Improve the bottleneck
£300–£1,500+Supervised servicing exercises
Address Taking apart a complete clock before understanding power, part order and adjustment can damage the mechanism and create an untraceable box of parts. with a targeted change.Go deeper
VariableBHI training and specialist bench tools
Add scale, precision or public participation with evidence from practice.Safety & care
Stored energy and heritage value change the risk
Mainsprings, weights and valuable movements should not become unsupervised beginner experiments.
- Do not dismantle a wound spring barrel or weight-driven movement without competent instruction. Follow current manufacturer, food-safety, access, wildlife or local guidance wherever it applies.
- Secure weights and pendulums before moving a clock and protect feet and furniture below. Follow current manufacturer, food-safety, access, wildlife or local guidance wherever it applies.
- Use eye protection where springs, clips or brittle parts may release. Follow current manufacturer, food-safety, access, wildlife or local guidance wherever it applies.
- Do not clean, polish or replace parts on a valuable or historically important clock before specialist assessment. Follow current manufacturer, food-safety, access, wildlife or local guidance wherever it applies.
- Keep lubricants labelled and use only the type and quantity specified for the movement. Follow current manufacturer, food-safety, access, wildlife or local guidance wherever it applies.
Outside help
When outside help earns its place
The British Horological Institute is the appropriate next step when the aim changes from assembling a kit to servicing real clocks.
Use one complete lesson that covers preparation, the central technique, common mistakes and finishing. For a first clockmaking attempt, one coherent method is easier to diagnose than fragments collected from several creators.
Outside help earns its place when safe setup, access, identification or live correction removes a real obstacle. Ask what equipment, materials, access and follow-up support are included before booking.
Representative UK learning options checked 31 August 2026; local prices, access, materials and tutor support vary.
Sources
Where the guidance came from
The method is grounded in specialist, manufacturer and public guidance, then checked against recurring beginner problems and the exact products linked here.
-
01
British Horological Institute · Getting started
UK courses and structured horology route.
Open source -
02
Worshipful Company of Clockmakers · Training
UK horological training context.
Open source -
03
Antiquarian Horological Society
Historical clocks, research and conservation context.
Open source -
04
Timberkits · Technical help
Manufacturer assembly and mechanism support.
Open source -
05
Reddit · r/clockrepair
Community evidence on kits, tools, stored energy and repair limits.
Open source -
06
Amazon UK · Beam Engine Wooden Automata Kit
Exact Amazon UK product page or ISBN used for the recommendation; current price, seller, specification and availability should be confirmed.
Open source -
07
Amazon UK · Making Simple Automata
Exact Amazon UK product page or ISBN used for the recommendation; current price, seller, specification and availability should be confirmed.
Open source -
08
Amazon UK · 10-Piece Basic Model Building Tool Set
Exact Amazon UK product page or ISBN used for the recommendation; current price, seller, specification and availability should be confirmed.
Open source
Guide information and links checked 31 August 2026.