Beginner’s guide · Make & create
Fuse one compatible tile
in a documented kiln cycle.
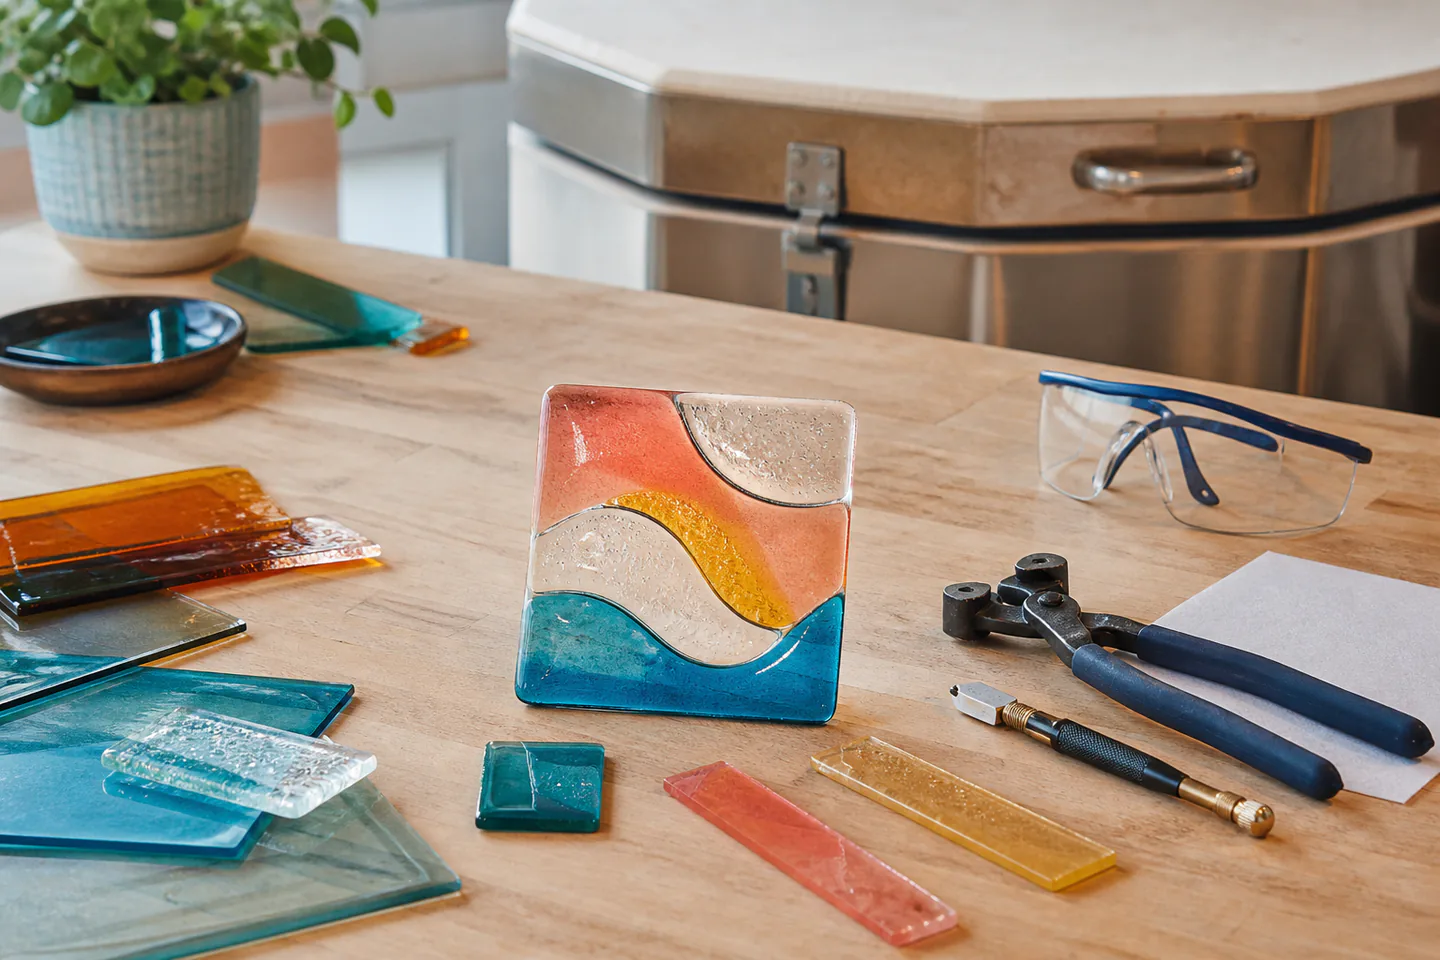
Glass fusing combines tested compatible glass, clean assembly, kiln furniture and a manufacturer-led firing schedule inside a supervised studio.
Quick answer
Build one small, controlled result first
Book a beginner studio session that supplies one tested glass system and an appropriate kiln. Cut or select a few simple shapes, clean and assemble them on the specified separator, then let the studio run and log the complete firing and annealing schedule.
- 01
Use only glass whose manufacturer, family and compatibility are positively identified, and confirm the kiln, shelf separator and firing schedule before cutting. Keep the first attempt narrow enough that preparation, the main action and the result can all be reviewed together.
- 02
Keep layers, overlaps, edge clearance and cleanliness within the chosen system’s documented project limits. Keep the first attempt narrow enough that preparation, the main action and the result can all be reviewed together.
- 03
After full cooling, inspect shape spread, bubbles, sharp edges, devitrification, thermal cracks and the relationship between schedule and result. Keep the first attempt narrow enough that preparation, the main action and the result can all be reviewed together.
- 04
Clean the cold kiln and shelf using the studio process, contain glass fragments and label every remaining piece by compatible system. Keep the first attempt narrow enough that preparation, the main action and the result can all be reviewed together.
What to expect
Accuracy comes from the sequence, not the size of the toolkit
Preparation, one controlled variable and an honest inspection matter more than collecting specialist equipment.
The first attempt
A small coaster-sized tile teaches compatibility, edge behaviour and firing record without the stress and uneven mass of a bowl or thick casting. For glass fusing, note what actually happened rather than relying on memory; that turns the next attempt into a controlled change instead of another guess.
The control point
Keep layers, overlaps, edge clearance and cleanliness within the chosen system’s documented project limits. For glass fusing, note what actually happened rather than relying on memory; that turns the next attempt into a controlled change instead of another guess.
The useful signal
After full cooling, inspect shape spread, bubbles, sharp edges, devitrification, thermal cracks and the relationship between schedule and result. For glass fusing, note what actually happened rather than relying on memory; that turns the next attempt into a controlled change instead of another guess.
The common trap
Mixing unknown glass or changing the firing schedule by guesswork can create stress that is invisible until the piece cracks later. For glass fusing, note what actually happened rather than relying on memory; that turns the next attempt into a controlled change instead of another guess.
Core method
Prepare, make, inspect and reset
Prepare deliberately
Use only glass whose manufacturer, family and compatibility are positively identified, and confirm the kiln, shelf separator and firing schedule before cutting. For glass fusing, note what actually happened rather than relying on memory; that turns the next attempt into a controlled change instead of another guess.
Control the central variable
Keep layers, overlaps, edge clearance and cleanliness within the chosen system’s documented project limits. For glass fusing, note what actually happened rather than relying on memory; that turns the next attempt into a controlled change instead of another guess.
Read the result
After full cooling, inspect shape spread, bubbles, sharp edges, devitrification, thermal cracks and the relationship between schedule and result. For glass fusing, note what actually happened rather than relying on memory; that turns the next attempt into a controlled change instead of another guess.
Reset before repeating
Clean the cold kiln and shelf using the studio process, contain glass fragments and label every remaining piece by compatible system. For glass fusing, note what actually happened rather than relying on memory; that turns the next attempt into a controlled change instead of another guess.
Useful products
Products with a clear job in the setup
These products support cutting and eye protection but do not substitute for compatible fusing glass, kiln furniture, ventilation or a supervised firing service.
QEP Glass Tile Nipper 32010
It may help with irregular pieces after basic scoring and breaking are taught.
3M SecureFit 200 Safety Glasses
Comfortable glasses are easier to keep on for every cut and cleanup.
Olfa AK-1 Art and Model Knife
A sharp controllable blade makes repeated light passes cleaner than force.
First project
Fuse a small two-layer sampler tile
Use a studio-approved glass palette and record the exact schedule rather than aiming first for a functional dish.
- 01
Set up
Use only glass whose manufacturer, family and compatibility are positively identified, and confirm the kiln, shelf separator and firing schedule before cutting. For glass fusing, note what actually happened rather than relying on memory; that turns the next attempt into a controlled change instead of another guess.
- 02
Begin the first attempt
A small coaster-sized tile teaches compatibility, edge behaviour and firing record without the stress and uneven mass of a bowl or thick casting. For glass fusing, note what actually happened rather than relying on memory; that turns the next attempt into a controlled change instead of another guess.
- 03
Hold one variable steady
Keep layers, overlaps, edge clearance and cleanliness within the chosen system’s documented project limits. For glass fusing, note what actually happened rather than relying on memory; that turns the next attempt into a controlled change instead of another guess.
- 04
Inspect the result
After full cooling, inspect shape spread, bubbles, sharp edges, devitrification, thermal cracks and the relationship between schedule and result. For glass fusing, note what actually happened rather than relying on memory; that turns the next attempt into a controlled change instead of another guess.
- 05
Reset and record
Clean the cold kiln and shelf using the studio process, contain glass fragments and label every remaining piece by compatible system. For glass fusing, note what actually happened rather than relying on memory; that turns the next attempt into a controlled change instead of another guess.
What can wait
What can wait until the first result
Delay equipment that solves no repeated problem in the first small project.
- 01
A large first setup
Scale multiplies Mixing unknown glass or changing the firing schedule by guesswork can create stress that is invisible until the piece cracks later. before the basic routine is known. For glass fusing, note what actually happened rather than relying on memory; that turns the next attempt into a controlled change instead of another guess.
- 02
Premium specialist equipment
It should solve a limitation you can describe after several glass fusing sessions. For glass fusing, note what actually happened rather than relying on memory; that turns the next attempt into a controlled change instead of another guess.
- 03
Several methods at once
Changing materials and technique together makes the cause of a result hard to see. For glass fusing, note what actually happened rather than relying on memory; that turns the next attempt into a controlled change instead of another guess.
- 04
Buying for a future version
Finish and review the small route before equipping an imagined advanced practice. For glass fusing, note what actually happened rather than relying on memory; that turns the next attempt into a controlled change instead of another guess.
Upgrade path
Upgrade the repeated limitation
Add capacity only after the basic process is repeatable.
Try it
About £45–£120 for a class; kilns cost far moreOne supervised studio session
Complete one meaningful result and learn the whole sequence.Repeat it
About £45–£120 for a class; kilns cost far moreKnown compatible glass and firing log
Reduce setup friction and compare several attempts.Improve the bottleneck
£500–£3,000+Tack fuse, slumping and coldworking access
Address Mixing unknown glass or changing the firing schedule by guesswork can create stress that is invisible until the piece cracks later. with a targeted change.Go deeper
VariableKiln ownership only with ventilation and training
Add scale, precision or public participation with evidence from practice.Safety & care
Compatibility and annealing are non-negotiable
A kiln is not a domestic oven, and a visually successful fuse may still hold dangerous stress.
- Wear suitable eye protection for cutting and clean fragments with methods that do not spread sharp dust. Follow current manufacturer, food-safety, access, wildlife or local guidance wherever it applies.
- Use only positively identified compatible glass and keep systems separated and labelled. Follow current manufacturer, food-safety, access, wildlife or local guidance wherever it applies.
- Follow kiln clearances, ventilation, electrical supply and controller instructions exactly. Follow current manufacturer, food-safety, access, wildlife or local guidance wherever it applies.
- Do not open a hot kiln or shorten the annealing and cooling schedule to see the result early. Follow current manufacturer, food-safety, access, wildlife or local guidance wherever it applies.
- Coldwork sharp edges with appropriate wet methods, guards and respiratory controls. Follow current manufacturer, food-safety, access, wildlife or local guidance wherever it applies.
Outside help
When outside help earns its place
A specialist warm-glass studio is the correct first route because it controls glass compatibility, kiln loading, ventilation and annealing.
Use one complete lesson that covers preparation, the central technique, common mistakes and finishing. For a first glass fusing attempt, one coherent method is easier to diagnose than fragments collected from several creators.
Outside help earns its place when safe setup, access, identification or live correction removes a real obstacle. Ask what equipment, materials, access and follow-up support are included before booking.
Representative UK learning options checked 31 August 2026; local prices, access, materials and tutor support vary.
Sources
Where the guidance came from
The method is grounded in specialist, manufacturer and public guidance, then checked against recurring beginner problems and the exact products linked here.
-
01
Bullseye Glass · Education
Compatible glass, kilnforming and firing education.
Open source -
02
Bullseye Glass · TechNotes
Technical firing, annealing and material guidance.
Open source -
03
Warm Glass UK · Learning
UK kilnforming materials, studios and learning context.
Open source -
04
Health and Safety Executive · Glass and glazing
UK glass-work health and safety context.
Open source -
05
Reddit · r/glassfusing
Community evidence on compatibility, schedules, kilns and coldworking.
Open source -
06
Amazon UK · Glass Tile Nipper 32010
Exact Amazon UK product page or ISBN used for the recommendation; current price, seller, specification and availability should be confirmed.
Open source -
07
Amazon UK · SecureFit 200 Safety Glasses
Exact Amazon UK product page or ISBN used for the recommendation; current price, seller, specification and availability should be confirmed.
Open source -
08
Amazon UK · AK-1 Art and Model Knife
Exact Amazon UK product page or ISBN used for the recommendation; current price, seller, specification and availability should be confirmed.
Open source
Guide information and links checked 31 August 2026.