Beginner’s guide · Make & create
Shape a small form from loose wool.
Keep the needle vertical and the project simple.
Start with a firm foam or brush mat, a few barbed needles and wool for one palm-sized shape. Build density gradually and keep fingers out of the needle path.
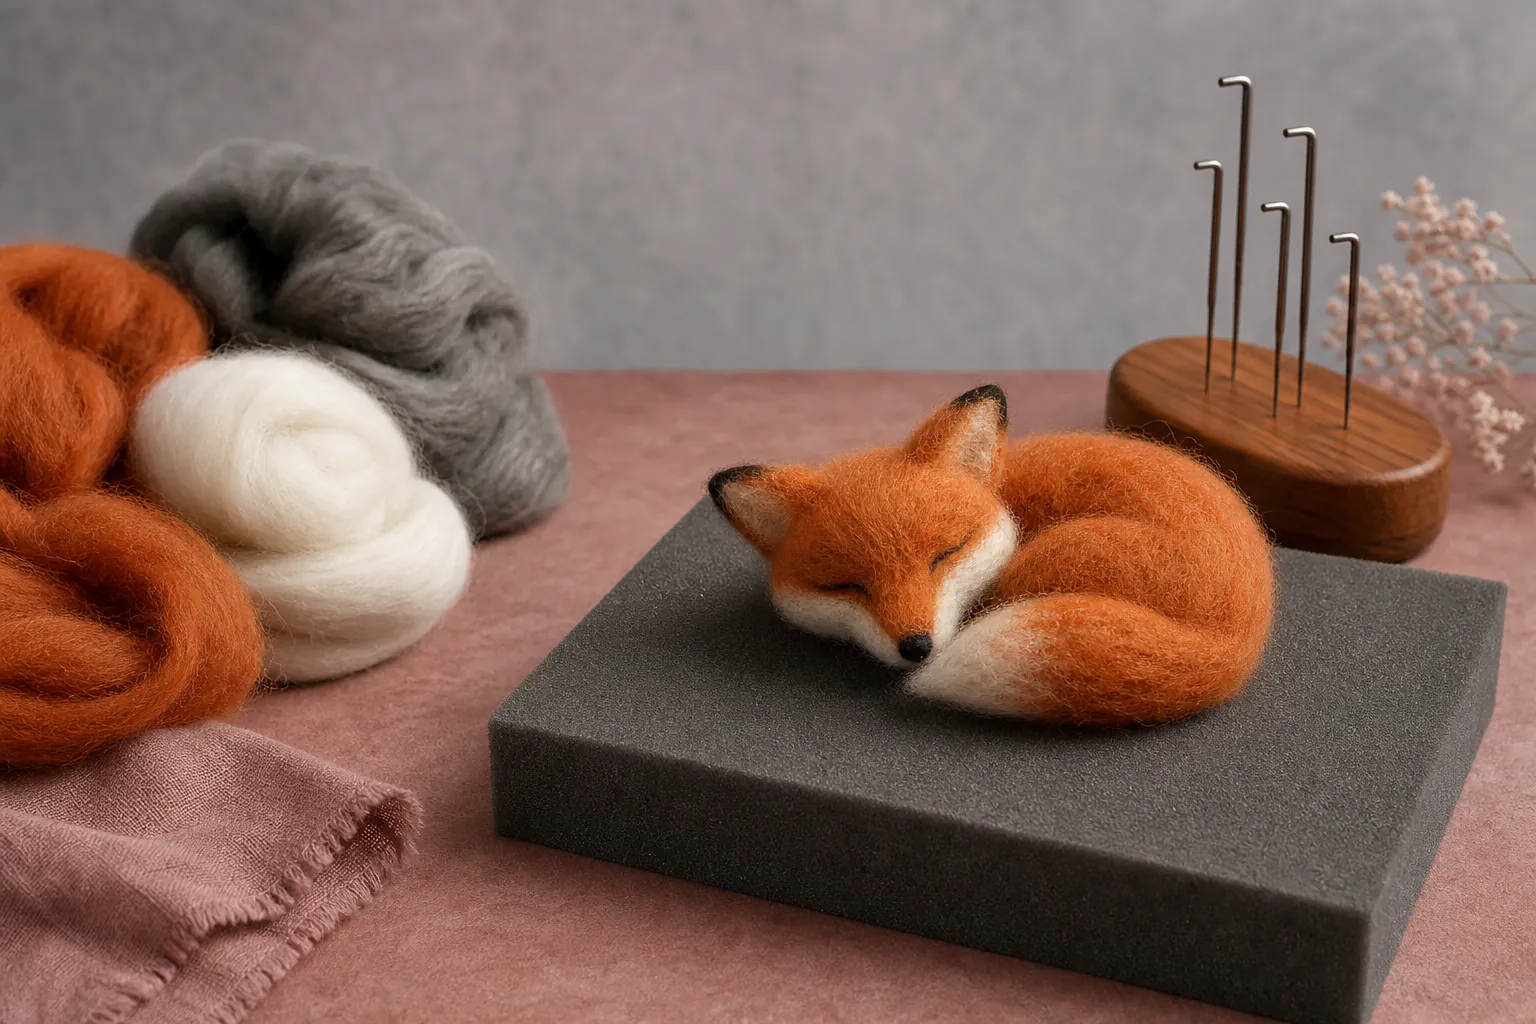
Quick answer
Felt one rounded form before adding tiny details
Use a beginner kit with wool, several gauges of barbed felting needle and a dense foam or brush mat. Roll a small core of wool, place it on the mat and stab straight in and straight out, rotating the form frequently. Add thin wisps rather than large lumps, firm the shape from all sides and attach simple ears or patches only after the body holds together.
- 01
Felting needles are not ordinary sewing needles: their barbs entangle fibres and their thin shafts snap under sideways pressure.
- 02
The needle travels through the wool into the mat. Fingers must stay beside or behind the working path, never under the form.
- 03
Wool shrinks and firms as it is worked. Begin with more loose fibre than the final volume suggests.
- 04
A multi-needle holder speeds broad areas but causes several punctures at once and is not the first tool for small details.
What to expect
The transformation is gradual and repetitive
A clean finished surface can take thousands of controlled pokes. Early work looks fuzzy and asymmetrical before density becomes even.
Core
A loose centre collapses when details are added. Build a firm basic volume before decorating.
Needles
Coarser gauges build shape quickly; finer needles refine the surface. Kit labelling may vary by supplier.
Angle
Bending or twisting while embedded snaps the needle. Enter and leave along the same straight line.
Wool
Carded batts build three-dimensional forms easily; smooth combed tops may need more preparation.
Attachment
Leave loose fibres on ears, limbs or patches so they can be felted into the body.
Finish
A perfectly hairless surface is not required. Stop before repeated needling makes the form overly hard or damaged.
Core method
Build volume safely from the centre outward
Set a controlled needle station
Sit at a stable table with bright light. Put the mat directly below the work and keep unused needles in a labelled tube or holder. Count needles before and after the session. Use finger guards while learning, but treat them as backup rather than permission to stab toward the hand.
Create and firm the core
Tear or pull wool rather than cutting a blunt edge, roll it tightly and tack the loose end. Needle the whole surface with vertical movements, rotating after several pokes so no area becomes flat unless intended. Start shallow and work deeper only while the core remains thick enough above the mat.
Add shape in thin layers
Use small wisps to build cheeks, a muzzle, colour patches or a tail. Feather the edges and attach through loose fibres. Compare front, side and top views under good light. Correct asymmetry by adding fibre to the low side rather than repeatedly compressing the high side into a hard spot.
Refine and finish responsibly
Move to a finer needle for visible surface holes and small contours. Trim only isolated flyaway fibres if the design calls for it; do not shave a loose structure. Add bead eyes only when age and use make small hard parts appropriate, and secure or avoid wire armatures in objects intended for children or pets.
Useful products
One complete learning kit, then optional speed and support tools
The NAMOON kit is the complete project route. The Clover single-needle tool and small mat are durable upgrades for continuing work after included consumables wear; they are not required in addition to a complete first kit.
NAMOON Needle Felting Starter Kit with Instructions
It reduces material selection and gives the loose wool a clear first purpose.
Clover Felting Needle Tool
It comes from an established tool maker and has replaceable needle support.
Clover Small Felting Needle Mat
It offers a known needle-safe surface when a kit foam becomes worn or deeply grooved.
First project
Make a sleeping animal from three shapes
Use one oval body, a smaller head and two flat ears. A resting pose avoids wire, legs and difficult balance.
- 01
Prepare the station
Set the mat, finger protection, needle container and a tray for wool.
- 02
Make a firm oval
Roll core wool and rotate it while felting straight into the mat.
- 03
Add the head
Keep loose fibres at its base and felt those into the body from several directions.
- 04
Form flat ears
Work each on the mat, turn carefully and leave an unfelt attachment edge.
- 05
Add colour in wisps
Layer thin surface fibres and feather boundaries rather than placing thick patches.
- 06
Refine and count tools
Use a fine needle for features, then account for every needle and fragment.
What can wait
What can wait until the first result
Tiny complexity magnifies puncture risk and frustration before basic density becomes automatic.
- 01
Wire armatures
They can deflect and break needles and create sharp ends. Use simple unsupported forms first.
- 02
Glass eyes
Small parts create swallowing hazards and can distract from shaping skill.
- 03
A large wool palette
A few coordinated colours produce a complete project and reduce storage.
- 04
Multi-needle speed tools
They suit broad flat areas after safe angle and hand position are reliable.
- 05
Selling toys immediately
Decorative felt objects are not automatically compliant children’s toys.
Upgrade path
Upgrade the repeated limitation
Add a finer needle, better mat or structural method only after the first form is firm and safe.
Complete first kit
About £12Wool + needles + mat + one design
Learn density, angle and attachment.Reliable hand tools
About £26Replaceable needle holder + durable mat
Improve grip and repeated surface work.Larger sculptures
About £20–£60 materialsCore wool + varied gauges
Control volume and time economically.Armature work
About £20+Wire, wrapping and planned anatomy
Create poses while adding needle-deflection risk.Safety & care
Treat every needle as a sharp brittle tool
Puncture wounds and broken needle fragments are the main risks; loose wool and small parts also need sensible storage.
- Always work into a purpose-made mat and keep the supporting hand outside the projected needle path.
- Insert and withdraw the needle on the same straight line; discard bent or damaged needles in a sharps-safe container.
- Count tools and fragments, work over a tray and keep needles away from children, pets and soft furniture.
- Use eye protection where a broken needle could spring toward the face and never work with the form held near the eyes.
- Check wool allergies or respiratory sensitivity and avoid presenting decorative work with loose fibres or small parts as a child-safe toy.
Outside help
When outside help earns its place
A short workshop can correct hand position and attachment technique, but a clear complete kit is enough for the first object.
Follow the exact wool quantities, shape order and needle guidance supplied with the kit.
Check group size, needle safety, included materials and whether the project is realistically finishable.
Representative UK prices and free learning routes checked 3 August 2026; local availability, materials and tutor support vary.
Sources
Where the guidance came from
Specialist wool and tool makers explain fibre, needles and safe technique; product instructions remain specific to the chosen kit.
-
01
Clover · Felting needle tools
Manufacturer context for needle tools, replacement and intended use.
Open source -
02
World of Wool · Needle felting guide
UK specialist explanation of fibres and introductory technique.
Open source -
03
The Makerss · Needle felting advice
UK specialist tutorials and project methods.
Open source -
04
British Wool · Wool information
Fibre provenance and wool characteristics context.
Open source -
05
Amazon UK · NAMOON needle felting starter kit
Exact product page, model or ISBN, observed price and availability checked for this guide.
Open source -
06
Amazon UK · Clover felting needle tool
Exact product page, model or ISBN, observed price and availability checked for this guide.
Open source -
07
Amazon UK · Clover small felting needle mat
Exact product page, model or ISBN, observed price and availability checked for this guide.
Open source
Guide information and links checked 3 August 2026.