Beginner’s guide · Make & create
Build a thin form,
dry it from every side.
Air-dry clay needs no kiln, but it shrinks and can crack. Start with a small pinch dish or relief tile, even walls and a patient drying schedule.
Quick answer
Make a small decorative object with no thick centre
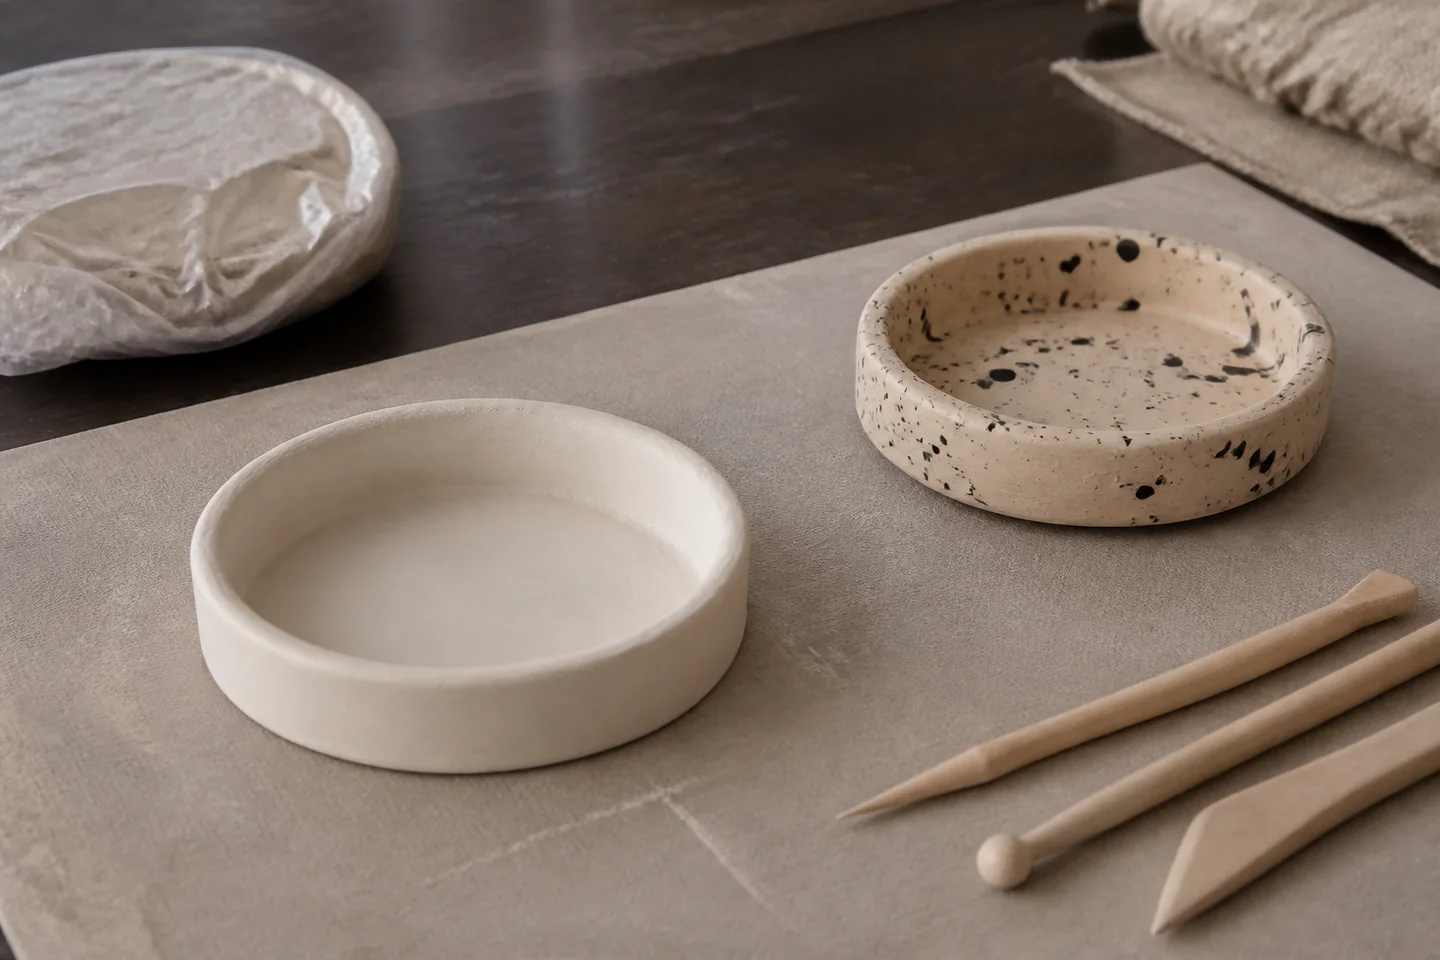
Condition a modest piece of named air-dry clay, shape a shallow pinch dish with walls of even thickness and smooth cracks while the clay remains workable. Join added parts with scored surfaces and the material’s recommended slip or water method. Dry loosely covered at first, rotate when strong enough and expose all sides gradually. Sand only if the label permits and after the object is completely dry; paint or varnish thinly for decoration, not food use.
- 01
Choose one named air-dry clay with known instructions for the first result and resist substituting several unfamiliar materials at once. Record what you used on the first attempt so the result can be repeated or changed for a reason.
- 02
Make even thickness and gradual drying visible with a small test before committing the full project. Record what you used on the first attempt so the result can be repeated or changed for a reason.
- 03
Change one variable between attempts and keep the preparation otherwise consistent. Record what you used on the first attempt so the result can be repeated or changed for a reason.
- 04
Inspect the work at each reversible stage instead of waiting until a decorative paint or varnish finish. Record what you used on the first attempt so the result can be repeated or changed for a reason.
- 05
Finish one modest result and note the actual time, material use and recurring difficulty. Record what you used on the first attempt so the result can be repeated or changed for a reason.
What to expect
No kiln does not mean no material limits
Air-dry clay loses water and shrinks in the room. Thick areas, weak joins and forced heat often reveal themselves as cracks after the enjoyable modelling stage.
Shrinkage
Every brand and thickness dries differently. Make a test tile if exact dimensions matter. In air-dry clay modelling, this is worth checking deliberately rather than trying to correct it after the next stage.
Water
Too much water weakens the surface and creates uneven drying; use small amounts for smoothing. In air-dry clay modelling, this is worth checking deliberately rather than trying to correct it after the next stage.
Joining
A part pressed onto a smooth drying surface can detach. Score, join and support according to the clay. In air-dry clay modelling, this is worth checking deliberately rather than trying to correct it after the next stage.
Drying
Radiators and strong sun harden the outside while the centre remains damp. In air-dry clay modelling, this is worth checking deliberately rather than trying to correct it after the next stage.
Use
Craft air-dry clay is generally for decoration unless an exact system provides verified suitability for another use. In air-dry clay modelling, this is worth checking deliberately rather than trying to correct it after the next stage.
Core method
Control thickness, joins and airflow
Read the clay instructions
Note working time, recommended maximum thickness, drying method and finish compatibility. In air-dry clay modelling, this is worth checking deliberately rather than trying to correct it after the next stage.
Shape even walls
Work from a measured ball, rotate the piece and compare thickness with fingers or a simple guide. In air-dry clay modelling, this is worth checking deliberately rather than trying to correct it after the next stage.
Join while compatible
Score both surfaces, use the stated joining medium and support additions until firm. In air-dry clay modelling, this is worth checking deliberately rather than trying to correct it after the next stage.
Dry in stages
Keep away from heat, turn on a porous board and wait until colour, temperature and weight stabilise. In air-dry clay modelling, this is worth checking deliberately rather than trying to correct it after the next stage.
Useful products
Products with a clear job in the setup
DAS is the straightforward single-clay route. FIMOair offers another named clay to compare, while the complete tool-and-paint kit is for someone who wants one contained project system. Choose one clay route.
DAS DAS White Air-Dry Modelling Clay 1 kg
A widely used single material keeps the first drying experiment understandable.
Staedtler FIMOair Basic White 1 kg
It supports a clay-only start when tools are already available.
Generic Air-Dry Clay Pottery Kit with Tools, Paints and Varnish
It reduces separate purchases for someone testing the entire decorative workflow.
First project
Make one shallow ring dish
The open shape is easy to turn during drying and exposes whether the base and wall shrink evenly.
- 01
Condition a small ball
Knead only as directed and keep the remaining clay sealed. In air-dry clay modelling, this is worth checking deliberately rather than trying to correct it after the next stage.
- 02
Form an even base
Press gradually, avoiding a thick lump at the centre. In air-dry clay modelling, this is worth checking deliberately rather than trying to correct it after the next stage.
- 03
Raise and smooth the wall
Pinch while rotating and repair surface fissures before they deepen. In air-dry clay modelling, this is worth checking deliberately rather than trying to correct it after the next stage.
- 04
Dry loosely covered
Set on a porous board away from heat and slow the first stage if edges race ahead. In air-dry clay modelling, this is worth checking deliberately rather than trying to correct it after the next stage.
- 05
Turn and finish drying
Support the rim, expose the underside and wait until the whole form is dry. In air-dry clay modelling, this is worth checking deliberately rather than trying to correct it after the next stage.
- 06
Decorate thinly
Remove only safe loose roughness and apply compatible paint or varnish in cured coats. In air-dry clay modelling, this is worth checking deliberately rather than trying to correct it after the next stage.
What can wait
What can wait until the first result
Large solid models and functional tableware demand properties that ordinary craft clay does not provide.
- 01
Thick sculpture
The centre can remain damp and shrink against a hardened shell. In air-dry clay modelling, this is worth checking deliberately rather than trying to correct it after the next stage.
- 02
Mugs and plates
Decorative clay and craft varnish are not evidence of food, heat or dishwasher safety. In air-dry clay modelling, this is worth checking deliberately rather than trying to correct it after the next stage.
- 03
Metal armature in small work
Different expansion and hidden moisture can create cracks or corrosion. In air-dry clay modelling, this is worth checking deliberately rather than trying to correct it after the next stage.
- 04
Power sanding
Fine dust requires controls; careful wet-stage smoothing reduces the need. In air-dry clay modelling, this is worth checking deliberately rather than trying to correct it after the next stage.
- 05
Several clay brands
Changing material prevents useful comparison of the first drying result. In air-dry clay modelling, this is worth checking deliberately rather than trying to correct it after the next stage.
Upgrade path
Upgrade the repeated limitation
Increase scale only after a test piece has fully dried without cracking.
Pinch dish
About £8–£20One clay and household tools
Learn thickness and drying.Painted ornament set
About £15–£40Hand tools and compatible finish
Repeat shapes and surfaces.Hollow sculpture
About £30–£100Planned supports and measured walls
Control joins and larger drying.Kiln-fired ceramics
About £80–£500+Studio clay, firing and tuition
Create durable ceramic material.Safety & care
Keep decorative clay away from food and dust under control
Claims depend on the exact clay, colour and coating system. A pretty sealed surface is not automatically washable, waterproof or food-contact safe.
- Follow the clay, paint and varnish labels, including age, skin-contact and ventilation guidance. Follow the current instructions supplied with the exact material, tool or living specimen.
- Do not use craft clay objects for food, drink, candles, heat or pet bowls unless the complete exact system is certified for that use. Follow the current instructions supplied with the exact material, tool or living specimen.
- Avoid dry sanding where possible; use ventilation and the protection specified by the manufacturer. Follow the current instructions supplied with the exact material, tool or living specimen.
- Wash tools separately from food utensils and keep clay residue out of household drains. Follow the current instructions supplied with the exact material, tool or living specimen.
- Dry away from radiators, flames and damp enclosed cupboards. Follow the current instructions supplied with the exact material, tool or living specimen.
Outside help
When outside help earns its place
A complete beginner tutorial is enough for the first controlled attempt. A class becomes useful when hollow sculpture or the move to kiln-fired ceramics becomes the goal.
Follow one method using one named air-dry clay with known instructions, including preparation and finishing rather than only the photogenic middle stage.
Check whether materials, troubleshooting, a decorative paint or varnish finish and a finished take-home result are included.
Representative UK learning options checked 28 August 2026; local prices, access, materials and tutor support vary.
Sources
Where the guidance came from
The method is grounded in specialist and public guidance, then checked against recurring beginner questions and the exact products linked here.
-
01
DAS · modelling clay guidance
Manufacturer product and use information.
Open source -
02
Staedtler · FIMOair
Manufacturer instructions and material range.
Open source -
03
Health and Safety Executive · dust
UK dust-control principles.
Open source -
04
Craft Council · ceramics
Context for progression into ceramics.
Open source -
05
Reddit · r/clay
Community evidence on cracking, drying and finishes.
Open source -
06
Amazon UK · DAS White Air-Dry Modelling Clay 1 kg
Exact product catalogue page or ISBN used for the recommendation; current price, seller, specification and availability should be confirmed.
Open source -
07
Amazon UK · FIMOair Basic White 1 kg
Exact product catalogue page or ISBN used for the recommendation; current price, seller, specification and availability should be confirmed.
Open source -
08
Amazon UK · Air-Dry Clay Pottery Kit with Tools, Paints and Varnish
Exact product catalogue page or ISBN used for the recommendation; current price, seller, specification and availability should be confirmed.
Open source
Guide information and links checked 28 August 2026.