Beginner's guide · Make & create
Wrap one drilled bead.
Finish every wire end.
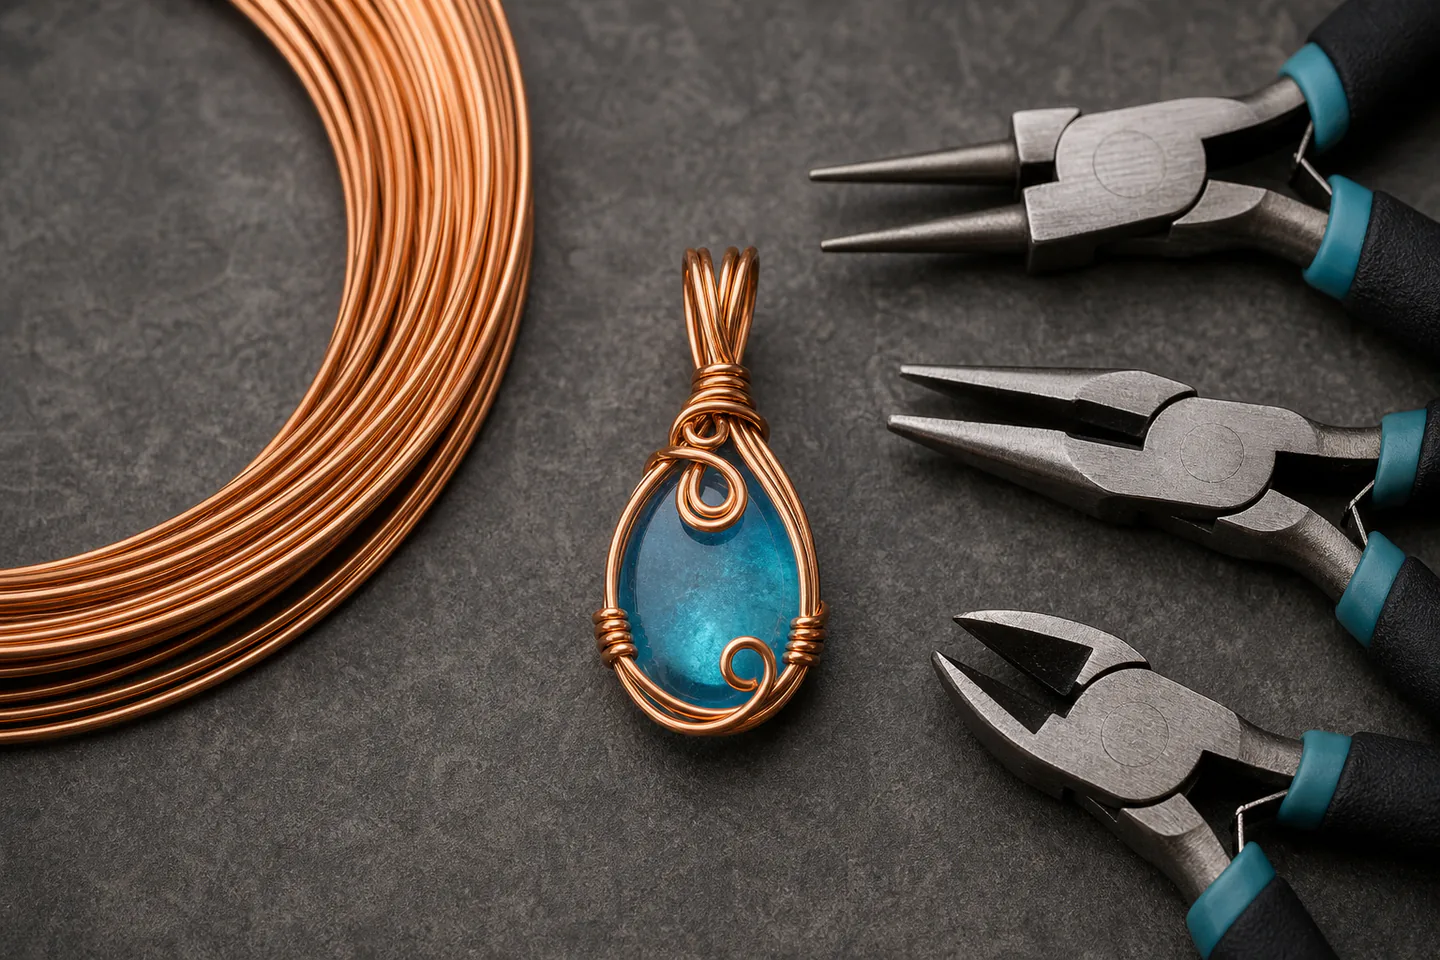
Start with 20-gauge copper craft wire, one bead with a clear hole and three basic jewellery pliers. A simple wrapped-loop pendant teaches grip, bend radius, symmetry and safe end finishing before undrilled stones or elaborate cages.
Quick answer
Wrap one drilled bead.
Use soft 20-gauge copper craft wire and a bead whose hole accepts it. Form a small loop with round-nose pliers, wrap the short tail neatly around the stem, add the bead, repeat a bail loop above it and trim each end flush before pressing it safely against the wrap.
- 01
A drilled bead removes the problem of holding an irregular stone inside a cage while the basic loop mechanics are still new.
- 02
Round-nose pliers form loops, chain-nose pliers hold and tuck, and flush cutters create a cleaner end. One three-plier set covers the first route.
- 03
Twenty-gauge copper craft wire is forgiving enough to shape and substantial enough for a small pendant. Fine weaving wire is a later addition.
- 04
Craft-wire jewellery is decorative, not suitable for body piercing and not automatically nickel-free, hypoallergenic or child-safe.
What to expect
What the first attempts really involve
The first project is useful because it exposes the decisions that shopping pages tend to hide.
Gauge
Wire gauge runs inversely: a lower number is thicker. Material hardness and temper change how two wires of the same gauge feel.
Tool marks
Serrated hardware pliers and excessive grip leave dents that plated wire cannot hide. Hold firmly enough to control, not crush.
Work hardening
Repeated bending stiffens metal and can make it snap. Plan the loop and avoid flexing a correction back and forth.
Symmetry
Loop size depends on where the wire sits on tapered round-nose jaws. Marking a consistent jaw position helps matched components.
Ends
A beautiful wrap with one sharp tail is unfinished. Flush cutting, filing if needed and tucking are part of the structure.
Fundamentals
Build the first attempt on reliable fundamentals
Match wire to the first job
Use a known copper craft wire rather than mystery electrical or steel wire. Twenty gauge is a practical first structural size for a bead pendant; the bead hole must be checked before cutting. Avoid precious metal until plier pressure and wire-length estimates are predictable.
Give each plier one role
Use round-nose jaws to form curves, chain-nose jaws to grip flat faces and tuck tails, and flush cutters with the flat side toward the finished work. Do not use jewellery cutters on memory wire, steel cable or materials outside their rating because hard wire damages fine edges.
Practise the loop without a bead
Cut three short copper lengths and make the same loop at the same marked jaw position. Bend the neck, complete one or two neat wraps, trim and tuck. Only thread the bead after one practice component has no gap, loose coil or sharp end.
Starter products
One named wire and a basic plier set, with premium grip later
The Beadalon 20-gauge bare copper and three-plier set form the direct route. The Xuron chain-nose pliers are shown as a later precision upgrade, not a fourth tool the first pendant requires.
Beadalon Artistic Wire Bare Copper, 20 gauge, 15 yd
It is substantial enough for a small pendant bail while remaining economical for the three scrap loops that should come before the finished piece.
PAXCOO Three-piece Jewellery Pliers Set
Round, hold and cut are distinct jobs, and this small set teaches that division before premium single tools are justified.
First pendant
Make a simple wrapped-loop bead pendant
Use a modest round or oval drilled bead and follow a complete wrapped-loop tutorial for exact wire length and sequence. The steps below highlight the control and safety checks.
- 01
Inspect the materials
Confirm the wire passes through the bead, the coating or bare finish is intact and every plier joint moves smoothly.
- 02
Protect the workspace
Use a tray or mat that catches short wire ends and prevents the bead from rolling.
- 03
Practise one loop
Mark a repeat position on the round-nose jaws and form a centred loop on a scrap length before touching the project wire.
- 04
Cut the project length
Use the tutorial's allowance for both wrapped loops and the bead. Keep the flat side of the cutter toward the retained wire.
- 05
Make the bottom wrap
Form the loop, hold it with chain-nose pliers and coil the tail neatly around the stem without crossing wraps.
- 06
Trim and tuck
Flush-cut the tail, catch the offcut and press the end against the wrap. Run a fingertip carefully around it only after visual inspection.
- 07
Add the bead
Slide it down without scraping the wire finish and leave only the planned movement at the base.
- 08
Form the top bail
Repeat the loop at the marked jaw position, leaving enough opening or using a jump ring as the chosen necklace connection.
- 09
Final safety check
Inspect both ends, tug gently on the bead and bail and attach it only to a necklace appropriate for the pendant weight.
Troubleshooting
Read the result before buying another tool
A teardrop loop began in the wrong place
Grip closer to the wire end and rotate the wrist in controlled stages, regripping rather than forcing the entire circle at once. Use the same jaw mark for matching loops.
Messy wraps need space and tension control
Keep the wrapping tail at roughly a right angle to the stem and guide each turn beside the previous one. Unwrap once if the wire remains soft; repeated correction will harden and mark it.
A sharp tail is not solved by squeezing harder
Recut with the flush face toward the finished work, use an appropriate file if the material permits and tuck the end into a safe position without crushing the neighbouring wrap.
Skip for now
What can wait
A drilled bead pendant isolates the basic mechanics before stone cages, weaving and precious materials introduce more failure points.
- 01
Undrilled cabochons
A cage must hold an irregular stone securely while preserving the design. Learn closed loops and consistent bails first.
- 02
Fine weaving wire
Twenty-four to 30 gauge wire adds patterned binding and more cut ends. It becomes useful after the structural frame is controlled.
- 03
Sterling silver and gold-filled wire
Every tool mark and miscalculated length costs more. Practise in copper until the design repeats cleanly.
- 04
Large plier collections
Bail makers, nylon-jaw tools and stepped mandrels solve specific repeat tasks. Add the one tool a chosen design actually needs.
Upgrade path
What a better setup changes
The path improves material and tool finish only after the same loop can be repeated without scars or exposed ends.
Drilled bead pendant
About £20–£3520-gauge copper + three basic pliers + bead
Teaches loops, wraps, trimming and safe finishing.Undrilled stone cage
Add selected stones and finer wireStructural wire + weaving wire + nylon-jaw option
Adds secure geometry, decorative weaving and more end management.Precious-metal repeats
Material-dependentProven pattern + premium smooth-jaw tools + measured wire
Improves wear and finish after waste and tool marking are under control.Safety
Work safely from the first attempt
Cut wire can spring, sharp ends can scratch and jewellery materials may cause skin reactions.
- Wear eye protection while cutting and control the offcut with a tray, hand shield or tool position.
- Use cutters only on wire within their stated material and gauge rating.
- Tuck and inspect every end before wearing or gifting a piece.
- Do not describe craft wire as hypoallergenic, nickel-free or safe for piercings without verified material documentation.
- Keep wire, beads and finished necklaces away from small children and pets because of choking and strangulation risks.
Classes
When outside help is useful
A class becomes useful for undrilled stones and wire weaving, where tension and secure geometry are easier to assess in the hand.
A short session should complete wrapped loops, earrings or a drilled-bead pendant and include wire-gauge explanation.
A longer workshop is worthwhile for cabochon cages, weaving patterns and individual feedback on end finishing.
Representative UK jewellery-workshop formats checked 30 July 2026; metal and stone choice strongly affect price.
Sources
Sources and checking notes
Beadalon project material confirms common 20- and 24-gauge roles, community practice informs tool economy and exact Amazon records verify the selected wire and pliers.
-
01
Beadalon · Handmade earrings project
Manufacturer project using 20-gauge structure and 24-gauge wrapping wire.
Open source -
02
r/WireWrapping
Ongoing practitioner examples, tool questions and finishing discussion.
Open source -
03
Amazon UK · Beadalon 20-gauge copper
Exact 15-yard bare copper wire checked for current UK availability.
Open source -
04
Amazon UK · Artistic Wire 20 gauge
Exact silver-plated tarnish-resistant alternative checked for comparison.
Open source -
05
Amazon UK · Three-plier set
Exact round-nose, pointed and cutter set checked for current UK availability.
Open source -
06
Amazon UK · Xuron chain-nose pliers
Exact premium smooth-grip upgrade checked for current UK availability.
Open source -
07
Amazon UK · Beadsmith 20-gauge wire
Exact lacquered gold-colour copper alternative checked for comparison.
Open source -
08
Amazon UK · Beadalon 18-gauge wire
Exact thicker-wire option checked to clarify why it is not the first choice.
Open source
Guide information and links checked 30 July 2026.