Beginner’s guide · Make & create
Split and flatten each straw,
then let the grain catch the light.
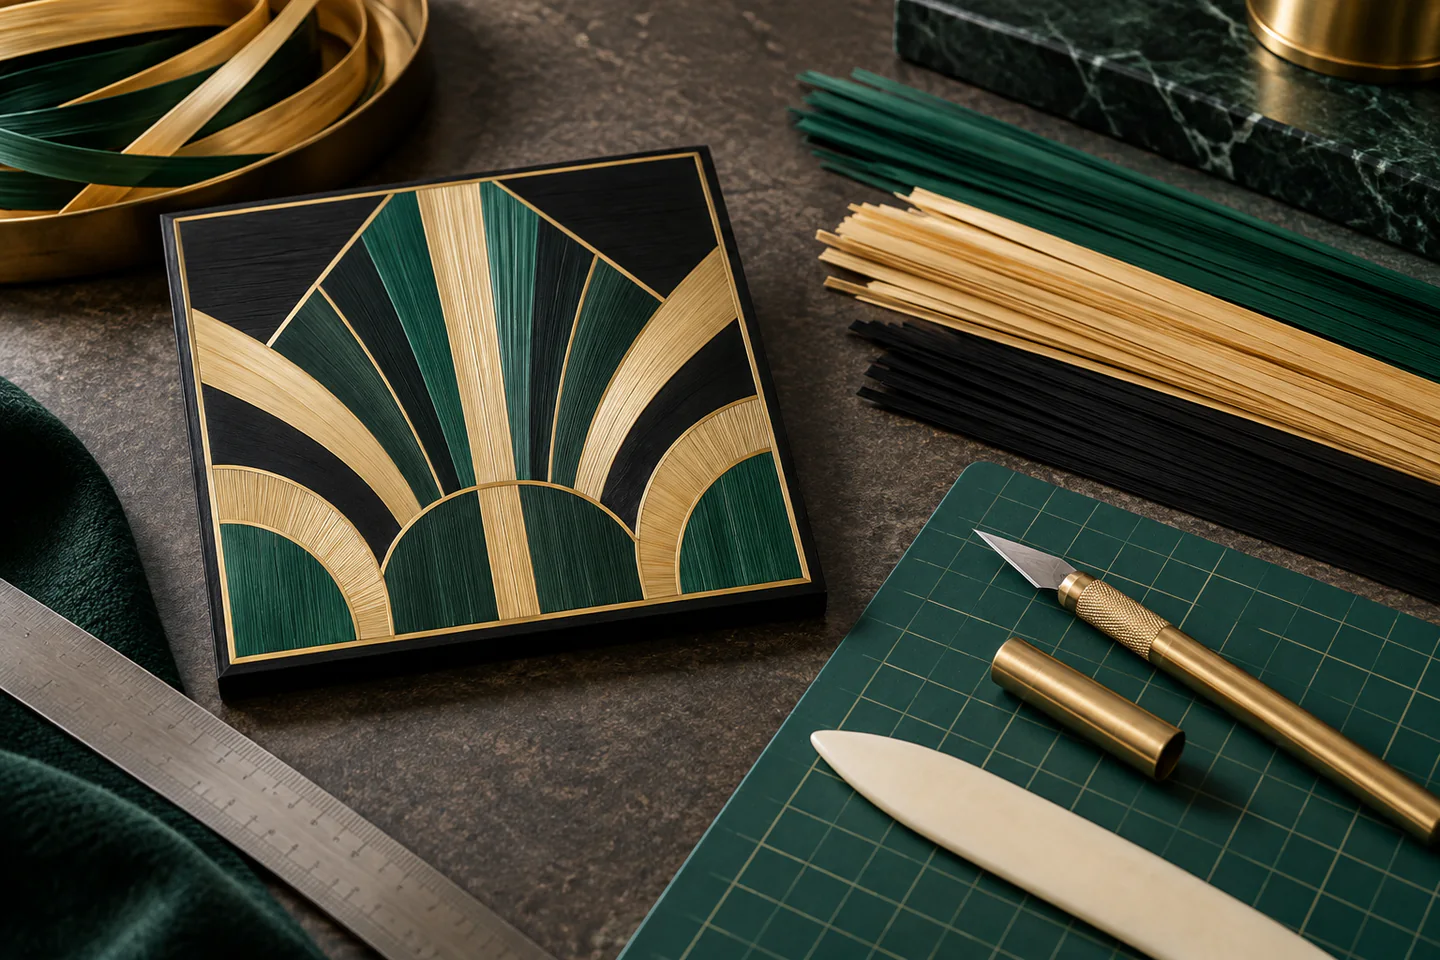
Straw marquetry arranges flattened cereal straw into shimmering geometric veneer. Begin with a small straight-edged panel.
Quick answer
Complete one a postcard-sized chevron panel before expanding the setup
Use prepared flattened marquetry straw in two tones, a stable card panel, a compatible thin adhesive and a sharp craft knife. Draw one centreline, lay the first strip with its grain direction marked, place adjacent strips edge to edge and burnish through clean release paper. Trim overhang only on a mat and compare how rotated strips reflect the light.
- 01
The natural silica surface of straw creates sheen that changes with fibre direction. For a first straw marquetry attempt, keep the materials, measurements and sequence written beside the work. Photograph or measure the result before correcting it, because a visible record separates a technique problem from a material or setup problem.
- 02
Flattening and splitting must produce consistent strips before accurate geometric assembly is possible. For a first straw marquetry attempt, keep the materials, measurements and sequence written beside the work. Photograph or measure the result before correcting it, because a visible record separates a technique problem from a material or setup problem.
- 03
Tiny gaps reveal the substrate, while overlapping edges create ridges that catch both light and dust. For a first straw marquetry attempt, keep the materials, measurements and sequence written beside the work. Photograph or measure the result before correcting it, because a visible record separates a technique problem from a material or setup problem.
- 04
Adhesive quantity must hold the straw without flooding the polished surface. For a first straw marquetry attempt, keep the materials, measurements and sequence written beside the work. Photograph or measure the result before correcting it, because a visible record separates a technique problem from a material or setup problem.
What to expect
What straw marquetry is really like at the start
The useful beginner controls are setup, repeatable movement and a finished sample. Cutting clean joins while preserving deliberate grain direction is the main skill to observe before adding scale or decoration.
Straw
Brittle, twisted or uneven strips make accurate joins difficult. For a first straw marquetry attempt, keep the materials, measurements and sequence written beside the work. Photograph or measure the result before correcting it, because a visible record separates a technique problem from a material or setup problem.
Direction
A correctly cut strip can still look wrong when the grain faces the unintended way. For a first straw marquetry attempt, keep the materials, measurements and sequence written beside the work. Photograph or measure the result before correcting it, because a visible record separates a technique problem from a material or setup problem.
Cut
Forcing a blunt blade crushes the straw and increases slip risk. For a first straw marquetry attempt, keep the materials, measurements and sequence written beside the work. Photograph or measure the result before correcting it, because a visible record separates a technique problem from a material or setup problem.
Adhesive
Wet residue dulls the sheen and may stain porous backing. For a first straw marquetry attempt, keep the materials, measurements and sequence written beside the work. Photograph or measure the result before correcting it, because a visible record separates a technique problem from a material or setup problem.
Core method
The core straw marquetry method
Sort and orient material
Group strips by width, colour and sheen direction before applying adhesive. For a first straw marquetry attempt, keep the materials, measurements and sequence written beside the work. Photograph or measure the result before correcting it, because a visible record separates a technique problem from a material or setup problem.
Establish one centreline
Build a simple mirrored chevron from a reliable visual reference. For a first straw marquetry attempt, keep the materials, measurements and sequence written beside the work. Photograph or measure the result before correcting it, because a visible record separates a technique problem from a material or setup problem.
Lay and burnish strips
Use a thin adhesive film, close each joint and press through clean release material. For a first straw marquetry attempt, keep the materials, measurements and sequence written beside the work. Photograph or measure the result before correcting it, because a visible record separates a technique problem from a material or setup problem.
Trim and protect
Cut overhang in light passes, inspect raking light and finish only with a compatible method. For a first straw marquetry attempt, keep the materials, measurements and sequence written beside the work. Photograph or measure the result before correcting it, because a visible record separates a technique problem from a material or setup problem.
Useful products
Products with a clear job in the route
These two products cover distinct jobs in the beginner route; they are not a requirement to buy a bundle. Use materials already owned when they meet the same specification, and confirm every live listing before ordering.
OLFA AK-1 Art and Model Knife
A known replaceable system keeps pressure lower than a blunt disposable knife.
Fiskars A3 Self-Healing Cutting Mat
A3 gives room to rotate small plates and decorative panels safely.
First project
Make a postcard-sized chevron panel
Keep the project small enough to finish, inspect and repeat. The first result is evidence about material compatibility, sequence and control rather than a performance test.
- 01
Prepare the workspace and materials
Group strips by width, colour and sheen direction before applying adhesive. For a first straw marquetry attempt, keep the materials, measurements and sequence written beside the work. Photograph or measure the result before correcting it, because a visible record separates a technique problem from a material or setup problem.
- 02
Make the first controlled pass
Build a simple mirrored chevron from a reliable visual reference. For a first straw marquetry attempt, keep the materials, measurements and sequence written beside the work. Photograph or measure the result before correcting it, because a visible record separates a technique problem from a material or setup problem.
- 03
Check the central technique
Use a thin adhesive film, close each joint and press through clean release material. For a first straw marquetry attempt, keep the materials, measurements and sequence written beside the work. Photograph or measure the result before correcting it, because a visible record separates a technique problem from a material or setup problem.
- 04
Complete the structure
Cut overhang in light passes, inspect raking light and finish only with a compatible method. For a first straw marquetry attempt, keep the materials, measurements and sequence written beside the work. Photograph or measure the result before correcting it, because a visible record separates a technique problem from a material or setup problem.
- 05
Finish, measure and record
Let the work settle or dry by the relevant material instructions, then measure, photograph and label the result. Record the one change that would make the next straw marquetry attempt more controlled. For a first straw marquetry attempt, keep the materials, measurements and sequence written beside the work. Photograph or measure the result before correcting it, because a visible record separates a technique problem from a material or setup problem.
What can wait
What can wait until the first result
Delay anything that adds cost, risk or another variable before the basic workflow has produced something you can review.
- 01
Curved pictorial design
Curves add tiny fitted segments and more fragile tips. For a first straw marquetry attempt, keep the materials, measurements and sequence written beside the work. Photograph or measure the result before correcting it, because a visible record separates a technique problem from a material or setup problem.
- 02
Large furniture surface
Substrate movement and edge protection need experience. For a first straw marquetry attempt, keep the materials, measurements and sequence written beside the work. Photograph or measure the result before correcting it, because a visible record separates a technique problem from a material or setup problem.
- 03
Loose harvesting
Prepared craft straw avoids identification, drying and provenance issues. For a first straw marquetry attempt, keep the materials, measurements and sequence written beside the work. Photograph or measure the result before correcting it, because a visible record separates a technique problem from a material or setup problem.
- 04
Glossy unknown varnish
A finish can darken, dissolve adhesive or remove natural sheen. For a first straw marquetry attempt, keep the materials, measurements and sequence written beside the work. Photograph or measure the result before correcting it, because a visible record separates a technique problem from a material or setup problem.
Upgrade path
Add the capability you can now name
Each stage should remove a demonstrated limitation rather than make the setup look more advanced.
Geometric sample
Use owned tools where possibleOne small sample and written notes
Learn the central movement and material behaviour.Box-lid panel
About £20–£80A repeatable complete starter setup
Repeat the result with cleaner finish and fewer corrections.Curved motif
About £50–£180A selected tool or structured class
Add one technique, size or design capability.Furniture-scale composition
Cost varies widelyA documented specialist workflow
Develop original work with provenance, testing and appropriate safety.Safety & care
Safety, care and respectful practice in straw marquetry
The practical risks are manageable when tools, materials and cultural claims remain specific and proportionate.
- Use a sharp knife on a cutting mat with fingers behind a metal ruler edge. For a first straw marquetry attempt, keep the materials, measurements and sequence written beside the work. Photograph or measure the result before correcting it, because a visible record separates a technique problem from a material or setup problem.
- Cap the knife between cuts and contain spent blades securely. For a first straw marquetry attempt, keep the materials, measurements and sequence written beside the work. Photograph or measure the result before correcting it, because a visible record separates a technique problem from a material or setup problem.
- Wear eye protection when splitting brittle straw and clear fragments from the bench. For a first straw marquetry attempt, keep the materials, measurements and sequence written beside the work. Photograph or measure the result before correcting it, because a visible record separates a technique problem from a material or setup problem.
- Ventilate and follow adhesive and finish labels. For a first straw marquetry attempt, keep the materials, measurements and sequence written beside the work. Photograph or measure the result before correcting it, because a visible record separates a technique problem from a material or setup problem.
- Keep dry straw and solvent products away from flames and heaters. For a first straw marquetry attempt, keep the materials, measurements and sequence written beside the work. Photograph or measure the result before correcting it, because a visible record separates a technique problem from a material or setup problem.
Outside help
When outside help earns its place
A guided session is useful when equipment setup, live hand correction, heat, sharp tools or a specialist press blocks safe progress. A clear source is enough for the smallest straw marquetry sample.
Choose one coherent lesson that covers preparation, the central straw marquetry technique, finishing and common mistakes.
Ask which tools and materials are included, whether the project can be finished in the session and what safety induction is provided.
Representative UK learning and access routes checked 20 September 2026; local prices, equipment and tutor support vary.
Sources
Where the guidance came from
Authoritative and specialist guidance supports the method, terminology and safety boundaries; community discussion contributes recurring beginner problems rather than unsupported claims.
-
01
Victoria and Albert Museum · Textiles
Museum material and historical context for textile construction.
Open source -
02
Heritage Crafts · Craft inventory
Current UK craft-status and practitioner context.
Open source -
03
Guild of Weavers, Spinners and Dyers
UK guild learning, terminology and local-group routes.
Open source -
04
Textile Research Centre · Encyclopaedia
Specialist textile structures and historical terminology.
Open source -
05
The Textile Society
Textile research, conservation and maker context.
Open source -
06
Reddit · r/weaving
Recurring practitioner evidence on tension, tools and finishing.
Open source -
07
Amazon UK · AK-1 Art and Model Knife
Exact Amazon UK catalogue page or ISBN used for the recommendation; confirm current price, seller, specification and availability.
Open source -
08
Amazon UK · A3 Self-Healing Cutting Mat
Exact Amazon UK catalogue page or ISBN used for the recommendation; confirm current price, seller, specification and availability.
Open source
Guide information and links checked 20 September 2026.