Beginner’s guide · Make & create
Follow one thread path
and let tension make the pattern.
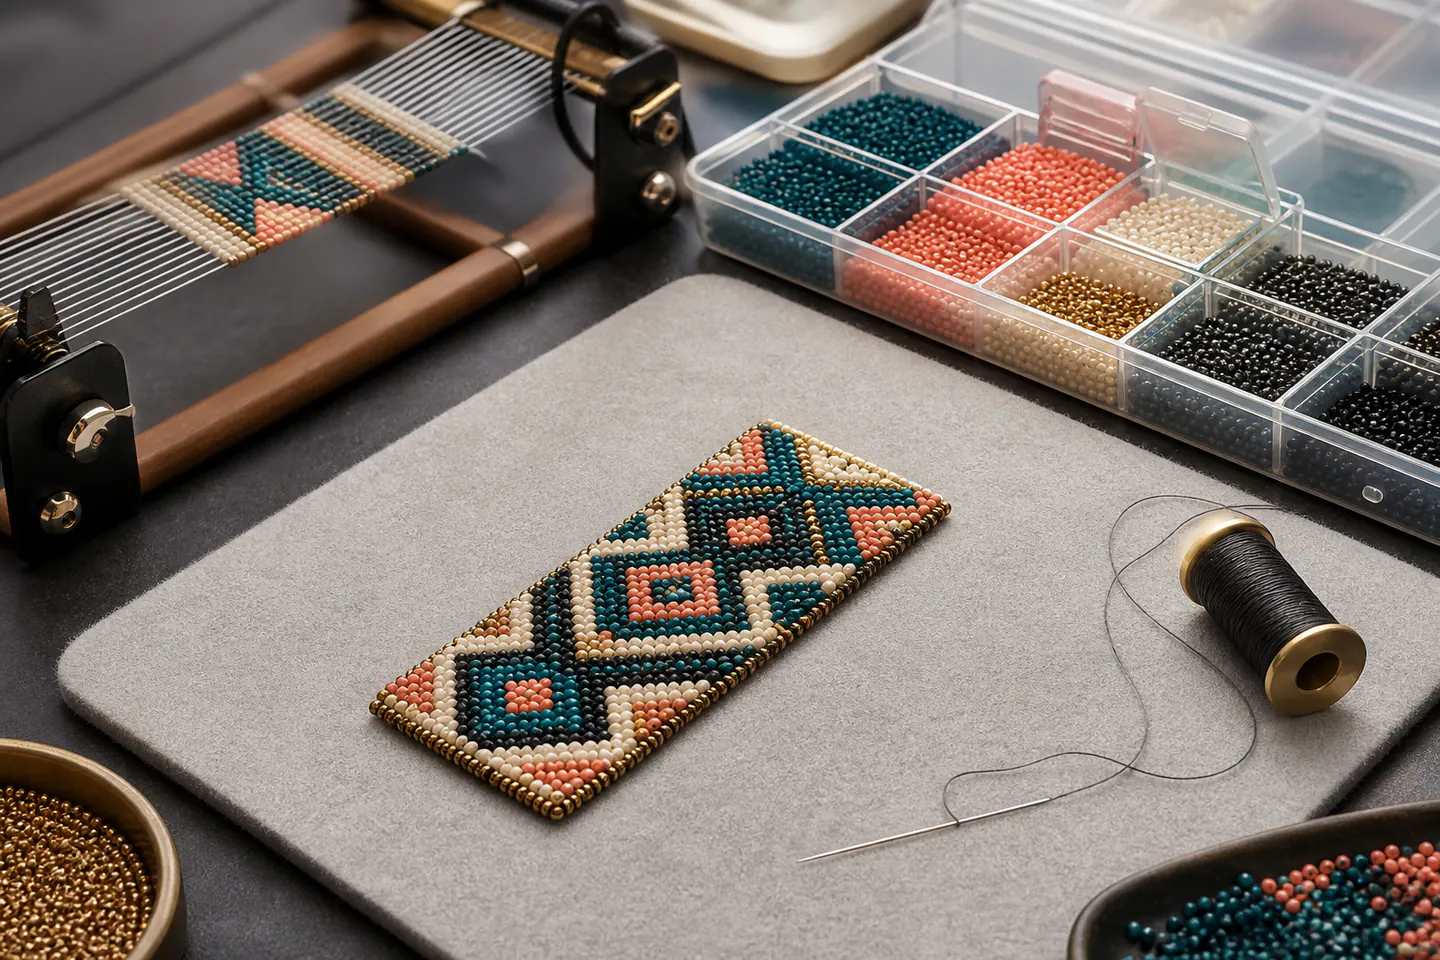
Bead weaving begins with uniform seed beads, suitable thread and a small flat strip where every bead, turn and tension change remains visible.
Quick answer
Build one small, controlled result first
Choose either a small loom strip or one flat off-loom stitch such as even-count peyote. Use one consistent bead size, high-contrast colours and suitable beading needle and thread, then finish a short sampler before adding a clasp.
- 01
Select one documented stitch, print or mark the repeat and sort uniform beads, thread, needle, mat and stop bead before beginning. Keep the first attempt narrow enough that preparation, the main action and the result can all be reviewed together.
- 02
Follow the same thread path and tension through every repeat, keeping the work flexible rather than pulling each bead as tightly as possible. Keep the first attempt narrow enough that preparation, the main action and the result can all be reviewed together.
- 03
Lay the strip flat and inspect width, exposed thread, cracked beads, skipped positions and whether the pattern remains countable. Keep the first attempt narrow enough that preparation, the main action and the result can all be reviewed together.
- 04
Secure the working thread as the method directs, cap the needle and return every small bead to labelled closed storage. Keep the first attempt narrow enough that preparation, the main action and the result can all be reviewed together.
What to expect
Accuracy comes from the sequence, not the size of the toolkit
Preparation, one controlled variable and an honest inspection matter more than collecting specialist equipment.
The first attempt
A short two-colour strip makes thread path and tension visible without the fitting and finishing demands of a full bracelet. For bead weaving, note what actually happened rather than relying on memory; that turns the next attempt into a controlled change instead of another guess.
The control point
Follow the same thread path and tension through every repeat, keeping the work flexible rather than pulling each bead as tightly as possible. For bead weaving, note what actually happened rather than relying on memory; that turns the next attempt into a controlled change instead of another guess.
The useful signal
Lay the strip flat and inspect width, exposed thread, cracked beads, skipped positions and whether the pattern remains countable. For bead weaving, note what actually happened rather than relying on memory; that turns the next attempt into a controlled change instead of another guess.
The common trap
Mixed bead shapes and sizes can make a correct stitch look uneven and tempt a beginner to compensate with damaging tension. For bead weaving, note what actually happened rather than relying on memory; that turns the next attempt into a controlled change instead of another guess.
Core method
Prepare, make, inspect and reset
Prepare deliberately
Select one documented stitch, print or mark the repeat and sort uniform beads, thread, needle, mat and stop bead before beginning. For bead weaving, note what actually happened rather than relying on memory; that turns the next attempt into a controlled change instead of another guess.
Control the central variable
Follow the same thread path and tension through every repeat, keeping the work flexible rather than pulling each bead as tightly as possible. For bead weaving, note what actually happened rather than relying on memory; that turns the next attempt into a controlled change instead of another guess.
Read the result
Lay the strip flat and inspect width, exposed thread, cracked beads, skipped positions and whether the pattern remains countable. For bead weaving, note what actually happened rather than relying on memory; that turns the next attempt into a controlled change instead of another guess.
Reset before repeating
Secure the working thread as the method directs, cap the needle and return every small bead to labelled closed storage. For bead weaving, note what actually happened rather than relying on memory; that turns the next attempt into a controlled change instead of another guess.
Useful products
Products with a clear job in the setup
The mixed bead kit is useful for sorting and broad practice, while pliers and wire belong to finishing and later structural experiments rather than the central woven thread path.
BTONGE 8,960-Piece Bead Jewellery Making Kit
The organiser makes sorting size and colour exercises easy.
PAXCOO Three-Piece Jewellery Pliers Set
The set helps finish a wearable piece without using teeth or unsuitable household pliers.
Beadalon Artistic Wire Bare Copper, 20 Gauge, 15 Yards
It demonstrates how wire work differs from flexible loom and off-loom thread paths.
First project
Weave a short two-colour sampler
Use the same bead type throughout and stop when the strip is long enough to judge tension clearly.
- 01
Set up
Select one documented stitch, print or mark the repeat and sort uniform beads, thread, needle, mat and stop bead before beginning. For bead weaving, note what actually happened rather than relying on memory; that turns the next attempt into a controlled change instead of another guess.
- 02
Begin the first attempt
A short two-colour strip makes thread path and tension visible without the fitting and finishing demands of a full bracelet. For bead weaving, note what actually happened rather than relying on memory; that turns the next attempt into a controlled change instead of another guess.
- 03
Hold one variable steady
Follow the same thread path and tension through every repeat, keeping the work flexible rather than pulling each bead as tightly as possible. For bead weaving, note what actually happened rather than relying on memory; that turns the next attempt into a controlled change instead of another guess.
- 04
Inspect the result
Lay the strip flat and inspect width, exposed thread, cracked beads, skipped positions and whether the pattern remains countable. For bead weaving, note what actually happened rather than relying on memory; that turns the next attempt into a controlled change instead of another guess.
- 05
Reset and record
Secure the working thread as the method directs, cap the needle and return every small bead to labelled closed storage. For bead weaving, note what actually happened rather than relying on memory; that turns the next attempt into a controlled change instead of another guess.
What can wait
What can wait until the first result
Delay equipment that solves no repeated problem in the first small project.
- 01
A large first setup
Scale multiplies Mixed bead shapes and sizes can make a correct stitch look uneven and tempt a beginner to compensate with damaging tension. before the basic routine is known. For bead weaving, note what actually happened rather than relying on memory; that turns the next attempt into a controlled change instead of another guess.
- 02
Premium specialist equipment
It should solve a limitation you can describe after several bead weaving sessions. For bead weaving, note what actually happened rather than relying on memory; that turns the next attempt into a controlled change instead of another guess.
- 03
Several methods at once
Changing materials and technique together makes the cause of a result hard to see. For bead weaving, note what actually happened rather than relying on memory; that turns the next attempt into a controlled change instead of another guess.
- 04
Buying for a future version
Finish and review the small route before equipping an imagined advanced practice. For bead weaving, note what actually happened rather than relying on memory; that turns the next attempt into a controlled change instead of another guess.
Upgrade path
Upgrade the repeated limitation
Add capacity only after the basic process is repeatable.
Try it
About £20–£60Needle, thread and two seed-bead colours
Complete one meaningful result and learn the whole sequence.Repeat it
About £20–£60Bead mat, organised tubes and clear patterns
Reduce setup friction and compare several attempts.Improve the bottleneck
£100–£400Small loom or chosen off-loom stitch family
Address Mixed bead shapes and sizes can make a correct stitch look uneven and tempt a beginner to compensate with damaging tension. with a targeted change.Go deeper
VariableShaped work, clasps and original charts
Add scale, precision or public participation with evidence from practice.Safety & care
Small parts and repetitive hand work need containment
A stable tray, good light and short sessions protect people, pets and the beadwork.
- Keep beads, needles and findings in closed storage away from children and pets. Follow current manufacturer, food-safety, access, wildlife or local guidance wherever it applies.
- Use eye protection when cutting wire and shield the cut end. Follow current manufacturer, food-safety, access, wildlife or local guidance wherever it applies.
- Choose nickel-aware findings and disclose materials for wearable gifts. Follow current manufacturer, food-safety, access, wildlife or local guidance wherever it applies.
- Take movement and vision breaks and avoid gripping needles and thread excessively tightly. Follow current manufacturer, food-safety, access, wildlife or local guidance wherever it applies.
- Do not place thread, wire or beads in the mouth while working. Follow current manufacturer, food-safety, access, wildlife or local guidance wherever it applies.
Outside help
When outside help earns its place
The Beadworkers Guild and local groups can help distinguish loom, peyote, brick and other structures before a large kit is purchased.
Use one complete lesson that covers preparation, the central technique, common mistakes and finishing. For a first bead weaving attempt, one coherent method is easier to diagnose than fragments collected from several creators.
Outside help earns its place when safe setup, access, identification or live correction removes a real obstacle. Ask what equipment, materials, access and follow-up support are included before booking.
Representative UK learning options checked 31 August 2026; local prices, access, materials and tutor support vary.
Sources
Where the guidance came from
The method is grounded in specialist, manufacturer and public guidance, then checked against recurring beginner problems and the exact products linked here.
-
01
The Beadworkers Guild
UK bead-weaving education and community.
Open source -
02
Beadalon · Learning Center
Manufacturer thread, wire and finishing guidance.
Open source -
03
Miyuki · Beads
Manufacturer bead sizes and product context.
Open source -
04
Fire Mountain Gems · Beading instructions
Stitch and finishing tutorials.
Open source -
05
Reddit · r/Beading
Community evidence on bead consistency, thread, tension and tools.
Open source -
06
Amazon UK · 8,960-Piece Bead Jewellery Making Kit
Exact Amazon UK product page or ISBN used for the recommendation; current price, seller, specification and availability should be confirmed.
Open source -
07
Amazon UK · Three-Piece Jewellery Pliers Set
Exact Amazon UK product page or ISBN used for the recommendation; current price, seller, specification and availability should be confirmed.
Open source -
08
Amazon UK · Artistic Wire Bare Copper, 20 Gauge, 15 Yards
Exact Amazon UK product page or ISBN used for the recommendation; current price, seller, specification and availability should be confirmed.
Open source
Guide information and links checked 31 August 2026.