Beginner’s guide · Make & create
Turn the paper,
not the cutting wrist.
Begin with a bold single-sheet stencil, a sharp art knife and a self-healing mat. Clean internal cuts and strong bridges matter before lace-like detail.
Quick answer
Cut a bold stencil before delicate silhouette art
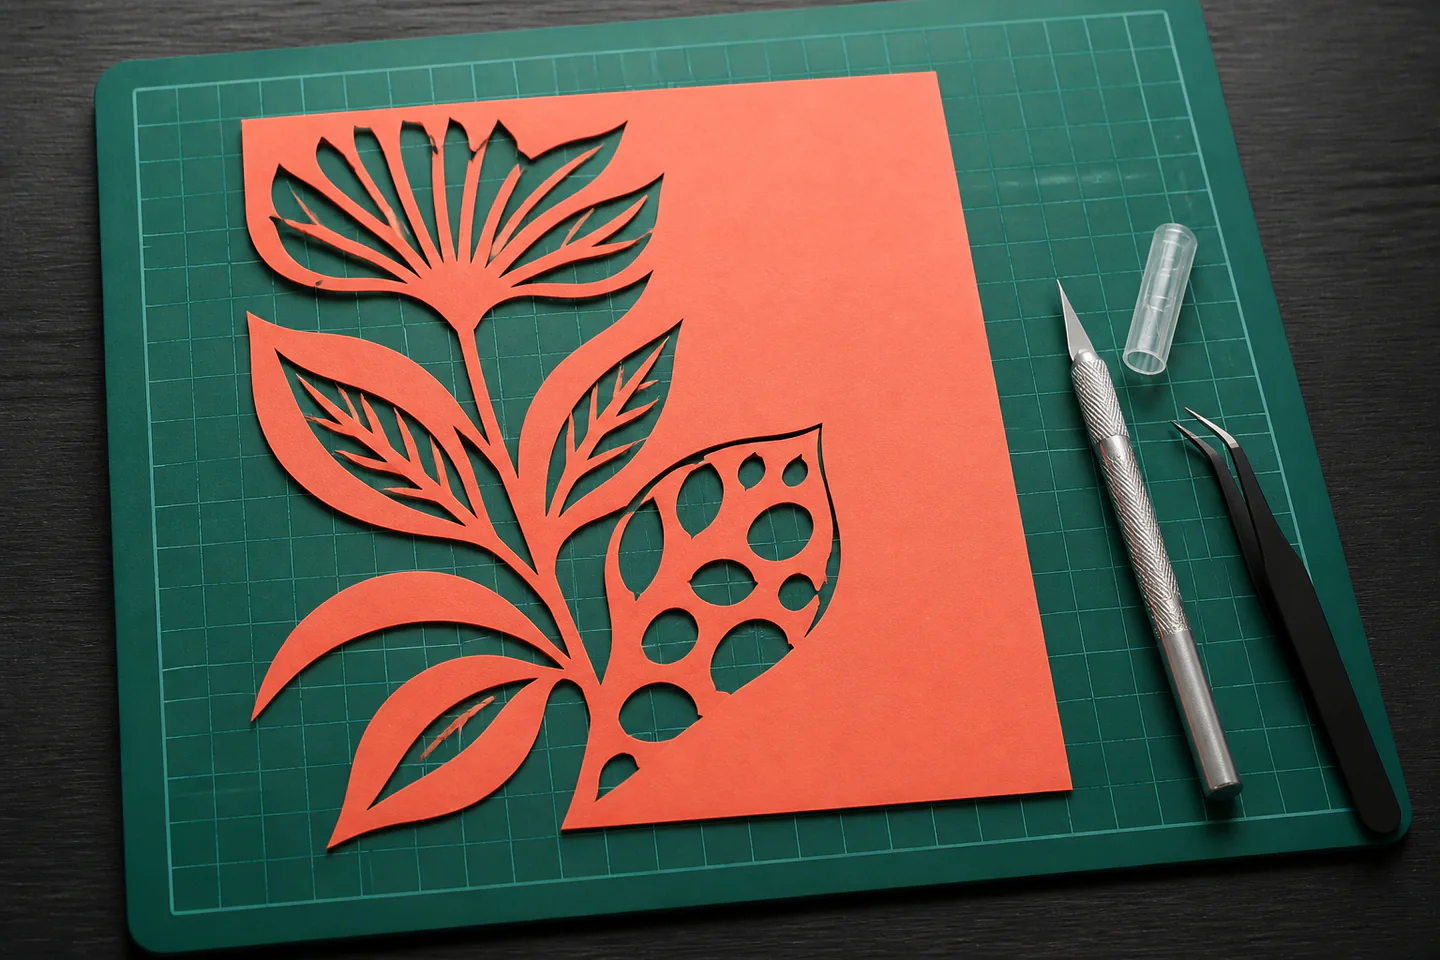
Print a simple legal-to-use A5 pattern with broad bridges, place it over medium paper on a self-healing mat and secure the corners. Fit a fresh precision blade, cut the smallest internal shapes first and make several light passes rather than forcing the knife. Rotate the mat so each line can be pulled comfortably, stop exactly at corners and lift waste only when every edge is free.
- 01
Choose medium-weight paper and a bold licensed pattern for the first result and resist substituting several unfamiliar materials at once. Record what you used on the first attempt so the result can be repeated or changed for a reason.
- 02
Make blade direction and intact bridges visible with a small test before committing the full project. Record what you used on the first attempt so the result can be repeated or changed for a reason.
- 03
Change one variable between attempts and keep the preparation otherwise consistent. Record what you used on the first attempt so the result can be repeated or changed for a reason.
- 04
Inspect the work at each reversible stage instead of waiting until mounting the finished cut. Record what you used on the first attempt so the result can be repeated or changed for a reason.
- 05
Finish one modest result and note the actual time, material use and recurring difficulty. Record what you used on the first attempt so the result can be repeated or changed for a reason.
What to expect
Sharpness and order create control
Fine paper cutting rewards patience, but a dull blade, unsupported corner or removed outer border can turn a nearly finished sheet into torn waste.
Blade
A sharp point uses less pressure and follows corners better, but it must be capped and disposed of safely. In paper cutting, this is worth checking deliberately rather than trying to correct it after the next stage.
Order
Internal islands are easiest while surrounding paper still supports them. Cut outside edges last. In paper cutting, this is worth checking deliberately rather than trying to correct it after the next stage.
Bridge
Every enclosed shape needs a connection unless loose pieces are part of a layered design. In paper cutting, this is worth checking deliberately rather than trying to correct it after the next stage.
Paper
Thin stock cuts easily but tears; thick card requires repeated passes. Test the chosen combination. In paper cutting, this is worth checking deliberately rather than trying to correct it after the next stage.
Rights
Use original, licensed or clearly permitted patterns when displaying or selling finished work. In paper cutting, this is worth checking deliberately rather than trying to correct it after the next stage.
Core method
Support the sheet and cut from inside outward
Read the negative space
Mark every area to remove and circle the bridges that must remain. In paper cutting, this is worth checking deliberately rather than trying to correct it after the next stage.
Prepare a safe station
Place the whole sheet on a flat mat, light it clearly and position the free hand behind the cut direction. In paper cutting, this is worth checking deliberately rather than trying to correct it after the next stage.
Cut internal shapes
Use short light pulls, rotate the mat and meet corners from both directions rather than swinging the blade. In paper cutting, this is worth checking deliberately rather than trying to correct it after the next stage.
Release and mount
Confirm all edges are free, lift waste with tweezers and press the result between clean boards before mounting. In paper cutting, this is worth checking deliberately rather than trying to correct it after the next stage.
Useful products
Products with a clear job in the setup
The OLFA knife supplies a controllable handle and replacement points. The ANSIO A4 mat is a compact first surface; the paper-cutting book adds tested projects rather than random downloaded artwork.
OLFA OLFA AK-1 Art Knife with 25 Blades
A known replaceable blade system keeps pressure lower than a blunt disposable knife.
ANSIO A4 Self-Healing Cutting Mat
A4 is large enough for the first stencil without dominating storage.
Henriëtte van Mierlo The Art of Paper Cutting
Tested examples teach where bridges and support need to remain.
First project
Cut one broad leaf stencil
Rounded leaves, a strong stem and several enclosed spaces provide corners and curves without fragile lacework.
- 01
Print at A5
Use a bold pattern with clearly marked waste and bridges. In paper cutting, this is worth checking deliberately rather than trying to correct it after the next stage.
- 02
Test blade and paper
Cut a spare circle and corner to establish pressure and number of passes. In paper cutting, this is worth checking deliberately rather than trying to correct it after the next stage.
- 03
Start with small openings
Work internal details while the sheet remains fully supported. In paper cutting, this is worth checking deliberately rather than trying to correct it after the next stage.
- 04
Rotate for every line
Pull the blade in a comfortable direction and keep the other hand behind it. In paper cutting, this is worth checking deliberately rather than trying to correct it after the next stage.
- 05
Release the outline last
Meet corner cuts precisely and use tweezers rather than tearing reluctant waste. In paper cutting, this is worth checking deliberately rather than trying to correct it after the next stage.
- 06
Press and mount
Flatten under clean paper and hinge-mount without adhesive showing through the design. In paper cutting, this is worth checking deliberately rather than trying to correct it after the next stage.
What can wait
What can wait until the first result
Tiny lacework and expensive paper can wait until corners release cleanly without force.
- 01
Portrait silhouette
Fine recognisable features offer little tolerance for an overcut. In paper cutting, this is worth checking deliberately rather than trying to correct it after the next stage.
- 02
Very thin bridges
They tear during cutting and mounting until hand pressure is reliable. In paper cutting, this is worth checking deliberately rather than trying to correct it after the next stage.
- 03
Thick mountboard
It encourages unsafe force and requires a different blade approach. In paper cutting, this is worth checking deliberately rather than trying to correct it after the next stage.
- 04
Stack cutting
Several sheets hide whether lower layers have separated cleanly. In paper cutting, this is worth checking deliberately rather than trying to correct it after the next stage.
- 05
Commercial pattern use
Licensing must be explicit before reproducing another artist’s design for sale. In paper cutting, this is worth checking deliberately rather than trying to correct it after the next stage.
Upgrade path
Upgrade the repeated limitation
Increase detail because blade control is limiting expression, not because a blunt tool makes the first pattern frustrating.
A5 stencil
About £15–£35Knife, mat and printer paper
Learn order and corners.Framed silhouette
About £25–£60Quality paper and archival mount
Finish and protect a cut.Layered artwork
About £40–£120Several paper weights and spacers
Build depth and colour.Original detailed designs
About £80–£250+Drawing tools, lightbox and large mat
Create and execute custom patterns.Safety & care
Build the workflow around blade safety
The point is exposed for most of the session, so positioning and habits must remain safe even during a final awkward corner.
- Keep the non-cutting hand and all fingers behind the blade’s direction of travel. Follow the current instructions supplied with the exact material, tool or living specimen.
- Cap the knife whenever rotating, inspecting or carrying the work. Follow the current instructions supplied with the exact material, tool or living specimen.
- Replace blades before extra force is needed and contain used blades securely. Follow the current instructions supplied with the exact material, tool or living specimen.
- Use good lighting and take breaks when grip, vision or attention deteriorates. Follow the current instructions supplied with the exact material, tool or living specimen.
- Keep knives, blades and small cut-outs inaccessible to children and pets. Follow the current instructions supplied with the exact material, tool or living specimen.
Outside help
When outside help earns its place
A complete beginner tutorial is enough for the first controlled attempt. A class becomes useful when layered compositions, original stencils or very fine cutting becomes the obstacle.
Follow one method using medium-weight paper and a bold licensed pattern, including preparation and finishing rather than only the photogenic middle stage.
Check whether materials, troubleshooting, mounting the finished cut and a finished take-home result are included.
Representative UK learning options checked 28 August 2026; local prices, access, materials and tutor support vary.
Sources
Where the guidance came from
The method is grounded in specialist and public guidance, then checked against recurring beginner questions and the exact products linked here.
-
01
British Origami Society
UK paper-folding community and learning resources.
Open source -
02
Victoria and Albert Museum · paper collection
Material and historical context for paper arts.
Open source -
03
Library of Congress · paper permanence
Paper handling and preservation context.
Open source -
04
Paper Kawaii · tutorials
Specialist folding and paper-project tutorials.
Open source -
05
Reddit · r/papercraft
Community evidence on paper, tools and common failures.
Open source -
06
Amazon UK · OLFA AK-1 Art Knife with 25 Blades
Exact product catalogue page or ISBN used for the recommendation; current price, seller, specification and availability should be confirmed.
Open source -
07
Amazon UK · A4 Self-Healing Cutting Mat
Exact product catalogue page or ISBN used for the recommendation; current price, seller, specification and availability should be confirmed.
Open source -
08
Amazon UK · The Art of Paper Cutting
Exact product catalogue page or ISBN used for the recommendation; current price, seller, specification and availability should be confirmed.
Open source
Guide information and links checked 28 August 2026.