Beginner’s guide · Observe & photograph
Remove the lens,
keep the exposure deliberate.
Begin with a light-tight camera and one sheet of photographic paper or film. Long exposures, stable support and careful loading reveal how an image forms without a lens.
Quick answer
Make one static daylight exposure with a tested camera
Use a documented pinhole camera or build a light-tight box whose focal distance and pinhole are known. Load black-and-white paper or film only under the correct safelight or total-dark conditions for that material, close every seam and mount the camera on a solid support. Choose a motionless subject in bright daylight, calculate a starting exposure using the camera guidance and record the time. Open and close the shutter without touching the support, then unload in darkness and process through a lab or a properly managed darkroom.
- 01
A pinhole camera still needs exposure control. Aperture is extremely small, so seconds or minutes replace ordinary hand-held shutter speeds.
- 02
The box must be light-tight and the pinhole clean, thin and circular. A jagged foil puncture softens the image beyond the characteristic pinhole look.
- 03
Photo paper and film are not interchangeable in sensitivity, handling or processing. Follow the exact material documentation.
- 04
Frame with geometry: the pinhole is the viewpoint and the image covers the opposite plane. A simple sight line or test negative helps predict composition.
- 05
Do not improvise darkroom chemistry or dispose of it down the drain. A lab or supervised community darkroom is a valid beginner route.
What to expect
Everything is sharp, yet nothing looks like a modern lens
Pinhole photographs combine huge apparent depth of field with gentle overall softness, long-exposure movement and strong perspective close to the aperture. Those qualities are the point, not defects to process away.
Aperture
A smaller hole can improve geometric sharpness until diffraction dominates. The best diameter depends on focal distance rather than “smallest possible”.
Light leaks
Unexplained fog, streaks or edge exposure usually comes from the body, loading or shutter—not the scene. Test systematically.
Exposure
Paper is much less sensitive than film and spectral response differs. Bracket when the material or light is unfamiliar.
Movement
Clouds, water and people become streaks or disappear during long exposures while buildings remain stable. Choose the effect deliberately.
Negative
Paper produces a reversed tonal negative that can be contact-printed or digitised and inverted. The first sheet is evidence for the second.
Processing
Developer time, temperature and agitation affect the result. If that is not part of the desired hobby yet, use a lab-compatible film route.
Core method
Make camera behaviour measurable before chasing subjects
Choose a known image plane
A commercial pinhole camera removes uncertainty about focal distance and aperture; a DIY version should use a rigid light-tight box, a thin replaceable aperture plate and a shutter that opens without shaking. Measure internal distance and label the camera.
Prove darkness and loading
Test seams with a bright torch while empty, then practise loading waste paper before risking sensitive material. Learn whether the chosen paper permits a specific safelight or whether film requires total darkness. Store exposed and unexposed sheets in separate labelled light-tight containers.
Calculate and bracket
Use the maker’s exposure calculator or a pinhole calculator with measured aperture and focal distance. Pick a high-contrast static subject, record weather and time, then make three exposures around the estimate if material cost allows. Do not hold the camera or guess silently.
Process and diagnose
Follow the current paper, film and chemistry data sheets. Scan or photograph a dry paper negative evenly and invert it non-destructively. Compare edge fog, centre brightness, motion and contrast with the notebook before changing one variable for the next frame.
Useful products
Products with a clear job in the setup
Ilford Multigrade paper provides a forgiving paper-negative route when a proper darkroom or supervised processing setup is available. HP5 Plus offers a lab-processable 35 mm route only when the camera accepts it. The K&F tripod solves the universal long-exposure support problem, but it cannot compensate for an improvised camera with no secure tripod thread.
Ilford MULTIGRADE RC Deluxe Pearl Paper, 8 × 10 in, 25 Sheets
RC paper handles and dries more simply than fibre paper and its low effective sensitivity suits measured long exposures.
Ilford HP5 Plus 35 mm Black-and-White Film, 36 Exposures
HP5 Plus is widely documented and forgiving enough for bracketing and long-exposure experiments.
K&F Concept 163 cm Aluminium Camera Tripod with Ball Head
A stable support transfers to ordinary night, infrared and time-lapse photography as well as pinhole work.
First project
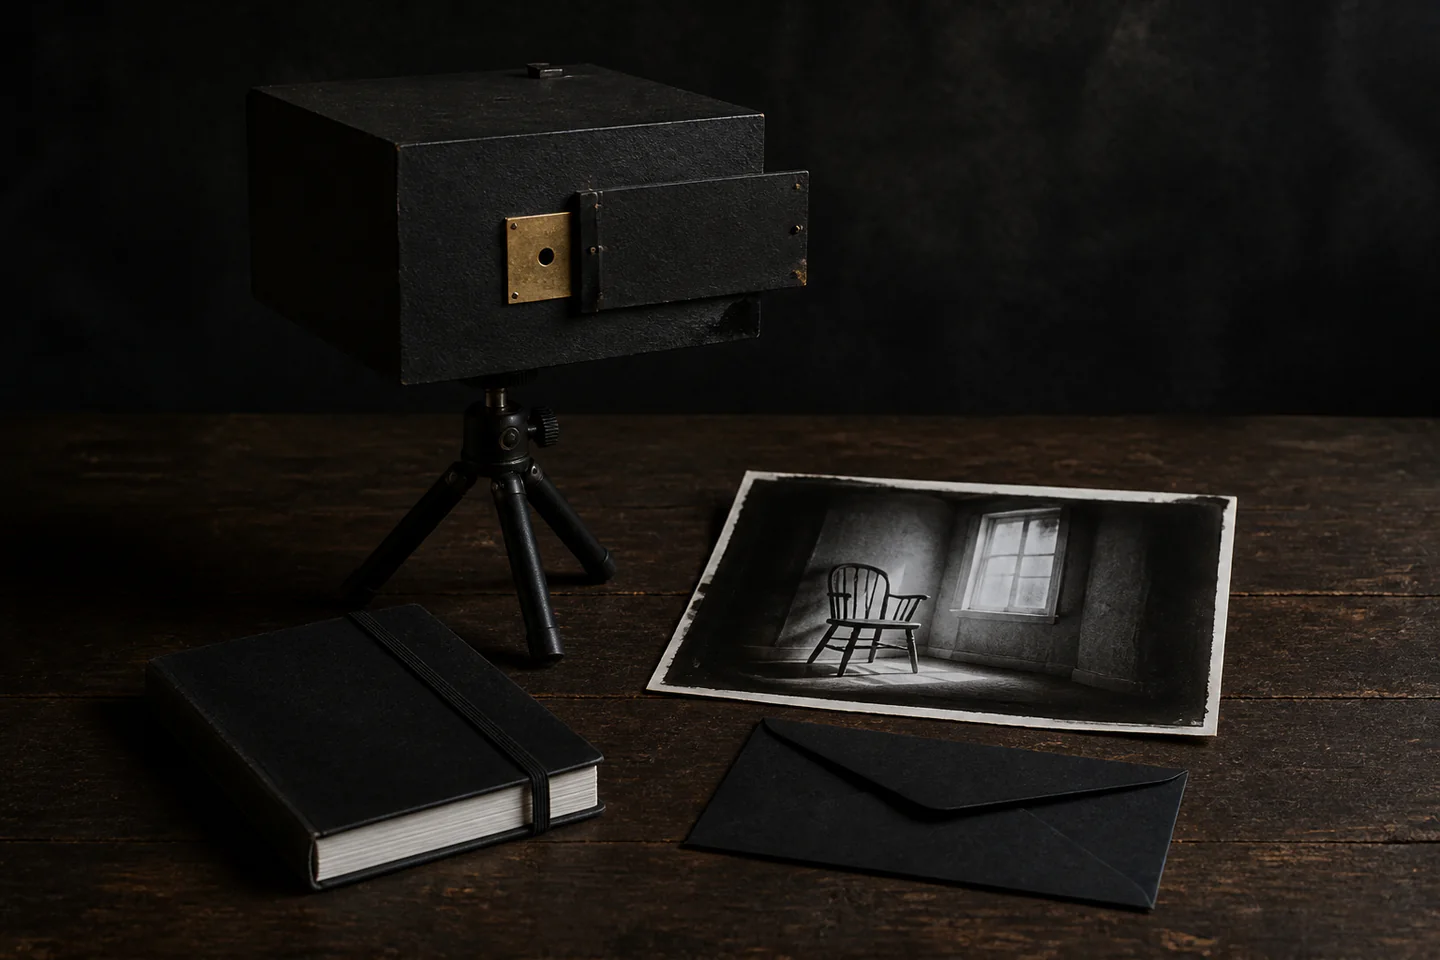
Photograph one chair beside a bright window
A static object, straight edges and bright-to-dark range reveal framing, exposure, light leaks and paper response in one controlled scene.
- 01
Measure the camera
Record pinhole diameter, image distance and material before loading.
- 02
Practise the shutter
Open and close the empty camera without moving its support.
- 03
Load correctly
Use the required safelight or full darkness and label the loaded camera.
- 04
Frame by geometry
Place the pinhole at the intended viewpoint and keep the image plane stable.
- 05
Bracket and record
Make a calculated exposure plus shorter and longer versions where practical.
- 06
Process one variable at a time
Use documented chemistry or a lab, then diagnose before changing the camera.
What can wait
What can wait until the first result
A beautifully made wooden camera does not improve results until light tightness, loading and exposure are reliable.
- 01
Several film formats
Each requires different holders, focal distances, processing and costs. Learn one material first.
- 02
Moving street scenes
Long exposures can erase subjects before basic framing and timing are understood.
- 03
Tiny unmeasured pinholes
Smaller is not automatically sharper; use a calculated or manufactured aperture.
- 04
Home chemistry without facilities
Light control, ventilation, storage and disposal need a complete plan, not three bottles beside a sink.
- 05
A premium wooden body
Spend after the first camera’s focal length or film handling creates a repeated creative limit.
Upgrade path
Upgrade the repeated limitation
Upgrade when the notebook identifies a repeated limitation rather than because a pinhole body looks more traditional.
Paper negative
About £25–£80Light-tight camera + RC paper
Learn framing, light leaks and exposure.Processed film
About £50–£160Film-compatible body + lab route
Gain sensitivity and easier scanning.Interchangeable pinholes
About £120–£350Precision plates and multiple focal lengths
Compare angle of view and diffraction.Full darkroom
About £250–£1,000+Processing, ventilation and wash facilities
Control negatives and prints in-house.Safety & care
Darkness, chemistry and long outdoor exposures need planning
The camera is simple, but sensitive material and processing are not casual household supplies. Choose a lab or supervised darkroom whenever the safe workflow is incomplete.
- Never look at or photograph the sun through improvised viewing devices; pinhole solar work is a separate long-duration method with specific guidance.
- Load and unload film or paper under exactly the light conditions stated by the manufacturer; accidental fogging is not a reason to handle chemicals carelessly.
- Follow current safety data, ventilation, temperature, storage and disposal requirements for every darkroom chemical, and keep the area separate from food.
- Secure cameras and tripods so they cannot fall, obstruct paths or remain as suspicious unattended objects; obtain permission for private or public sites.
- Label exposed and unexposed materials, wash hands after darkroom work and keep all chemistry and small sharp aperture plates away from children and pets.
Outside help
When outside help earns its place
A cardboard camera and commercial lab can teach image formation. A darkroom induction becomes valuable when loading sheet material, processing paper negatives or controlling prints becomes the next goal.
Use exposure and material guidance that matches the exact camera and emulsion.
Ask about safelights, chemistry, disposal, paper negatives and accessibility.
Representative UK learning options checked 18 August 2026; local prices, access, materials and tutor support vary.
Sources
Where the guidance came from
Ilford’s technical information anchors exposure and material handling. Specialist pinhole educators and experienced communities provide the practical context for camera geometry, light leaks and the distinctive long-exposure result.
-
01
Ilford Photo · Starting pinhole photography FAQs
Official introductory questions on cameras, paper, exposure and processing.
Open source -
02
Ilford Photo · Pinhole
Manufacturer pinhole cameras, calculators and learning context.
Open source -
03
Worldwide Pinhole Photography Day
International project resources and broad practical examples.
Open source -
04
Justin Quinnell · Pinhole photography
Experienced UK practitioner guidance and projects.
Open source -
05
Reddit · r/pinholephotography
Community evidence on apertures, camera builds, exposures and processing.
Open source -
06
Amazon UK · MULTIGRADE RC Deluxe Pearl Paper, 8 × 10 in, 25 Sheets
Exact product catalogue page or ISBN used for the recommendation; current price, seller, specification and availability should be confirmed.
Open source -
07
Amazon UK · HP5 Plus 35 mm Black-and-White Film, 36 Exposures
Exact product catalogue page or ISBN used for the recommendation; current price, seller, specification and availability should be confirmed.
Open source -
08
Amazon UK · 163 cm Aluminium Camera Tripod with Ball Head
Exact product catalogue page or ISBN used for the recommendation; current price, seller, specification and availability should be confirmed.
Open source
Guide information and links checked 18 August 2026.