Beginner’s guide · Grow & care
Garden-tool maintenance
Start with one useful result.
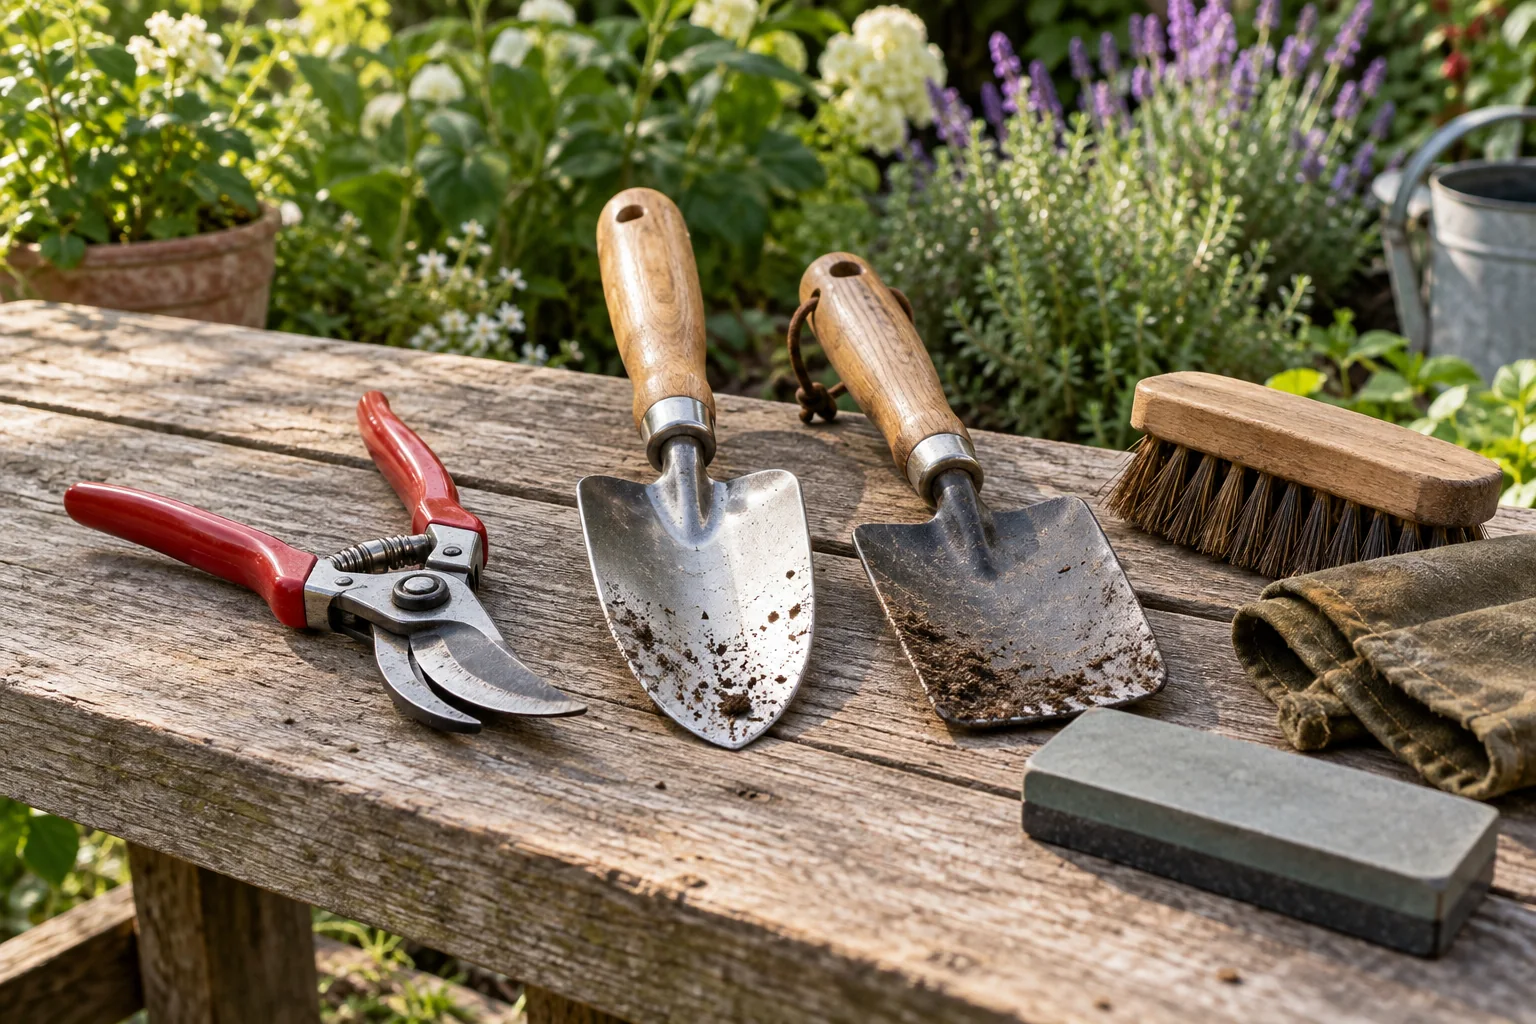
Garden tools last longer and cut better when soil, sap and rust are removed after use. Start with one pair of bypass secateurs: inspect, clean, sharpen the correct bevel lightly, oil the pivot and test on a suitable twig.
Quick answer
Start with clean and sharpen one pair of secateurs
Garden tools last longer and cut better when soil, sap and rust are removed after use. Start with one pair of bypass secateurs: inspect, clean, sharpen the correct bevel lightly, oil the pivot and test on a suitable twig.
- 01
Pair of bypass secateurs with intact spring and pivot
- 02
Brush, cloth, mild cleaner and suitable rust-removal method
- 03
Small diamond or whetstone tool, general-purpose oil and eye protection
What to expect
What the first attempt is really like
The useful skill here is maintaining the bevel without damaging the flat cutting face. These details matter more than a polished first result.
Design
Bypass, anvil and geared tools need different treatment; follow the exact maker's instructions.
Sharpness
A light refresh is different from grinding out a large chip.
Storage
Dry tools and a small protective oil film reduce rust between jobs.
The method
The method worth learning
Identify the tool before sharpening
Bypass secateurs have a cutting blade passing a supporting blade; anvil secateurs close onto a surface. Geared tools and replaceable-blade designs may have different service procedures. Read the exact maker’s instructions before loosening the pivot. Niwaki specifically advises against dismantling its pruners as routine care; other makers may provide service instructions. A generic cleaning video does not authorise dismantling every model.
Clean before diagnosing the edge
Remove soil and plant debris with a brush, then use a suitable cleaner for sap as the maker permits. Dry thoroughly. A sticky pivot or obstructed blade can make a tool seem blunt when the edge is still serviceable. Inspect the spring, fasteners, blade and handles. Significant chips, a bent blade or a loose structural part call for repair assessment rather than more polishing.
Refresh the existing bevel lightly
Secure the tool so it cannot move, keep fingers away from the blade path and use a stone or file suited to its steel and curved edge. Follow the visible bevel on the cutting blade with light controlled strokes. Do not grind a new bevel into the supporting blade or broadly remove the flat mating face. Remove only the burr as the exact maker advises. The Niwaki garden stone needs brief soaking until bubbles stop and water during use; it should not be left stored in water.
Finish with a maintenance habit
Dry the tool and stone, apply suitable pivot lubricant and a small protective oil film according to the maker, and test on a clean stem within the tool’s cutting capacity. Do not use wire or an oversized branch as a test. Oil protects metal but does not disinfect. When moving between diseased and healthy plants, follow current RHS cleaning and disease-prevention guidance, including the specified method and contact time for any disinfectant. Keep cleaning materials close to the storage place so the routine happens after use.
Useful products
Equipment with a clear job
Start with suitable equipment you already own. These exact UK listings are useful examples when a missing tool limits the first project; prices and availability were checked on 2 October 2026 and delivery may add to the cost.
Niwaki Sharpening Stone #1000 for secateurs
A small shaped maintenance stone reaches a bypass blade more easily than a broad kitchen stone.
What can wait
What can wait
Keep the first project small and learn what the equipment is doing before adding more.
- 01
Power grinders
Thin blades and hardened steel are easy to overheat or reshape. A light manual refresh gives more control.
- 02
Routine full disassembly
Some tools are not intended to be stripped. Follow the exact service procedure and contain spring-loaded parts.
- 03
New secateurs before diagnosis
Sap, pivot friction and light dullness may be repairable. Replacement makes sense when damage or parts cost warrants it.
First project
First project: Clean and sharpen one pair of secateurs
Start with clean and sharpen one pair of secateurs. Use the listed equipment, take notes on the result and repeat the small project before expanding it.
- 01
Inspect
Check the pivot, spring, handle and blade for damage; do not sharpen an unstable tool.
- 02
Clean
Remove soil and sap, then dry completely before exposing the edge.
- 03
Sharpen lightly
Follow the existing bevel on the cutting blade with the correct stone or file, and remove only the burr as the maker advises.
- 04
Dry, oil and test
Leave the tool assembled unless its exact maker permits dismantling. Dry thoroughly, lubricate as directed and test on a small clean stem within its capacity.
Troubleshooting
When the first attempt goes wrong
The handles are stiff
Check debris and pivot condition before attacking the edge. Use only the lubricant and adjustment procedure allowed by the maker; over-tightening can worsen the problem.
It crushes rather than slices a stem
Inspect alignment and blade condition and test a smaller appropriate stem. Bluntness is one possible cause, but a bent blade or wrong tool for the branch will not be fixed by more sharpening.
Rust is on a coated blade
Choose a coating-compatible cleaning method. Aggressive abrasives can remove the protective surface. Ask the maker about damage rather than assuming all blades tolerate the same rust remover.
The bevel looks wider after each session
You may be removing too much metal or altering the angle. Stop, compare with maker illustrations and use lighter maintenance strokes once the geometry is understood.
Upgrade path
Where to go after the first result
Repeat the simple route first, then choose the next step that solves a problem you have actually met.
Habit
Use owned care suppliesClean, dry and store after each session
Reduces recurring rust and sap buildup before another sharpening session is needed.Service
Get the exact part priceReplace a serviceable worn blade or spring
Restores a component that honing cannot fix, if the model is designed to accept replacements.Heavy work
Check an exact tool or service quoteA suitable lopper or professional repair
Matches larger stems or damaged tools to the appropriate equipment instead of forcing the secateurs.Safety & care
Safety and practical limits
Use the current instructions for the exact food, material or equipment in front of you.
- Keep the blade pointed away from the body and support the tool securely while filing.
- Check the maker's disassembly and lubrication instructions; springs can release suddenly.
- Clean tools between diseased and healthy plants according to current gardening guidance.
Learning & help
Learning at home and optional help
A class is optional for this first route. Use the free guidance before paying for help.
RHS cleaning and sharpening pages and Niwaki’s free care instructions are enough for routine home maintenance. Use the exact manufacturer’s bevel and disassembly guidance.
A competent garden-tool sharpener is useful for a damaged edge, lost geometry or a model you cannot safely service. Ask whether blade replacement is available and get a current fee; historical forum prices are not a quote. Classes remain optional.
Learning sources checked 2 October 2026. No unverified class fee or booking availability is quoted.
Sources
Where the guidance came from
Food and wildlife authorities, exact maker instructions, specialist guidance, practitioner observations and UK product listings support the route above. Community accounts inform practical expectations; they do not establish food safety, wildlife rules or current prices.
-
01
RHS · Sharpening hand tools
Secateur blade geometry and sharpening
Open source -
02
RHS · Cleaning hand tools
Cleaning, drying and rust prevention
Open source -
03
Niwaki · Tool care and maintenance
Manufacturer tool cleaning and sharpening guidance
Open source -
04
RHS · Protect your garden's health
Cleaning garden tools to reduce disease spread
Open source -
05
r/GardeningUK · Repair or replace secateurs?
Several gardeners discuss cleaning, oil and sharpening before replacement; old quoted service fees are not current prices.
Open source -
06
r/GardeningUK · Secateur care routine
Repeated drying and oiling habits; chemical and soaking advice is checked against the exact maker.
Open source -
07
Niwaki · Garden sharpening stone
Maker guidance on brief soaking, wet use and storage for the shaped garden stone.
Open source -
08
Niwaki · Sharpening Stone #1000 for secateurs
Exact selected model, price and availability used for the recommendation; recheck delivery and checkout.
Open source
Guide information and links checked 2 October 2026.