Beginner’s guide · Observe & photograph
Collect the evidence.
Then give the specimen a name.
Begin with a few legal, loose finds and record where each came from. Use a hand lens, a field guide and simple property tests to narrow an identification before buying a hammer or filling shelves with unlabelled stones.
Quick answer
Start with provenance, not a hammer
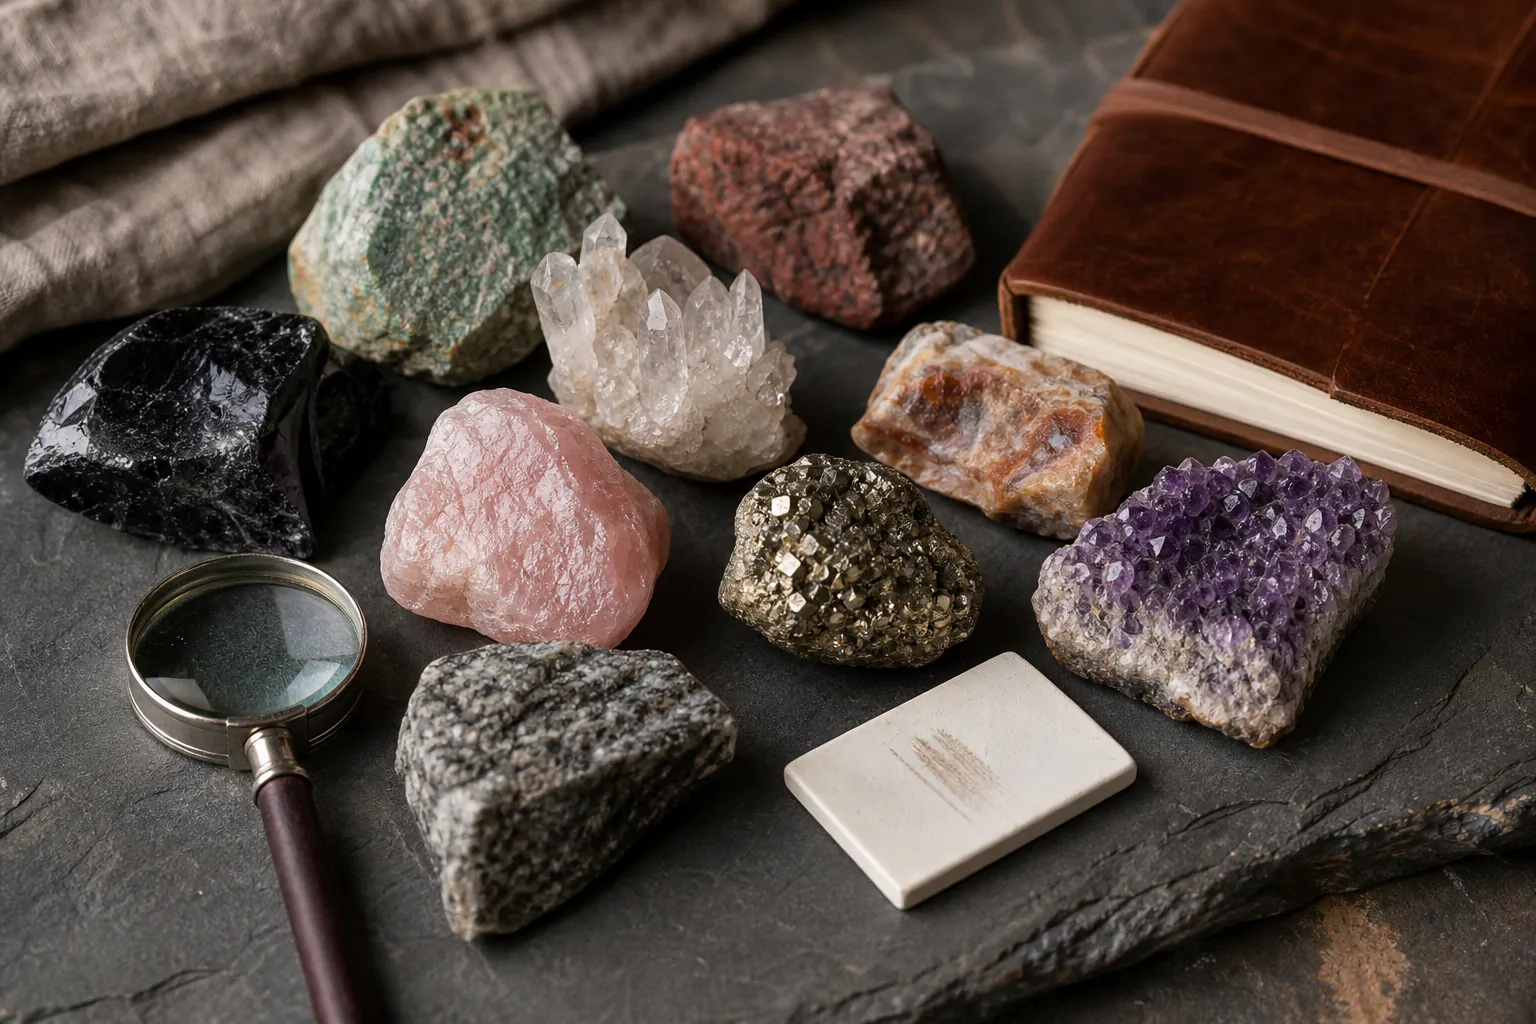
Choose three ordinary specimens already owned, legally collected from loose material or bought with a reliable label. Give each a number, record its exact origin and observe grain, lustre, cleavage or fracture, hardness and streak where appropriate. Compare all the properties with a regional guide instead of identifying by colour alone.
- 01
A 10× hand lens reveals crystals, grains and surface texture without turning the hobby into laboratory microscopy.
- 02
Rock names describe mixtures and textures; mineral identification uses properties such as hardness, streak, cleavage and crystal form.
- 03
Testing can scratch, powder or contaminate a specimen. Use an inconspicuous surface and do not test valuable, fragile or unknown hazardous material.
- 04
A useful label keeps specimen number, place, date, finder and confidence. “Pretty grey rock” without a location is much harder to study later.
What to expect
Identification is a case built from several clues
Colour varies with weathering, impurities and lighting. A confident identification usually combines context with texture and repeatable physical properties.
Context
Local geology and the precise layer, beach or spoil heap can eliminate many otherwise plausible names.
Texture
Interlocking crystals, rounded grains, layers, bubbles and glassy fracture often tell more than colour.
Hardness
A controlled scratch test asks which known material scratches which; pressing harder is not a better test.
Streak
The powder colour on unglazed porcelain can differ from the specimen surface, but very hard minerals may not leave a useful streak.
Cleaning
Water, acid and brushes can remove evidence or damage soluble and reactive minerals. Identify the material before aggressive cleaning.
Storage
Some minerals fade, rust, shed fibres or react with moisture. A labelled box and stable environment are part of collecting.
Identification
Keep observation, testing and interpretation separate
Record the find before altering it
Photograph the specimen in place where this is safe and permitted. Note a precise location, date, surrounding material and whether it was loose, purchased or given. Assign a number that links the object to the notes. A locality is scientific information, not optional decoration.
Observe with the naked eye and lens
Describe colour on fresh and weathered faces, grain size, layers, crystal form, sparkle, transparency, weight and magnetism. Use the lens in good light and hold it close to the eye, moving the specimen into focus. Write what is visible before consulting a name.
Use the least destructive test first
A guide can suggest safe checks. Test hardness on a small inconspicuous fresh area with a known reference and observe whether a true scratch remains after wiping. Use a clean streak plate only when appropriate. Avoid acid, flame and taste tests at home.
Give identifications a confidence level
Write “likely quartz-rich sandstone” or “calcite suspected” with the supporting clues and remaining conflict. Compare with museum material or a knowledgeable group. A corrected label is progress; an unsupported certainty is not.
Useful products
A field lens, a visual guide and a property-testing reference set
The Carson folding loupe is the first purchase because it supports every specimen. The compact DK handbook helps compare textures and properties. The Mohs and streak set is for deliberate home testing after observations are written, not something to carry out and use on every find.
Carson TV-15 5×/10×/15× Folding Loupe
The folding lens adds real surface information without altering the object or requiring a bench setup.
DK Rocks and Minerals: DK Handbook
The handbook keeps texture, formation and mineral clues together while the physical specimen is in hand.
Landical Mohs Hardness and Streak Test Set
Known reference minerals and streak plates make a scratch comparison more informative than improvised pressure.
First collection
Build a three-specimen reference drawer
Use common, stable specimens with known or well-recorded origins. A small purchased study set is acceptable when local collecting rules or access are uncertain.
- 01
Number the specimens
Give each object a durable number and create a matching page in the notebook.
- 02
Write the provenance
Record exact source, date, collector or seller label and whether the material was loose or in situ.
- 03
Describe before naming
List grain, texture, lustre, transparency, fracture and visible crystals in ordinary language.
- 04
Inspect at 10×
Look for crystal boundaries, individual grains, pores, fibres or weathering products.
- 05
Choose one safe property test
Use a guide to select hardness, streak or magnetism and perform it only on an appropriate inconspicuous area.
- 06
Compare regional context
Use a visual handbook and local geology source to narrow the candidates.
- 07
Label with confidence
Write the likely identification, evidence and any alternative rather than forcing certainty.
- 08
Store separately
Keep labels attached to the record and isolate anything friable, reactive or not yet understood.
What can wait
What can wait until identification becomes the hobby
Collecting tools are not permission to remove material, and a bigger pile is not a better collection.
- 01
A geological hammer
Surface collecting and purchased specimens teach observation first. Hammering needs landowner permission, safe geology, eye protection and site-specific rules.
- 02
A large display cabinet
Use small stable boxes with complete labels until the collection has a real organising principle.
- 03
Chemical cleaning
Acids and rust removers can destroy carbonate minerals, release fumes or create hazardous waste. Identify first and use specialist guidance.
- 04
UV lamps and specialist meters
They answer particular fluorescence or gemmology questions. Basic texture and property work should reveal whether that route interests you.
- 05
Buying mystery specimens in bulk
Unreliable labels and no locality teach less than three well-documented examples.
Upgrade path
Improve the quality of the record before the size of the collection
Later equipment matters when it produces a property or context that the current record cannot capture.
Three specimens
About £8–£35Hand lens, notebook and guide
Learn observation, provenance and cautious identification.Property-testing bench
About £20–£60Known hardness points, streak plate, magnet and scale
Compare physical properties systematically on suitable samples.Local field collection
About £40–£150Maps, footwear, eye protection, bags and permits where needed
Connect specimens to geology while taking responsibility for site rules and safety.Specialist analysis
£150–£1,000+Stereo microscope, density tools or society/lab access
Study microcrystals and harder identifications beyond visual field methods.Field safety
Permission and ground conditions come first
A public-looking beach, quarry, road cutting or mine spoil is not automatically safe or legal to collect from.
- Check land ownership, access law, protected-site rules and collecting limits for the exact location before taking material.
- Do not enter working or disused quarries, mines, cuttings or unstable faces without explicit permission and competent arrangements.
- Wear strong footwear, check weather and tides, tell someone the route and avoid working alone in remote or unstable places.
- Use eye protection whenever striking material and keep other people outside the fragment path.
- Leave scientifically important, rare or large in-place material undamaged and report it to the relevant landowner, museum or geological body.
Outside help
When local knowledge is worth more than another tool
A geological society walk can explain which loose material is legal, what the local rocks look like and which apparent collecting sites are unsafe.
Compare the first specimens with regional examples before asking for a final name.
Choose an organised visit with permission, safety information and a clear collecting policy.
Free identification resources and representative UK society arrangements checked 31 July 2026; trip fees and collecting permission vary.
Sources
Where the guidance came from
Museum identification guidance anchors the observation method, while geological field codes and collectors’ experience set the access and safety boundaries.
-
01
Natural History Museum · Beginner’s guide to identifying UK rock types
UK rock textures, formation groups and beginner identification cues.
Open source -
02
Geological Society · Fieldwork resources and code
Permission, quarry, cliff, footwear and fieldwork safety principles.
Open source -
03
r/rockhounds · Advice for starting rock hunting
Recurring practitioner advice on books, hardness, streak, eye protection and simple early collecting.
Open source -
04
Amazon UK · Carson TV-15 folding loupe
Exact product page, model or ISBN, observed price and availability checked for this guide.
Open source -
05
Amazon UK · DK Handbook Rocks and Minerals
Exact product page, model or ISBN, observed price and availability checked for this guide.
Open source -
06
Amazon UK · Landical Mohs hardness and streak kit
Exact product page, model or ISBN, observed price and availability checked for this guide.
Open source
Guide information and links checked 31 July 2026.