Beginner’s guide · Observe & photograph
Start with your phone.
Follow the light.
Start with the smartphone you already own. Photograph the Moon, bright planets or a field of stars, then see what a tripod, telescope adapter, camera and tracker actually change.
Quick answer
Start with the phone in your pocket
There are two useful phone routes. Point a firmly supported phone at the sky for the Moon, constellations and starry landscapes, or align it behind a telescope eyepiece for a larger view of the Moon and bright planets. A dedicated camera becomes the flexible upgrade, not the entry ticket.
- 01
Check whether your normal camera app has Night, Astro or Pro controls before downloading or buying anything.
- 02
For stars, stability and dark sky matter more than digital zoom. Use a stand, a timer and the main 1× camera.
- 03
For the Moon and planets through a telescope, a three-axis phone adapter is much less frustrating than holding the phone over the eyepiece.
- 04
A phone does not turn an ordinary untracked telescope into a deep-sky imaging rig. Faint nebulae and galaxies need a different route.
What to expect
The finished image hides the missed frames
Phone or camera, the repeatable work is the same: plan, steady, focus, capture more than one frame and keep only what the conditions support.
Plan
Check cloud, Moon phase, target direction, access and a safe place to stop.
Steady
Use a timer or remote release. Tiny movements are magnified through a telescope.
Expose
The Moon needs a darker exposure than most phones first choose; stars need a still phone and more collected light.
Repeat
Take several photographs or a short video because focus and atmospheric steadiness change moment to moment.
Process
A restrained edit or stack can reveal detail, but it cannot repair trailing stars, clipped Moon highlights or missed focus.
Moon, planets & stars
Use a different method for each target
The Moon with only a phone
Use the longest optical camera your phone genuinely has, not extreme digital zoom. Brace the phone or put it on a small tripod, tap the Moon to focus, lower the exposure until surface detail returns and use a short timer. The Moon will still be fairly small in the frame; that is a limitation of focal length, not a failed attempt.
The Moon through a telescope
This is the strongest use for a phone-to-eyepiece adapter. Start with a lower-power eyepiece because the wider view is easier to align. Centre the Moon visually, attach the phone, select the camera that lines up with the eyepiece, then reduce exposure. Take many stills or a short video. NASA’s lunar photography guidance explains why repeated frames improve the chance of catching a moment of steadier air.
Bright planets through a telescope
Jupiter and Saturn can be recorded as small objects through a suitable telescope, but expect alignment to be fiddly and detail to be modest. Video is often more useful than a single photograph because the best frames can be selected later. An undriven telescope lets the planet drift, so recentre it and work in short bursts.
Stars and a night landscape
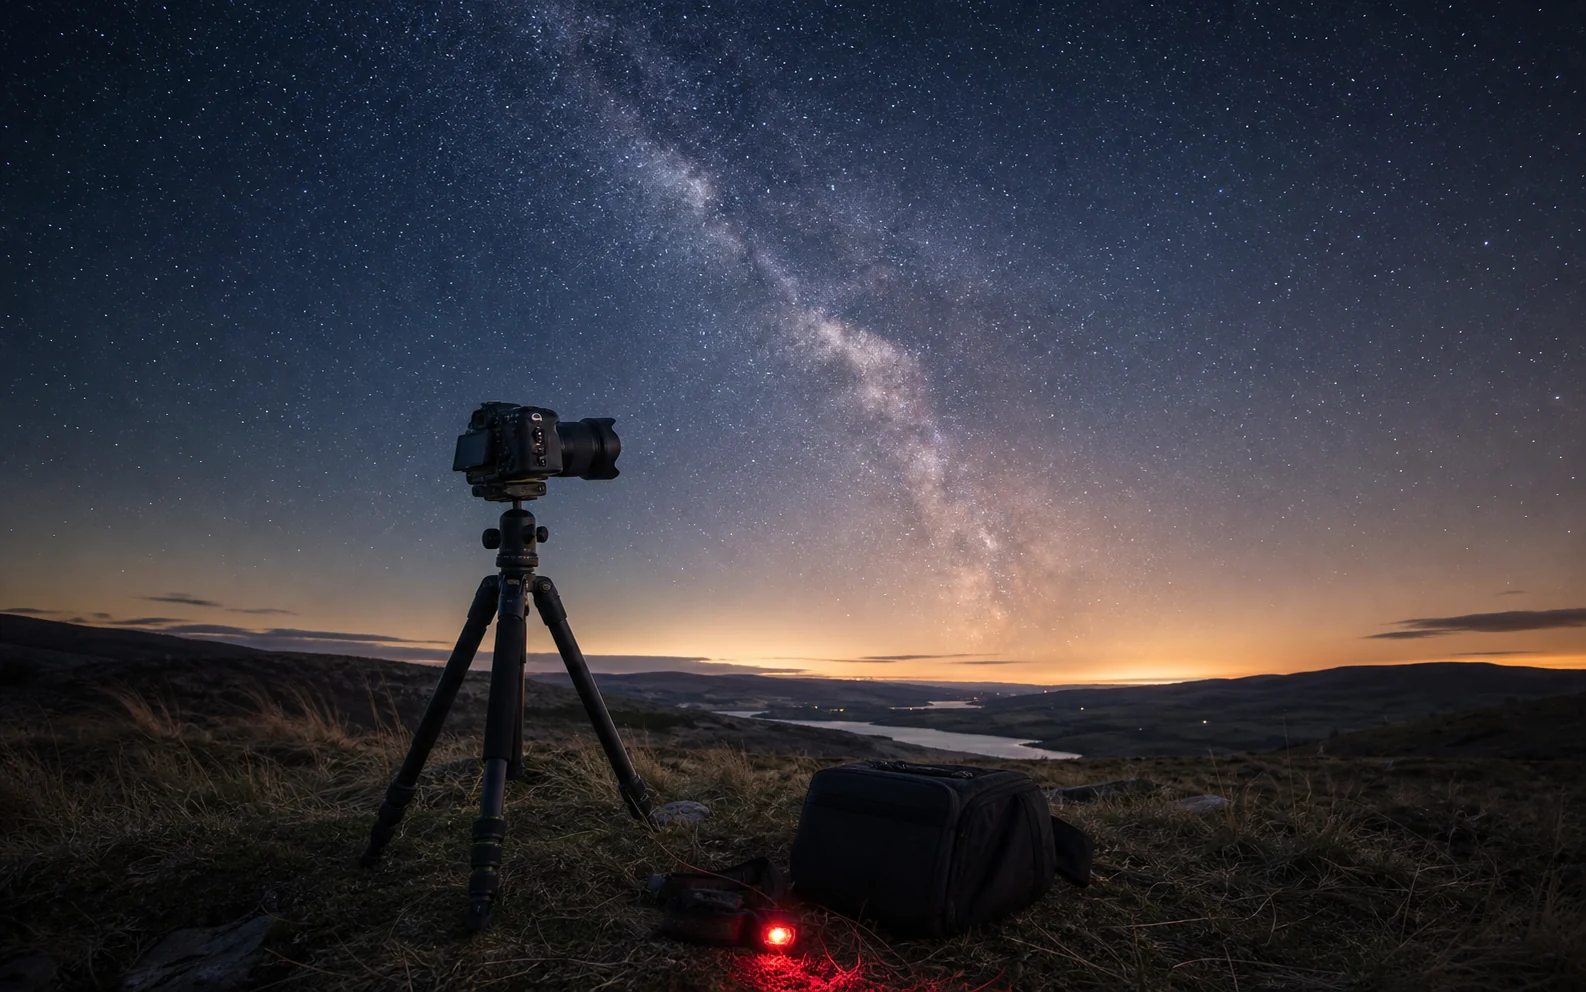
A compatible phone’s Night or Astrophotography mode can combine multiple exposures while the device remains still. Use the main 1× camera, turn off flash, add a timer, keep the phone low and sheltered from wind, and move away from direct lights. If the phone offers manual control, use the widest sensible lens, focus at infinity or on a bright star, and avoid exposures long enough to make stars visibly streak.
Nebulae and galaxies
A phone held behind an ordinary eyepiece is rarely the sensible beginner path to faint deep-sky objects. Use the phone first for planning and simple captures. Move later to a camera and tracker, a dedicated planetary camera, or a smart telescope when the target—not the shopping impulse—justifies it.
Helpful phone apps
Let the phone help before and during the shoot
Start with the built-in camera
Supported Google Pixel phones can enter Astrophotography mode when they are steady in Night Sight. Other phones may offer Night, Pro or manufacturer-specific Astro controls. Start there: a third-party app cannot give a phone hardware controls it does not expose.
Plan what will be visible
Stellarium Mobile shows where stars, planets and the Moon will be. Clear Outside is a free UK-built iOS and Android forecast with cloud layers, darkness, Moon information, wind and dew point. PhotoPills is a paid planning upgrade for precise Moon, Milky Way and meteor-shower compositions.
Take more control
AstroShader is a free iPhone option for manual capture, alignment and live stacking. DeepSkyCamera is an Android option for supported phones that expose RAW and manual controls; its own description correctly warns that it is not a one-tap solution. Compatibility varies, so test free or built-in tools before paying for an app.
Keep the screen from spoiling the night
Dim the display and use a red-screen mode when practical, but carry a normal white torch for walking and emergencies. Do not rely on a phone as your only map, light or means of calling for help in a remote location.
Starter kit
Two small ways to hold the phone still
You do not need both products. Choose a small phone tripod for direct sky photographs, or an eyepiece adapter only if you already have access to a suitable telescope.
ULANZI MT-33 Flexible Smartphone Tripod
The phone clamp is built in, the ball head points upward and the legs can sit low on a stable surface while a Night or Astro exposure runs.
Celestron NexYZ 3-Axis Universal Smartphone Adapter
Three separate adjustment axes make it much easier to centre the correct phone camera over an eyepiece for Moon photographs and short planetary videos.
First attempt
Make a useful first phone image
Choose one route based on what you already own. A steady phone can try a star field; a phone plus an existing telescope can try the Moon. The goal is to learn what the phone does automatically and where it needs help.
- 01
Check the phone
Find Night, Astro or Pro mode, clean the camera lenses, make space for files and switch off flash. Avoid installing several apps before testing the built-in camera.
- 02
Stabilise it
Use a tripod, firm stand or eyepiece adapter. Add a two- or three-second timer so touching the shutter does not move the view.
- 03
Try stars
Use the main 1× camera, point away from direct lights and run the longest built-in night capture the phone offers while it is completely still. Repeat five to ten times.
- 04
Or try the Moon
With a telescope, begin at lower magnification, align the phone camera centrally, reduce exposure and capture several stills or a short video before the Moon drifts away.
- 05
Compare honestly
Check sharpness at full size. Note whether the limit was movement, focus, cloud, overexposure, light pollution or simply the phone’s field of view before buying an upgrade.
What to consider later
What can wait
Future equipment should solve a limitation you have met. The camera route is broader and the tracking route collects more light, but both add settings, processing and setup time.
- 01
A DSLR or mirrorless camera
This is the flexible upgrade for RAW files, interchangeable lenses, predictable manual settings and repeatable sequences. It is especially useful for wide star fields and tracked deep-sky work.
- 02
A full-size camera tripod
A stronger tripod matters once the camera and lens become heavier. Keep the centre column down and choose a removable head if a tracker may replace it later.
- 03
A star tracker
Tracking rotates the camera with the sky so each frame can collect light for longer without star trails. It also adds polar alignment, balancing, power and more time outside.
- 04
A telescope for imaging
Do not buy a telescope merely to make the phone image larger. Visual and imaging telescopes solve different problems, and deep-sky results depend heavily on the mount.
- 05
A dew heater
Buy one when condensation actually ends sessions. It needs the correct strap size and a suitable USB power source.
Upgrade path
What a better setup changes
Each route favours different targets. A phone is enough to learn steadiness and exposure; a telescope adapter adds image scale; a camera adds control; tracking adds faint detail.
Use what you own
£0–£30Phone + firm support
Capture the Moon, constellations, starry landscapes and some Milky Way detail on compatible phones.Use an existing telescope
£20–£70Phone + eyepiece adapter
Make the Moon much larger and try short videos of bright planets; alignment becomes the main job.Take manual control
£350–£900Camera + wide lens + tripod
Gain RAW files, repeatable settings and interchangeable lenses for higher-quality wide-field work.Gather more light
£700–£1,800+Camera + tracker + suitable lens
Use longer sub-exposures on nebulae and galaxies, with polar alignment and stacking added to the workflow.Safety & access
Treat the location as part of the kit
Darkness, cold and unfamiliar ground create more immediate risks than the camera settings.
- Check access, parking rules and landowner permission in daylight.
- Tell someone where you are going and when you expect to return.
- Carry a normal white torch for walking and emergencies; use red light only when settled at the equipment.
- Keep tripod legs, telescope bases and bags out of paths, roads and cliff edges.
- Protect batteries and yourself from cold, wind and sudden weather changes.
- Never photograph or look at the Sun through a phone, camera, binocular or telescope without a correctly fitted certified solar filter designed for that exact use.
Courses & workshops
When tuition becomes useful
You can learn the first phone, camera and processing experiments at home. Tuition is most useful when repeated focusing, processing or location problems are stopping progress.
A six-week Royal Observatory Greenwich listing covered camera settings, targets, processing and tracking. Check for the next published dates.
Useful for supervised focus, composition and safe location work in real night conditions.
A substantial later option for location planning, field work and one-to-one processing rather than a requirement to begin.
Representative UK course and workshop listings checked 23 July 2026; dates, locations and prices change.
Sources
See what shaped the advice.
Follow the evidence.
Space-agency guidance, manufacturer specifications, app documentation, current UK product pages and recurring beginner experience were checked for this guide.
-
01
NASA Science · lunar photography guide
Phone example, repeated-frame technique, telescope tracking limitations and practical Moon-photography guidance
Open source -
02
Google Pixel Camera Help · Astrophotography
Official compatible-phone instructions for a still device, Night Sight and Astrophotography mode
Open source -
03
Celestron · NexYZ smartphone adapter
Official three-axis alignment, phone range, eyepiece range, weight and compatibility specifications
Open source -
04
BBC Sky at Night · smartphone telescope photography
Practical phone-to-eyepiece workflow and the Moon as a sensible first target
Open source -
05
Clear Outside · mobile app
Free iOS and Android forecast features including cloud layers, darkness, Moon, wind and dew point
Open source -
06
Stellarium Labs · Stellarium Mobile
Mobile planetarium and night-sky planning tool
Open source -
07
AstroShader · iPhone astrophotography
Official manual capture, focus, exposure and live-stacking features
Open source -
08
DeepSkyCamera · Android app
RAW and manual-control requirements plus the developer's warning that the workflow is not one-click
Open source -
09
PhotoPills · planning app
Moon, Milky Way, meteor-shower and location-planning functions
Open source -
10
Royal Observatory Greenwich · getting started
Camera-and-tripod progression, long exposures and later tracker or telescope routes
Open source -
11
Royal Observatory Greenwich · introduction course
Recent six-week online course structure, equipment expectations and listed price
Open source -
12
Sky-Watcher · Star Adventurer
Official tracking modes, payload, polar scope, power and camera-control specifications
Open source -
13
Siril · stacking documentation
Why aligned image stacking improves signal-to-noise ratio and detail
Open source -
14
r/telescopes · recent phone-adapter discussion
Recent limitations and recurring advice for Moon and planetary video through an eyepiece
Open source -
15
r/AskAstrophotography · smartphone adapter experience
Beginner experience using the NexYZ adapter for the Moon
Open source -
16
Amazon UK · ULANZI MT-33 tripod
Exact flexible smartphone tripod product page
Open source -
17
Amazon UK · Celestron NexYZ
Exact three-axis telescope smartphone-adapter product page
Open source -
18
Amazon UK · K&F Concept tripod
Exact aluminium camera tripod and ball-head product page
Open source -
19
Amazon UK · Star Adventurer 2i Pro Pack
Exact portable star-tracker product page
Open source -
20
Amazon UK · SVBONY dew heater
Exact USB lens-warmer product page
Open source
Guide information and links checked 23 July 2026.