Beginner’s guide · Grow & care
Give an air plant water—and a way to dry.
Airflow completes the care.
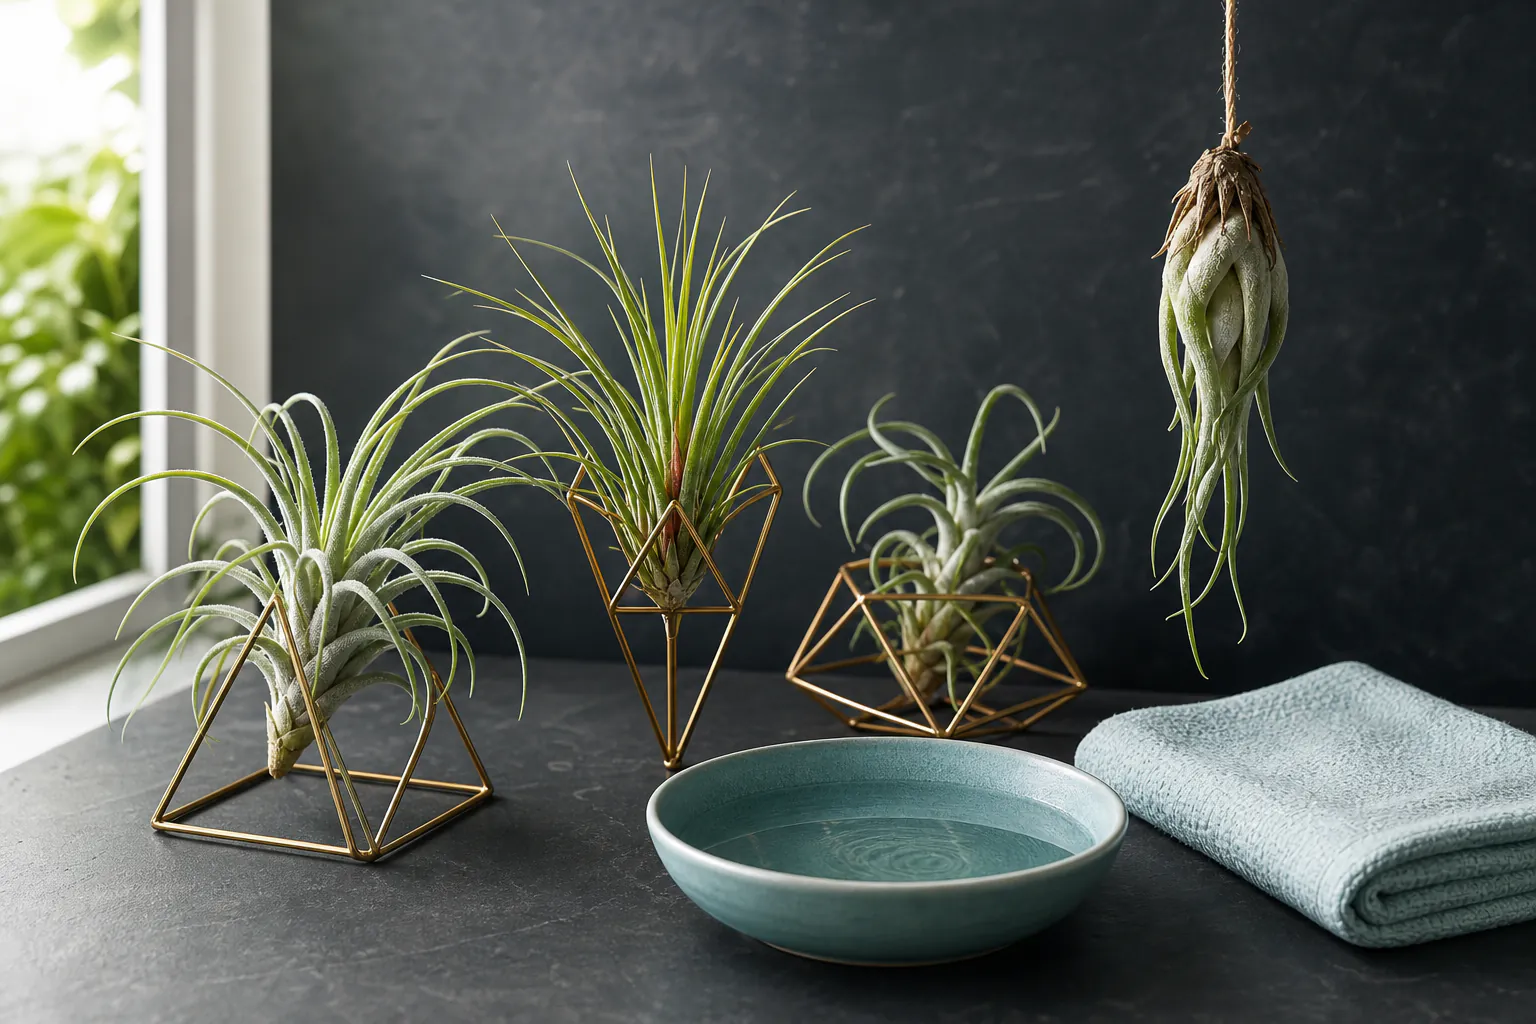
Start with one or two Tillandsia in bright indirect light. Soak or rinse them thoroughly, shake out trapped water and let them dry upside down before returning them to an airy holder.
Quick answer
Water deeply, drain completely and watch the base
Place a healthy Tillandsia in bright indirect light with moving air. About once a week in an average indoor setting, soak or thoroughly rinse it using suitable water, then shake it gently and dry it upside down or sideways so no water remains in the crown. Return it to an open holder only when the base and leaf axils are dry; change frequency for heat, humidity and plant type.
- 01
Air plants absorb water through leaves, but “no soil” does not mean no water.
- 02
Misting alone often wets only the surface and may leave the plant chronically dehydrated.
- 03
Water trapped at the base encourages rot, especially in cool dim rooms.
- 04
Grey trichomes are normal on many species. Do not rub or polish the protective surface.
What to expect
The right routine depends on the room and the species
A warm dry home, humid bathroom and cool conservatory create different drying and hydration needs. Observe leaf curl, firmness and drying time.
Light
Bright filtered light supports growth; harsh unacclimated sun can scorch and deep shade weakens the plant.
Water
Hard or softened water may leave salts. Rainwater or suitable low-mineral water is often preferable.
Drying
The plant should dry within roughly four hours. A closed globe or damp base increases rot risk.
Species
Thin green leaves and thick silver leaves often indicate different moisture and light preferences.
Bloom
A rosette usually flowers once and may then produce offsets while the parent slowly declines.
Pests
Scale and mealybug can hide near bases. Isolate new plants and inspect before adding them to a display.
Core method
Make hydration and drying equally deliberate
Begin with a healthy identifiable plant
Choose a firm plant with an intact base, no sour smell, black mush or widespread leaf loss. A species or group name helps refine conditions. Keep new plants separate for several weeks and photograph their starting shape, colour and leaf curl.
Provide light without trapping heat
Use a bright position near a window but away from a sealed sun-heated glass globe. Acclimatise gradually to direct morning or late sun. Artificial light can work when timed consistently, but the first priority is an open position where the plant can dry.
Use a complete water-and-dry cycle
Submerge or rinse the whole plant according to its type and current specialist guidance. After watering, shake it and rest it crown-down on a towel in moving air. Check the base and tight leaf axils. Only return it to a holder when fully dry, then observe how many days pass before leaves curl more tightly.
Adjust from evidence, not ritual
If leaves remain sharply curled and brittle after a complete drink, increase hydration cautiously. If the base darkens, smells or stays wet, improve airflow and stop repeated watering. Feed only with a diluted bromeliad or air-plant product during active growth and never use copper-containing treatments.
Useful products
Healthy starter plants, an open display and optional feed
The plant assortment gives several forms to observe but increases care variation; starting with one is also sensible. The open metal holders keep bases visible. Air Plant Myst is optional nutrition and moisture, not a replacement for thorough hydration and drying.
Craftyplants Four Different Tillandsia Air Plants
It provides living subjects immediately and encourages observation of genuine variation.
Growth Technology Air Plant Myst 300 ml
It is easier to dose than general houseplant fertiliser and can support an established routine.
GeerWest Geometric Air Plant Holders, Four Pack
The open form is preferable to a sealed globe and makes removal for watering possible.
First project
Track four hydration cycles
Use one plant and record its leaf curl, weight impression, soak or rinse time and drying time over a month.
- 01
Inspect and photograph
Record base colour, leaf condition and any damage before watering.
- 02
Choose an airy position
Use bright indirect light and keep the crown out of a closed container.
- 03
Hydrate thoroughly
Use suitable water and wet the whole plant rather than only misting tips.
- 04
Dry crown-down
Shake and rest it in moving air until every tight base is dry.
- 05
Observe before repeating
Watch firmness and curl and note room temperature and humidity changes.
- 06
Adjust cautiously
Change only frequency or duration and retain the previous routine as evidence.
What can wait
What can wait until the first result
Most air-plant failures are not caused by the absence of a decorative product.
- 01
Closed glass terrariums
They restrict airflow and can amplify heat and trapped moisture.
- 02
Daily misting by calendar
It can create superficial dampness without reliable hydration or drying.
- 03
Glueing immediately
Permanent attachment can hide rot, block offsets and make watering awkward.
- 04
Strong fertiliser
Roots and leaves are sensitive to salts; use a compatible diluted product sparingly.
- 05
A large mixed collection
Learn one form and room before combining species with different needs.
Upgrade path
Upgrade the repeated limitation
Upgrade water quality, light knowledge and species identification before display complexity.
One open plant
About £5–£17Bright position + bowl + towel
Learn hydration and drying.Airy display
About £11Open holder with base visible
Keep the plant secure without trapping water.Measured conditions
About £10–£30Thermometer/hygrometer and recorded routine
Explain seasonal drying changes.Species collection
VariableLabels, quarantine and separate care notes
Match moisture and light to different Tillandsia types.Safety & care
Avoid rot, toxic treatments and unsafe displays
The plant is small, but hanging hardware, glass heat, pesticide residues and pet access still matter.
- Dry the crown completely after watering and avoid closed displays with persistent condensation.
- Do not use copper-based pesticide or fungicide products on Tillandsia.
- Secure hanging holders and keep wire ends, breakable glass and falling plants away from people and pets.
- Check species toxicity and pesticide history before allowing pets to chew any houseplant.
- Quarantine new plants and clean tools to avoid moving scale or mealybug through a collection.
Outside help
When outside help earns its place
A reputable Tillandsia nursery can identify a plant and its native habit; a course is not necessary for the first month.
Use current UK advice for light, water, feeding and display.
Ask for the species name, preferred light and drying requirements.
Representative UK prices and free learning routes checked 3 August 2026; local availability, materials and tutor support vary.
Sources
Where the guidance came from
RHS guidance establishes UK indoor care, while bromeliad specialists clarify trichomes, offsets and species variation.
-
01
RHS · Air plants
UK cultivation guidance for Tillandsia light, watering, feeding and display.
Open source -
02
RHS · Tillandsia details
Genus context and cultivation characteristics.
Open source -
03
Bromeliad Society International
Specialist bromeliad and Tillandsia knowledge.
Open source -
04
RHS · Houseplant pests and diseases
Common indoor pest identification and management context.
Open source -
05
Amazon UK · Four Tillandsia air plants
Exact product page, model or ISBN, observed price and availability checked for this guide.
Open source -
06
Amazon UK · Air Plant Myst
Exact product page, model or ISBN, observed price and availability checked for this guide.
Open source -
07
Amazon UK · Geometric air plant holder set
Exact product page, model or ISBN, observed price and availability checked for this guide.
Open source
Guide information and links checked 3 August 2026.