Beginner’s guide · Cook & bake
Jerky making
Start with one useful result.
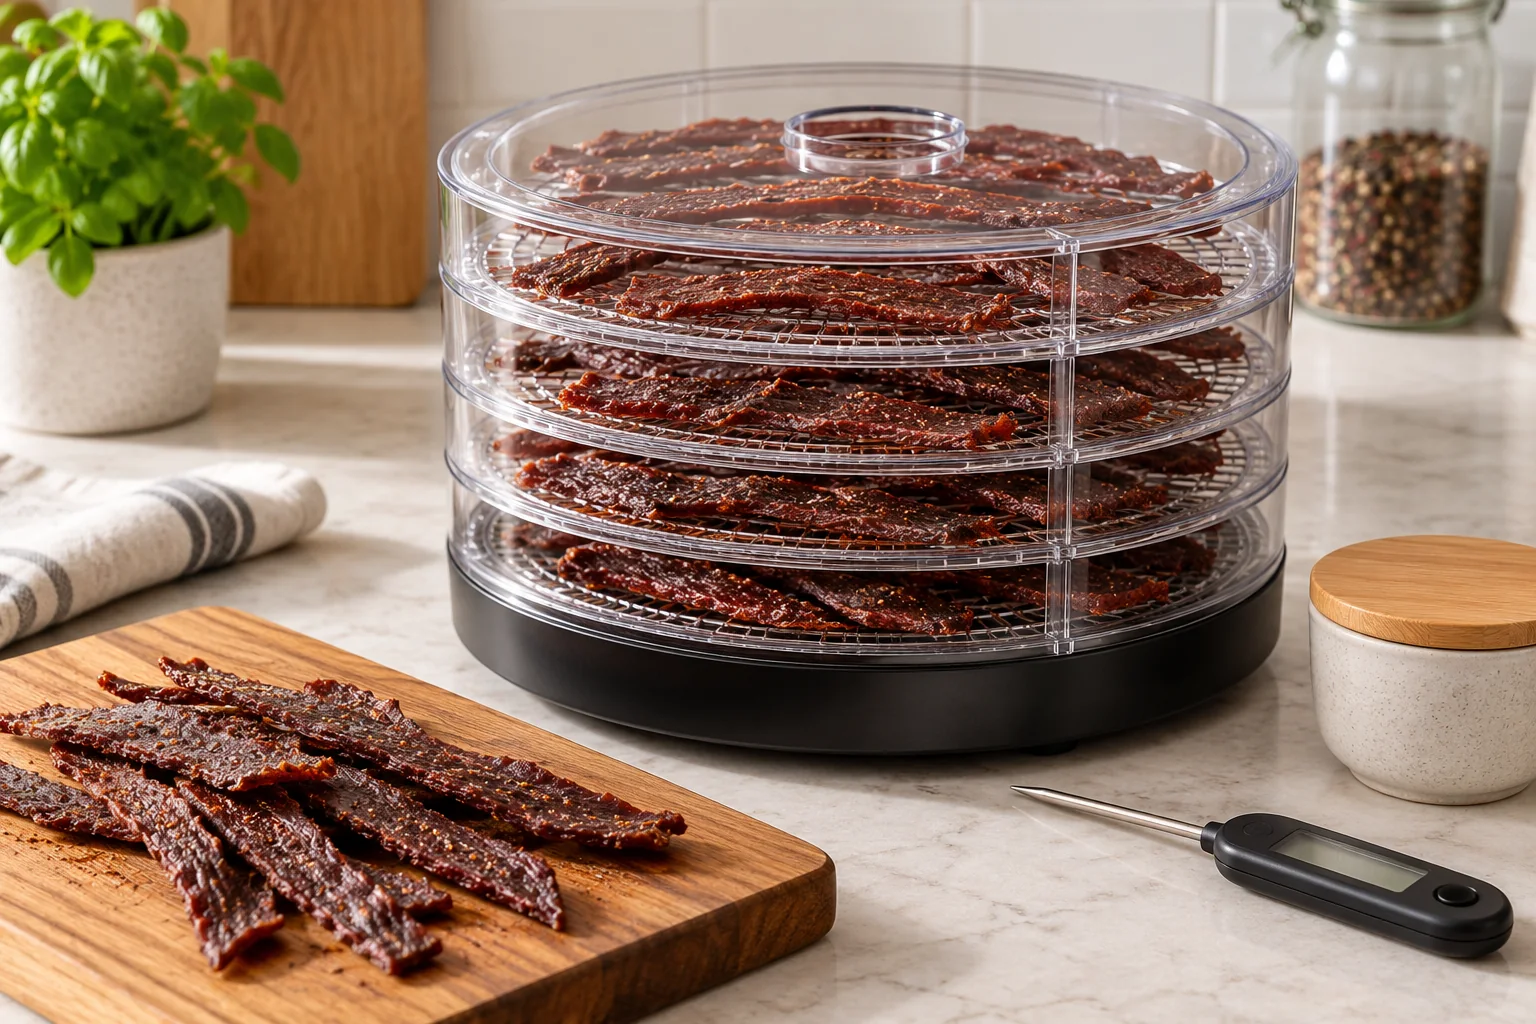
Jerky is dried meat, so the first batch needs more control than dried fruit. Use a tested method that heats beef to the recommended safe temperature before dehydration, then dry in a temperature-controlled appliance. Do not treat a warm dehydrator alone as a kill step.
Quick answer
Start with one small batch of heated-then-dried beef strips
Jerky is dried meat, so the first batch needs more control than dried fruit. Use a tested method that heats beef to the recommended safe temperature before dehydration, then dry in a temperature-controlled appliance. Do not treat a warm dehydrator alone as a kill step.
- 01
Lean beef strips, clean board and a tested jerky recipe
- 02
Clean food thermometer and method for the recipe's pre-drying heat step
- 03
Temperature-controlled dehydrator and refrigerator
What to expect
What the first attempt is really like
The useful skill here is following a validated lethality step before drying rather than judging safety by dryness. These details matter more than a polished first result.
Safety
Pathogens can survive slow warm drying if the meat was not properly heated first.
Thickness
Uneven strips dry at different rates, making a small uniform batch easier to assess.
Storage
Home-dried product has more variable safety and quality than inspected commercial jerky.
The method
The method worth learning
Start with whole-muscle beef and a validated method
Choose a modest amount of lean beef and a food-safety-backed recipe intended for your oven or dehydrator. This route does not cover ground-meat jerky, game, poultry or biltong. Those are different processes, not substitutions to make while learning. Trim visible fat because fat remains after drying and can spoil the result. Keep meat cold and raw preparation separate from finished food.
Slice evenly and marinate cold
Use a sharp knife and stable board. Brief partial freezing can make slicing easier, but thawing and marinating remain refrigerator tasks. Use the Extension publication’s Traditional Jerky Recipe with its baking-before-drying option. Its strips are approximately 3–6 mm thick; read the full measurements and formula before preparing the meat. Follow the recipe’s slice direction: cutting across the grain usually gives a less chewy result than long strips with the grain. Weigh the meat and marinade components where the formula specifies weights. Use food-safe containers and never taste the raw marinade.
Heating and drying do different jobs
USDA FSIS advises heating beef to 160°F, approximately 71°C, before dehydrating. For the chosen Extension baking route, preheat the oven to 163°C (325°F), arrange the marinated strips without overlap and heat until the meat reaches 71°C (160°F), measured with a thin-tipped food probe. Transfer straight into the prepared dryer. Read the full publication’s precooking option 2 before starting. An appliance set to 70°C, the marinade, smoke or a dry exterior does not demonstrate that this heating step has happened. With thin strips, probe placement is difficult: use the method’s specified preheating approach and a sensor that can measure the food properly. If you cannot verify it, choose a method you can verify rather than skipping the check.
Dry with airflow and safe appliance use
Arrange strips in one layer without touching, on suitable clean racks. The Extension drying range is approximately 63–68°C (145–155°F), checked in the circulating air; drying takes several hours and precooked meat can finish sooner. Follow its full drying and doneness instructions, rather than selecting a fixed finish time. Check that the oven can operate at the required setting; do not wedge its door open unless the appliance maker explicitly permits that procedure. Drying time varies with thickness, humidity and load. A bend test describes texture, not a laboratory measurement of water activity. For an unvalidated home shelf life, cool safely and refrigerate or freeze promptly rather than treating the batch as cupboard-stable.
Useful products
Equipment with a clear job
Start with suitable equipment you already own. These exact UK listings are useful examples when a missing tool limits the first project; prices and availability were checked on 2 October 2026 and delivery may add to the cost.
Thermapen ONE Thermometer
Check the verified pre-drying heat step using a suitable probe placement in the meat.
Salter Disc Digital Kitchen Scales, White
Record meat and bulk marinade quantities and compare finished yield between small batches.
What can wait
What can wait
Keep the first project small and learn what the equipment is doing before adding more.
- 01
A large dehydrator immediately
A small verified oven route can test whether you enjoy preparation and drying. Buy only when the appliance is a demonstrated limit.
- 02
Curing-salt experiments
They require exact formulations and precision measurement; they do not replace the required heating step.
- 03
Ambient storage promises
Home texture checks cannot validate water activity or shelf life. Refrigerate or freeze the first batch with a defined plan.
First project
First project: One small batch of heated-then-dried beef strips
Start with one small batch of heated-then-dried beef strips. Use the listed equipment, take notes on the result and repeat the small project before expanding it.
- 01
Read the complete route
Use the linked Extension Traditional Jerky Recipe and precooking option 2. Choose a small whole-muscle beef batch, slice uniformly and marinate in the fridge as specified.
- 02
Chill and prepare
Slice evenly, keep meat refrigerated, use clean boards and marinate only in the fridge if the recipe calls for it.
- 03
Bake before drying
Use the publication’s 163°C (325°F) preheated-oven route and a thin-tipped probe to verify 71°C (160°F) inside the beef. Start drying immediately afterwards at the specified monitored air temperature.
- 04
Check, cool and store
Follow the full drying checks, cool safely, then refrigerate and use within 48 hours or freeze portions. Do not use a bend test to claim shelf stability.
Troubleshooting
When the first attempt goes wrong
Outside dry, centre moist
Slices may be too thick or the initial drying conditions too aggressive. Use uniform recipe thickness and space the next batch for airflow. Do not package a moist batch as though it were stable dried food.
Drying is uneven
Check whether strips overlap and whether the appliance instructions call for rotating racks. Compare similar strips from different positions. Food-safety heating must already have been completed; rack movement does not replace it.
There are oily patches
Fat was not removed or the cut was too fatty. Choose a leaner cut next time and keep storage conservative. Oil does not evaporate like water.
You cannot establish the heating history
Discard the batch rather than trying to infer safety from dryness or taste. Repeat with a verified probe, a manageable load and a validated preheating method you can carry out.
Upgrade path
Where to go after the first result
Repeat the simple route first, then choose the next step that solves a problem you have actually met.
Repeat
Beef and recipe ingredientsKeep slice thickness consistent
Compare chew and drying evenly before changing meat type or marinade.Convenience
Check a UK-rated model and current priceA thermostatic dehydrator
Adds tray capacity and airflow, but its setting alone does not validate the pre-drying heat step.Process
Specialist advice separately quotedShelf-life testing
Required before claiming a home recipe is safe for long unrefrigerated storage or sale.Safety & care
Safety and practical limits
Use the current instructions for the exact food, material or equipment in front of you.
- USDA FSIS warns that pathogens may survive dehydration if meat is not heated sufficiently before drying.
- Keep raw meat cold, clean and separate from ready-to-eat food; never reuse raw marinade as a dip.
- Use a measured validated process, not colour or bend alone, to decide whether the batch was made safely.
Learning & help
Learning at home and optional help
A class is optional for this first route. Use the free guidance before paying for help.
Use USDA FSIS’s jerky safety guidance with the linked Extension publication’s Traditional Jerky Recipe and precooking option 2. Appliance instructions determine which oven or dehydrator procedures are permitted.
A butcher can provide an appropriate lean whole-muscle cut. An optional food-processing lesson should explicitly address preheating and storage. Selling or establishing unrefrigerated shelf life requires competent advice on the actual process, with a direct current quote.
Learning sources checked 2 October 2026. No unverified class fee or booking availability is quoted.
Sources
Where the guidance came from
Food and wildlife authorities, exact maker instructions, specialist guidance, practitioner observations and UK product listings support the route above. Community accounts inform practical expectations; they do not establish food safety, wildlife rules or current prices.
-
01
USDA FSIS · Jerky and food safety
Validated heating before drying
Open source -
02
Food Standards Agency · Chilling
Chilled food and leftover storage
Open source -
03
Thermapen UK · Thermapen ONE
Exact instant-read thermometer and specifications
Open source -
04
Pacific Northwest Extension · Making jerky at home safely
Peer-reviewed publication with complete recipes, precooking and drying procedures. Follow its linked full publication.
Open source -
05
University of Idaho · Full safe-jerky publication
The Traditional Jerky Recipe and precooking option 2 provide this first beef route; no ambient shelf-life claim is adopted.
Open source -
06
r/jerky · First timer here
Multiple makers discuss hand slicing, uniform thickness and asking a butcher to slice. Community temperature and storage claims are not used.
Open source -
07
r/jerky · Made my cuts too thick
Practitioners discuss uneven thickness and texture. The Extension method supplies the actual slice and heat requirements.
Open source -
08
Salter · Disc Digital Kitchen Scales, White
Exact selected model, price and availability used for the recommendation; recheck delivery and checkout.
Open source
Guide information and links checked 2 October 2026.