Beginner’s guide · Make & create
Catch the thread from below,
and keep the hook facing the chain.
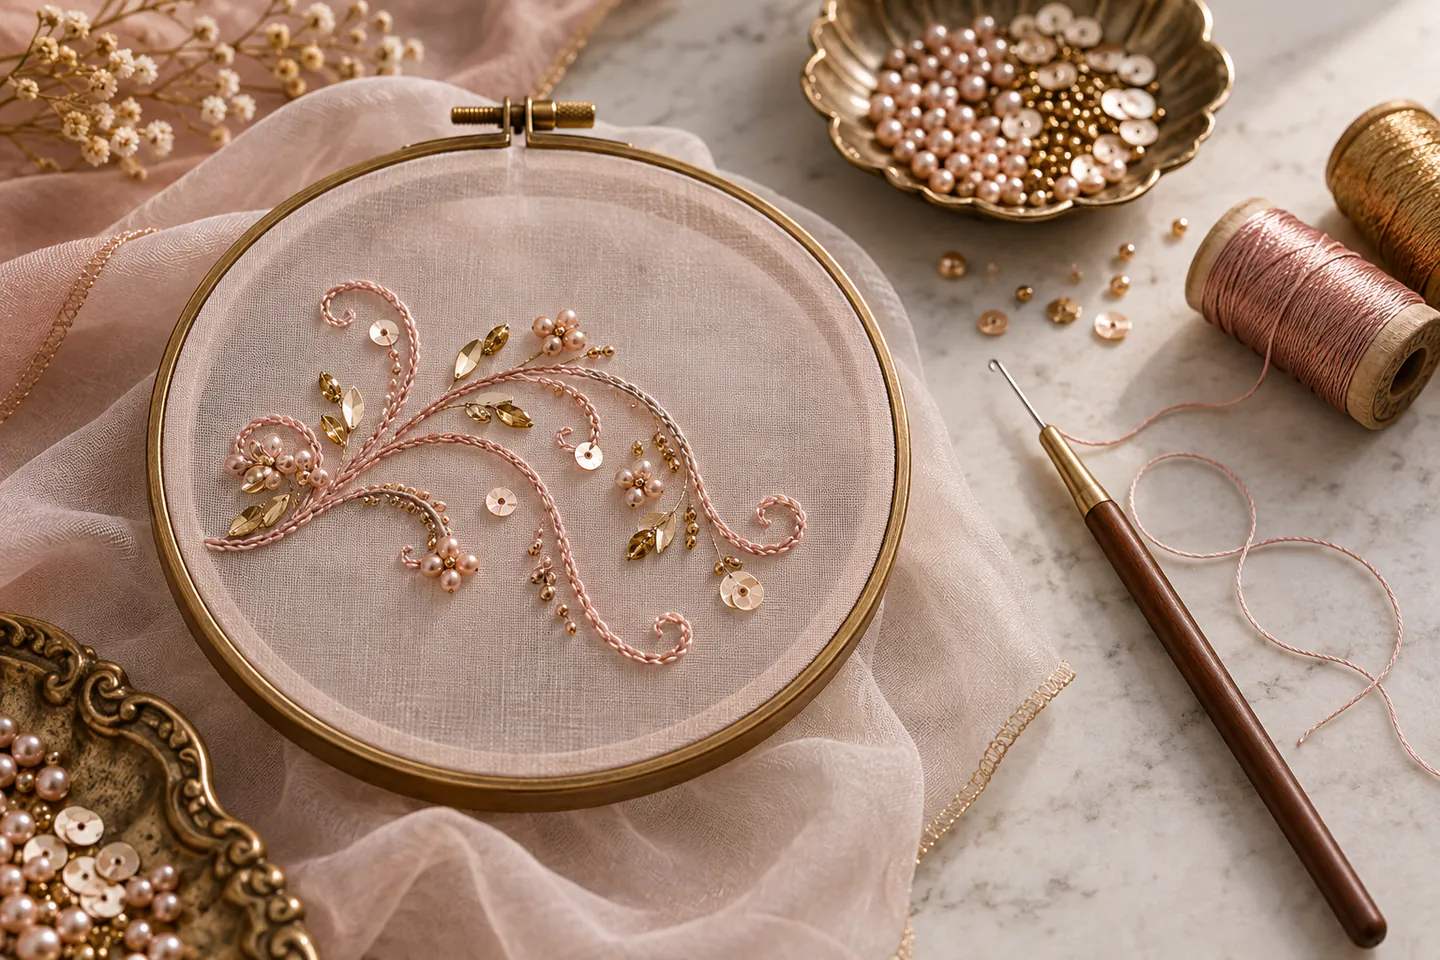
Tambour embroidery forms rapid chain stitch with a fine hook through taut fabric and can add beads or sequins from below. Begin with plain chain lines.
Quick answer
Complete one a plain-thread spiral and leaf sampler before expanding the setup
Stretch stable organza or similar fabric tightly in a frame that leaves both sides accessible. Use a suitable tambour hook and smooth thread, hold the thread below, catch it through the fabric, close the hook and rotate consistently before drawing each loop. Practise straight and curved chain lines, then secure the final loop by the taught method before adding any bead.
- 01
Tambour work needs access above and below the fabric; an ordinary lap hoop can obstruct the thread hand. For a first tambour embroidery attempt, keep the materials, measurements and sequence written beside the work. Photograph or measure the result before correcting it, because a visible record separates a technique problem from a material or setup problem.
- 02
The hook opening must rotate to protect the thread while it passes through the ground. For a first tambour embroidery attempt, keep the materials, measurements and sequence written beside the work. Photograph or measure the result before correcting it, because a visible record separates a technique problem from a material or setup problem.
- 03
Fabric tension and hook size determine whether the chain forms cleanly or snags. For a first tambour embroidery attempt, keep the materials, measurements and sequence written beside the work. Photograph or measure the result before correcting it, because a visible record separates a technique problem from a material or setup problem.
- 04
Lunéville beading builds on the chain method but adds bead loading and different coordination. For a first tambour embroidery attempt, keep the materials, measurements and sequence written beside the work. Photograph or measure the result before correcting it, because a visible record separates a technique problem from a material or setup problem.
What to expect
What tambour embroidery is really like at the start
The useful beginner controls are setup, repeatable movement and a finished sample. Catching thread underneath while rotating the hook consistently is the main skill to observe before adding scale or decoration.
Frame
Slack fabric rises with the hook and makes consistent loops difficult. For a first tambour embroidery attempt, keep the materials, measurements and sequence written beside the work. Photograph or measure the result before correcting it, because a visible record separates a technique problem from a material or setup problem.
Hook
A hook too large cuts or ladders sheer ground; too small splits the thread. For a first tambour embroidery attempt, keep the materials, measurements and sequence written beside the work. Photograph or measure the result before correcting it, because a visible record separates a technique problem from a material or setup problem.
Rotation
Changing direction without rotating the hook can drop or enlarge the loop. For a first tambour embroidery attempt, keep the materials, measurements and sequence written beside the work. Photograph or measure the result before correcting it, because a visible record separates a technique problem from a material or setup problem.
Beads
Adding them early hides whether the base chain is secure. For a first tambour embroidery attempt, keep the materials, measurements and sequence written beside the work. Photograph or measure the result before correcting it, because a visible record separates a technique problem from a material or setup problem.
Core method
The core tambour embroidery method
Mount for two-sided access
Tension the grain evenly and position the frame at a comfortable height. For a first tambour embroidery attempt, keep the materials, measurements and sequence written beside the work. Photograph or measure the result before correcting it, because a visible record separates a technique problem from a material or setup problem.
Practise the catch and turn
Work on plain thread until entry, catch, rotation and withdrawal feel distinct. For a first tambour embroidery attempt, keep the materials, measurements and sequence written beside the work. Photograph or measure the result before correcting it, because a visible record separates a technique problem from a material or setup problem.
Follow simple lines
Make straight rows, corners and a spiral while comparing chain size on the reverse. For a first tambour embroidery attempt, keep the materials, measurements and sequence written beside the work. Photograph or measure the result before correcting it, because a visible record separates a technique problem from a material or setup problem.
Secure before embellishing
Finish the last loop cleanly and test the chain before loading beads or sequins. For a first tambour embroidery attempt, keep the materials, measurements and sequence written beside the work. Photograph or measure the result before correcting it, because a visible record separates a technique problem from a material or setup problem.
Useful products
Products with a clear job in the route
These two products cover distinct jobs in the beginner route; they are not a requirement to buy a bundle. Use materials already owned when they meet the same specification, and confirm every live listing before ordering.
Pllieay Embroidery Starter Kit with Hoops and 100 Threads
The hoops, needles and stranded cotton support several specialist embroidery samples.
Fox Chapel Publishing Stumpwork Embroidery and Thread Painting
A structured book is safer than combining incompatible fragments from several projects.
First project
Make a plain-thread spiral and leaf sampler
Keep the project small enough to finish, inspect and repeat. The first result is evidence about material compatibility, sequence and control rather than a performance test.
- 01
Prepare the workspace and materials
Tension the grain evenly and position the frame at a comfortable height. For a first tambour embroidery attempt, keep the materials, measurements and sequence written beside the work. Photograph or measure the result before correcting it, because a visible record separates a technique problem from a material or setup problem.
- 02
Make the first controlled pass
Work on plain thread until entry, catch, rotation and withdrawal feel distinct. For a first tambour embroidery attempt, keep the materials, measurements and sequence written beside the work. Photograph or measure the result before correcting it, because a visible record separates a technique problem from a material or setup problem.
- 03
Check the central technique
Make straight rows, corners and a spiral while comparing chain size on the reverse. For a first tambour embroidery attempt, keep the materials, measurements and sequence written beside the work. Photograph or measure the result before correcting it, because a visible record separates a technique problem from a material or setup problem.
- 04
Complete the structure
Finish the last loop cleanly and test the chain before loading beads or sequins. For a first tambour embroidery attempt, keep the materials, measurements and sequence written beside the work. Photograph or measure the result before correcting it, because a visible record separates a technique problem from a material or setup problem.
- 05
Finish, measure and record
Let the work settle or dry by the relevant material instructions, then measure, photograph and label the result. Record the one change that would make the next tambour embroidery attempt more controlled. For a first tambour embroidery attempt, keep the materials, measurements and sequence written beside the work. Photograph or measure the result before correcting it, because a visible record separates a technique problem from a material or setup problem.
What can wait
What can wait until the first result
Delay anything that adds cost, risk or another variable before the basic workflow has produced something you can review.
- 01
Beaded couture motif
Bead loading adds another hidden-side coordination problem. For a first tambour embroidery attempt, keep the materials, measurements and sequence written beside the work. Photograph or measure the result before correcting it, because a visible record separates a technique problem from a material or setup problem.
- 02
Very fragile silk organza
Use affordable stable practice ground first. For a first tambour embroidery attempt, keep the materials, measurements and sequence written beside the work. Photograph or measure the result before correcting it, because a visible record separates a technique problem from a material or setup problem.
- 03
Large floor frame
A small supported frame is enough for chain control. For a first tambour embroidery attempt, keep the materials, measurements and sequence written beside the work. Photograph or measure the result before correcting it, because a visible record separates a technique problem from a material or setup problem.
- 04
Garment commission
Abrasion, lining and cleaning need professional planning. For a first tambour embroidery attempt, keep the materials, measurements and sequence written beside the work. Photograph or measure the result before correcting it, because a visible record separates a technique problem from a material or setup problem.
Upgrade path
Add the capability you can now name
Each stage should remove a demonstrated limitation rather than make the setup look more advanced.
Thread sampler
Use owned tools where possibleOne small sample and written notes
Learn the central movement and material behaviour.Small beaded motif
About £20–£80A repeatable complete starter setup
Repeat the result with cleaner finish and fewer corrections.Sequinned panel
About £50–£180A selected tool or structured class
Add one technique, size or design capability.Couture application
Cost varies widelyA documented specialist workflow
Develop original work with provenance, testing and appropriate safety.Safety & care
Safety, care and respectful practice in tambour embroidery
The practical risks are manageable when tools, materials and cultural claims remain specific and proportionate.
- Store the very fine hook capped and account for every needle. For a first tambour embroidery attempt, keep the materials, measurements and sequence written beside the work. Photograph or measure the result before correcting it, because a visible record separates a technique problem from a material or setup problem.
- Protect eyes and fingers from broken beads and clipped wire or sequin fragments. For a first tambour embroidery attempt, keep the materials, measurements and sequence written beside the work. Photograph or measure the result before correcting it, because a visible record separates a technique problem from a material or setup problem.
- Support both forearms and vary posture around the frame. For a first tambour embroidery attempt, keep the materials, measurements and sequence written beside the work. Photograph or measure the result before correcting it, because a visible record separates a technique problem from a material or setup problem.
- Keep beads and sequins away from children and pets. For a first tambour embroidery attempt, keep the materials, measurements and sequence written beside the work. Photograph or measure the result before correcting it, because a visible record separates a technique problem from a material or setup problem.
- Test cleaning, lining and abrasion before using tambour work on clothing. For a first tambour embroidery attempt, keep the materials, measurements and sequence written beside the work. Photograph or measure the result before correcting it, because a visible record separates a technique problem from a material or setup problem.
Outside help
When outside help earns its place
A guided session is useful when equipment setup, live hand correction, heat, sharp tools or a specialist press blocks safe progress. A clear source is enough for the smallest tambour embroidery sample.
Choose one coherent lesson that covers preparation, the central tambour embroidery technique, finishing and common mistakes.
Ask which tools and materials are included, whether the project can be finished in the session and what safety induction is provided.
Representative UK learning and access routes checked 20 September 2026; local prices, equipment and tutor support vary.
Sources
Where the guidance came from
Authoritative and specialist guidance supports the method, terminology and safety boundaries; community discussion contributes recurring beginner problems rather than unsupported claims.
-
01
Royal School of Needlework · Stitch Bank
Specialist stitch structure, terminology and diagrams.
Open source -
02
Royal School of Needlework
UK specialist teaching and technique context.
Open source -
03
DMC · Stitch guide
Manufacturer diagrams for common hand-embroidery stitches.
Open source -
04
Victoria and Albert Museum · Embroidery
Historical, material and object context for embroidery.
Open source -
05
Embroiderers’ Guild
UK community, education and regional-group routes.
Open source -
06
Reddit · r/Embroidery
Recurring beginner evidence on tension, fabric and finishing.
Open source -
07
Amazon UK · Embroidery Starter Kit with Hoops and 100 Threads
Exact Amazon UK catalogue page or ISBN used for the recommendation; confirm current price, seller, specification and availability.
Open source -
08
Amazon UK · Stumpwork Embroidery and Thread Painting
Exact Amazon UK catalogue page or ISBN used for the recommendation; confirm current price, seller, specification and availability.
Open source
Guide information and links checked 20 September 2026.