Beginner’s guide · Make & create
Fold one square.
Read the next line.
A pack of 15 cm paper and a short sequence of clear diagrams are enough. Learn to make a precise crease, recognise a valley and mountain fold, and repeat one simple model before specialist paper or tools enter the picture.
Quick answer
Use a square big enough to see
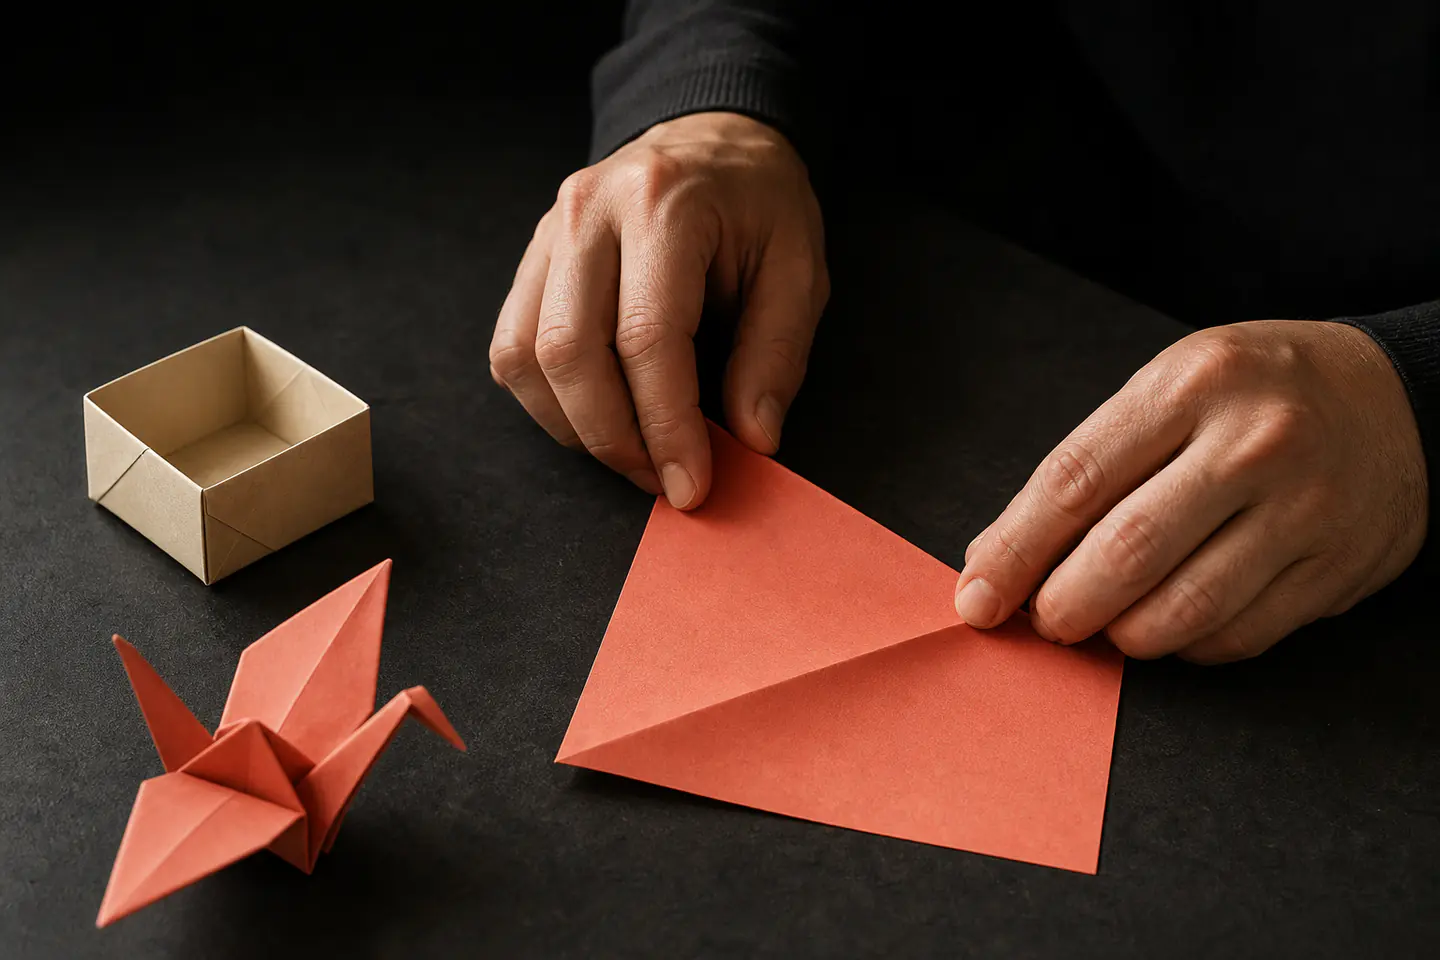
Start with 15 cm kami or another thin, crisp square. Choose a model marked easy, with fewer than about fifteen clear steps. Fold it once slowly, unfold or discard it, then fold the same model again while watching the corners and edges meet.
- 01
Use a solid or simple two-colour sheet. Busy patterns can hide edges, pockets and layer changes.
- 02
Make the alignment before sharpening the crease. A beautifully pressed wrong fold is harder to correct.
- 03
Rotate the paper to match each diagram instead of translating the whole sequence in your head.
- 04
Repeat one model. The second attempt usually teaches more than jumping immediately to another finished object.
What to expect
The difficulty is usually between the diagrams
A beginner model may use only one sheet, yet a small alignment error can travel through every later step.
Symbols
Valley and mountain folds, arrows, hidden edges and “unfold” instructions form a visual language. Learn them rather than guessing from the final photograph.
Accuracy
A one-millimetre miss can become a crooked point after several layers. Align first, crease second.
Handedness
Diagrams may feel reversed. Rotating the model is often easier than mentally mirroring the move.
Paper memory
Every exploratory crease remains visible. Use cheap practice paper while decoding an unfamiliar sequence.
Layer thickness
A sheet that feels thin at the start can become a stiff bundle near the finish. Complex models need different size and paper choices.
Failure
A torn pocket or misplaced flap is normal. Mark the confusing step and try the sequence again with a fresh square.
Paper & diagrams
Pair the paper with the model
Fifteen-centimetre kami is the useful default
Standard kami is thin, inexpensive and easy to crease. A coloured face and contrasting reverse can make layer movement easier to read. Fifteen centimetres is large enough for many simple animals, boxes, flowers and geometric forms while remaining easy to handle on a desk.
Ordinary printer paper can test the hobby: measure a true square and cut it cleanly. It is usually thicker than kami, so stop before a many-layered model turns into a fight. Magazine and wrapping paper can work, but coatings, fibres and printed patterns change how they hold a crease.
Read the whole sequence once
Check the starting colour and orientation, count the major changes of shape and identify unfamiliar symbols. A dotted line shows where to fold, not always where the paper edge will finish. A valley fold comes towards you; a mountain fold goes away. Curved arrows can mean turn over, rotate or open a layer, so use the legend supplied with the instructions.
Paper is part of the design
Larger sheets create more room for fingers and make small landmarks easier to see. Thinner paper handles many layers; stronger or textured papers hold sculptural shaping differently. Tant is firmer and richly coloured, but its extra body can make a dense 15 cm model harder rather than easier. Upgrade for a specific model, not because premium paper is automatically more capable.
Starter options
Paper first; a book only if you like diagrams
The Tuttle paper pack includes instructions for six projects and can stand alone. Add the beginner book only if you want a longer, ordered set of twenty diagrammed projects; it is not required to test the hobby.
Tuttle Rainbow Colors Origami Paper, 200 Sheets, 15 cm
The standard 15 cm size and 200-sheet quantity make practice inexpensive, and six included projects mean it can work without another purchase.
Tuttle Easy Origami for Beginners
Twenty full-colour projects give readers who like print a sequence beyond the six instructions in the paper pack.
First model
Learn with a simple cup or box
Choose one of the easiest models in the included instructions or beginner book. A model with a practical opening makes alignment errors easy to see.
- 01
Inspect the square
Check that every edge is straight and the corners meet. Put the intended outside colour face-down if the diagram says to begin that way.
- 02
Make one accurate diagonal
Bring two opposite corners together, hold them aligned with one hand and press the crease from the centre outwards.
- 03
Match the diagram’s orientation
Rotate the paper so the folded shape points the same way as the next picture. Confirm visible and hidden layers before moving on.
- 04
Pre-crease before opening
When a step asks for a pocket, squash or reverse fold, make the guide creases first. Open only as far as needed and guide the existing folds into place.
- 05
Finish without crushing
Sharpen structural creases, then open the cup, box or base gently. Compare both sides and note where alignment drift began.
- 06
Fold it again
Use a fresh square in the same size. On the second model, pause at the step that caused the first distortion and correct it before continuing.
Troubleshooting
Find the first wrong step, not the final symptom
A crooked finish usually began earlier
Lay the model beside the diagram at the last point where both shapes clearly matched. Check whether the paper was turned over, rotated or only folded and reopened. Confirm that every flap shown in front is actually in front.
If a point refuses to reach its mark, do not stretch the paper. An earlier fold may use the wrong reference, or accumulated alignment error may have shortened the layer. Open back only as far as the paper tolerates; otherwise begin again and preserve the failed sheet as a map of the difficult step.
Video and diagrams solve different problems
A video shows hand position and the movement between shapes. A diagram lets you pause, compare landmarks and see hidden edges. Use a slow video when the motion is unclear, then return to a diagram for repeatability. Avoid rapidly copying a finished-model video without learning the symbols; the next design will feel completely new.
Skip for now
What can wait
Origami needs fewer purchases than almost any hobby. Later paper should answer a model-specific problem.
- 01
Tant and specialist paper
Tant has colour, texture and stronger shaping, but it is firmer than basic kami. The checked Toyo pack is a later comparison for simpler display pieces, not a cure for inaccurate folds.
- 02
Tiny paper
Small squares magnify alignment errors and leave less room for fingers. Fold the model accurately at 15–25 cm before miniaturising it.
- 03
Foil and heavily patterned sheets
Foil records every mark and can tear; patterns can hide the layer the diagram expects you to see.
- 04
Bone folders and crease tools
Fingernails or a smooth clean edge are enough for ordinary kami. A tool may help hand comfort or thick card, but excessive pressure damages paper.
- 05
Wet folding and paper treatment
Moisture, methylcellulose and back-coating belong to sculptural or complex models after dry folds are controlled.
Upgrade path
Change paper for a reason
Complexity is not a shopping ladder. The useful upgrade is the paper size, thickness or strength a chosen model requires.
Learn the language
£0–£915 cm kami + easy diagrams
Build accuracy, symbol reading and basic bases with plentiful forgiving sheets.See more clearly
About £6–£15Larger 20–25 cm squares
Gain room for fingers and clearer landmarks while learning reverse, squash and petal folds.Shape a display model
About £12+Tant or another model-specified paper
Gain body, texture and stronger colour at the cost of extra thickness through layered areas.Complex design
Varies widelyLarge thin specialist sheet + model-specific treatment
Support many layers and shaping, while adding paper preparation and a much higher cost per attempt.Practical care
Protect the hands and the instructions
Origami is low risk, but paper cuts, repetitive pressure and copyrighted diagrams still deserve attention.
- Fold on a clean, dry, well-lit surface so edges and symbols remain visible.
- Take short breaks if fingertips, thumbs or wrists become sore; a harder crease is not worth a hand injury.
- Supervise children around scissors or craft knives when cutting non-square paper.
- Use a blunt assistive crease tool if hand strength is limited, without dragging it towards the other hand.
- Respect the creator’s diagram and model licence before copying instructions, teaching commercially or selling folded work.
Classes
When folding with someone helps
You can learn the core hobby from good diagrams and videos. A workshop becomes useful when one movement repeatedly fails or a sculptural model needs live hand-position feedback.
OrigamiUSA and model creators publish beginner material. Use sources that name the designer and show a complete sequence.
Current craft-event examples covered one-hour fabric-origami and two-hour flower projects; confirm that paper origami and materials are actually included.
Representative UK workshop listings checked 27 July 2026; project, materials and prices vary.
Sources
Where the guidance came from
Paper advice combines specialist reviews with recurring recommendations from experienced folders. Retail records are exact Amazon UK product pages.
-
01
OrigamiUSA · Paper Review #12: Kami
Specialist review explaining where inexpensive one-colour kami works well and where layered complexity exposes its limits.
Open source -
02
OrigamiUSA · Preparing recording materials and insights
Use of 15 cm kami for simple models and visibility considerations for colour, pattern and shine.
Open source -
03
OrigamiUSA · Convention supplies guidance
Examples showing beginner paper sizes and why larger sheets are easier for some models.
Open source -
04
Folding Paper · New to origami
UK specialist advice identifying 15 × 15 cm as a versatile starting size.
Open source -
05
r/origami · Beginner paper recommendations
Recurring community advice to begin with inexpensive 15 cm kami and a contrasting reverse.
Open source -
06
r/origami · What is the best paper for origami?
Experienced folders describe kami as suitable for beginner and intermediate models and recommend changing size for the model.
Open source -
07
Festival of Quilts · 2026 workshop schedule
Current £24 one-hour fabric-origami workshop example used only for representative short-class pricing.
Open source -
08
EJArt Creative · March 2026 timetable
Current £44 origami flower workshop example used for representative pricing.
Open source -
09
Amazon UK · Tuttle Rainbow Colors 15 cm paper
Exact 200-sheet double-sided paper pack with six project instructions, £8.69 observed search price and current stock.
Open source -
10
Amazon UK · Easy Origami for Beginners
Exact Tuttle book with twenty full-colour projects, £5.99 observed search price and current stock.
Open source -
11
Amazon UK · Toyo Tant 15 cm, 100 colours
Exact 15 cm Tant pack, £11.99 observed price and in-stock status.
Open source
Guide information and links checked 27 July 2026.