Beginner’s guide · Make & create
Shape with wool
not a crowded kit.
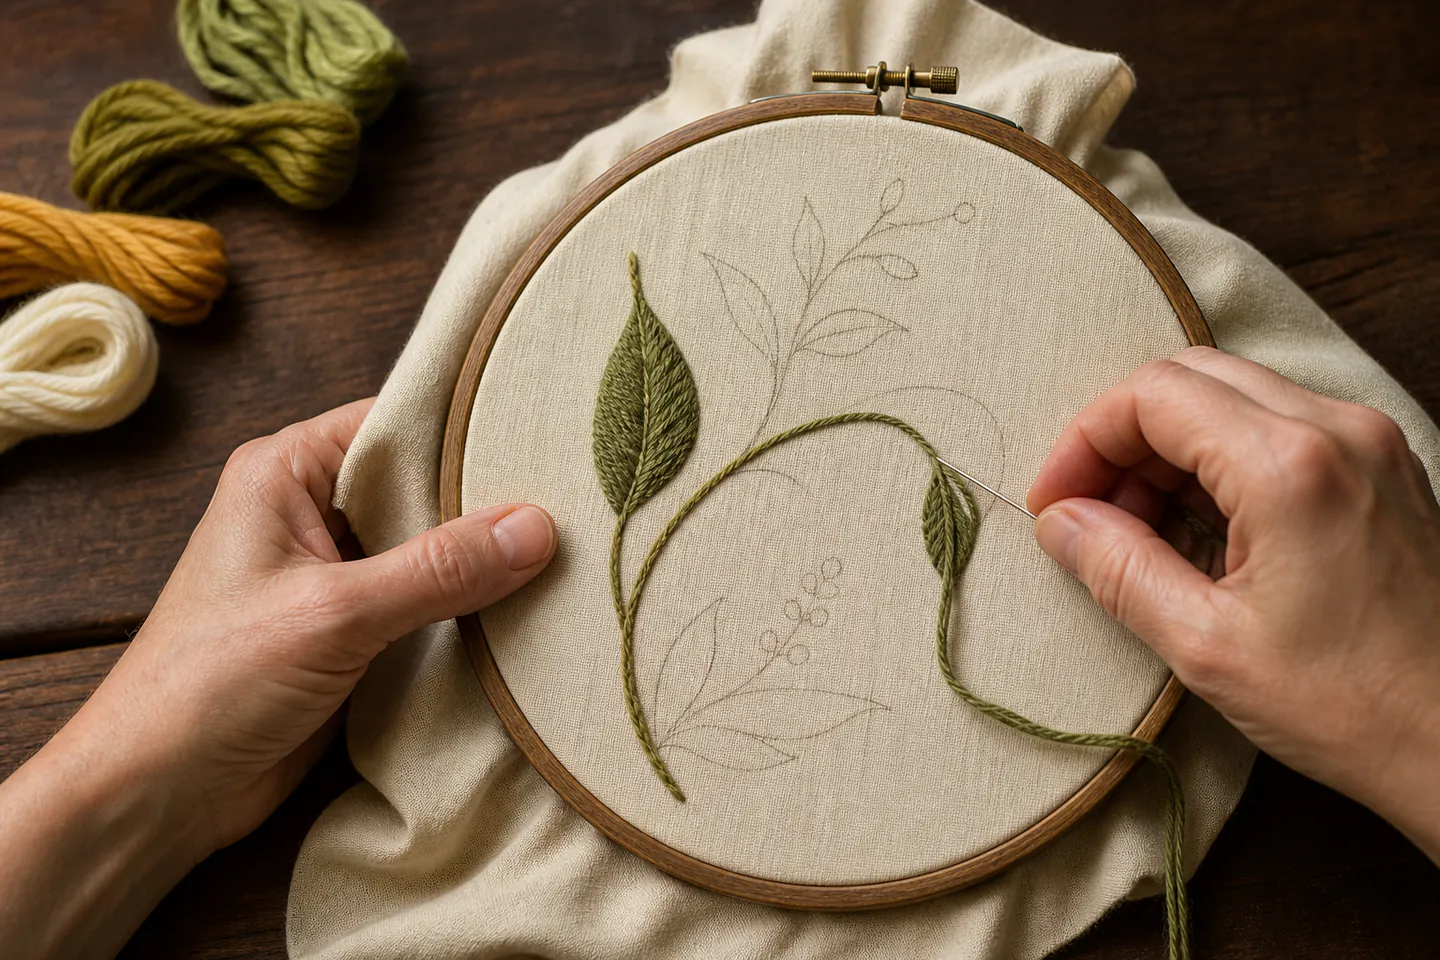
Crewelwork uses wool thread on firm woven fabric to build bold leaves, stems and textured fills. Start with a small genuine crewel kit and learn how wool behaves before choosing loose supplies.
Quick answer
Choose wool thread on firm fabric
Buy a small kit that explicitly uses crewel wool or tapestry wool on linen, twill or another firm ground. Learn stem stitch, satin stitch and one textured fill with short thread lengths.
- 01
Check that a kit genuinely includes wool thread; floral surface embroidery in cotton is not automatically crewelwork. Note the material, setting or measurement used so the result can be repeated or changed for a reason.
- 02
Use short thread lengths because repeated passage through fabric abrades and fluffs wool. Note the material, setting or measurement used so the result can be repeated or changed for a reason.
- 03
Match the needle eye to the wool so threading is easy and the fabric is not torn. Note the material, setting or measurement used so the result can be repeated or changed for a reason.
- 04
Keep the ground fabric drum-firm while allowing raised stitches to retain their shape. Note the material, setting or measurement used so the result can be repeated or changed for a reason.
- 05
Separate strands or blend colours only when the project instructions specify that construction. Note the material, setting or measurement used so the result can be repeated or changed for a reason.
What to expect
Wool gives body and asks for gentler handling
Crewelwork can cover an area quickly, but the thread is less forgiving of overworking than smooth stranded cotton.
Thread wear
Wool becomes fuzzy where it repeatedly passes through the ground. Replacing a tired short length produces a cleaner surface than forcing it to the end. For crewel embroidery, check this deliberately while the work is still easy to alter; correcting it after the next stage usually costs more time or materials.
Texture
Different stitches deliberately sit at different heights. Consistency means repeating the intended structure, not flattening every stitch. For crewel embroidery, check this deliberately while the work is still easy to alter; correcting it after the next stage usually costs more time or materials.
Fabric support
Dense areas pull on the ground, so a firmly mounted linen twill or comparable fabric matters more than an oversized colour assortment. For crewel embroidery, check this deliberately while the work is still easy to alter; correcting it after the next stage usually costs more time or materials.
Design reading
Traditional motifs combine outlines, solid fills and open texture. Work from structural stems into smaller decorative areas. For crewel embroidery, check this deliberately while the work is still easy to alter; correcting it after the next stage usually costs more time or materials.
Core method
Let material choice do part of the work
Recognise crewel wool
Use a softly twisted embroidery wool designed to pass through fabric, not a thick knitting yarn selected only because it is wool. For crewel embroidery, check this deliberately while the work is still easy to alter; correcting it after the next stage usually costs more time or materials.
Mount the ground
Place the design squarely in a hoop or frame and tighten the woven fabric without distorting the grain. For crewel embroidery, check this deliberately while the work is still easy to alter; correcting it after the next stage usually costs more time or materials.
Start with outlines
Work stems and boundaries first where the instructions indicate, using a short length and a needle large enough for the yarn. For crewel embroidery, check this deliberately while the work is still easy to alter; correcting it after the next stage usually costs more time or materials.
Add controlled texture
Test satin, long-and-short or seed filling on spare fabric, then keep spacing and stitch direction deliberate in the project. For crewel embroidery, check this deliberately while the work is still easy to alter; correcting it after the next stage usually costs more time or materials.
Useful products
Products with a clear job in the setup
These choices identify actual wool-based crewel projects rather than relabelling ordinary cotton embroidery.
The Crewel Work Company Acorns Starter Crewel Embroidery Kit
The scale and material make it possible to learn genuine crewel handling without assembling supplies separately.
Dimensions Crewel Kit – Bucket of Flowers Gallery, 11 × 14 in
It adds scale and stitch variety after a small sample while retaining matched materials.
Jacquard Indigo Tie Dye Kit
It is useful for someone who prefers a contemporary look to a traditional floral sampler.
First project
Finish one leaf, stem and filled shape
A compact motif is enough to discover how outline, direction and wool texture interact.
- 01
Inventory the kit
Lay out the wool, needle, ground and instructions; identify every colour before cutting any lengths. For crewel embroidery, check this deliberately while the work is still easy to alter; correcting it after the next stage usually costs more time or materials.
- 02
Mount and test
Fit the ground straight in the hoop, then test one strand and stitch on a margin or spare fabric. For crewel embroidery, check this deliberately while the work is still easy to alter; correcting it after the next stage usually costs more time or materials.
- 03
Work structural lines
Complete a stem or outline with regular stitch length, turning curves gradually instead of forcing sharp corners. For crewel embroidery, check this deliberately while the work is still easy to alter; correcting it after the next stage usually costs more time or materials.
- 04
Fill from an edge
Add a small satin or long-and-short area, placing rather than pulling the wool so the surface remains full. For crewel embroidery, check this deliberately while the work is still easy to alter; correcting it after the next stage usually costs more time or materials.
- 05
Finish the back
Secure short tails beneath compatible stitches without bulky knots, then follow the kit’s pressing and mounting guidance. For crewel embroidery, check this deliberately while the work is still easy to alter; correcting it after the next stage usually costs more time or materials.
What can wait
What can wait until the first result
A genuine small kit teaches more than a large generic embroidery bundle with the wrong thread.
- 01
Full skein palette
Crewel wool varies by maker and thickness. Learn with matched kit colours before buying a broad range. For crewel embroidery, check this deliberately while the work is still easy to alter; correcting it after the next stage usually costs more time or materials.
- 02
Large slate frame
Excellent tension control matters later; a firm hoop is enough for a modest first project. For crewel embroidery, check this deliberately while the work is still easy to alter; correcting it after the next stage usually costs more time or materials.
- 03
Many specialty needles
One correctly sized crewel or chenille needle is more useful than an unlabelled assortment. For crewel embroidery, check this deliberately while the work is still easy to alter; correcting it after the next stage usually costs more time or materials.
Upgrade path
Upgrade the repeated limitation
Buy for a limitation you can name: thread choice, tension control or a more ambitious design.
Try it
£20–£50Small genuine crewel kit and hoop if needed
Wool handling, outline and one textured fill are learned together.Build a palette
£20–£70 extraNamed crewel wools, linen twill and suitable needles
Colour and texture can be selected for original small motifs.Improve tension
£30–£150+Seat frame, stretcher bars or slate-frame tuition
Dense stitching stays controlled over larger areas.Study traditional work
VariableAdvanced kit, specialist book or tutor-led project
Layered shading and historical stitch vocabulary become manageable.Safety & care
Protect the wool and your working posture
Crewelwork is gentle, but wool dust, sharp needles and repetitive posture still deserve attention.
- Store needles securely and replace any bent or burred needle that catches the fabric. Follow the current instructions supplied with the exact material or tool.
- If wool or textile dust triggers symptoms, work in a ventilated area and stop rather than brushing fibres into the air. Follow the current instructions supplied with the exact material or tool.
- Take regular hand, neck and shoulder breaks during dense filling. Follow the current instructions supplied with the exact material or tool.
- Follow the kit’s cleaning guidance; some wool colours and ground fabrics should not be casually washed. Follow the current instructions supplied with the exact material or tool.
Outside help
When outside help earns its place
A clear small kit can teach the first stitches. A specialist class is worthwhile for slate-frame tension, traditional shading or diagnosing thread wear.
Use one complete lesson that includes preparation, the working method, troubleshooting and finishing. Avoid combining measurements from several creators on the first attempt.
Ask whether materials, safe tool use, individual correction and a finished take-home result are included before booking.
Representative UK learning options checked 29 August 2026; local prices, access, materials and tutor support vary.
Sources
Where the guidance came from
The method is grounded in specialist and manufacturer guidance, then checked against recurring beginner problems and the exact products linked here.
-
01
Royal School of Needlework · Crewelwork
Specialist overview of the crewelwork technique and materials.
Open source -
02
RSN Stitch Bank
Construction reference for outline and filling stitches.
Open source -
03
The Embroiderers’ Guild
UK textile practice and learning context.
Open source -
04
DMC · Eco Vita wool thread
Manufacturer context for wool embroidery thread and care.
Open source -
05
Victoria and Albert Museum · Embroidery
Museum context for embroidered textiles and historic practice.
Open source -
06
Amazon UK · Acorns Starter Crewel Embroidery Kit
Exact product catalogue page or ISBN used for the recommendation; current price, seller, specification and availability should be confirmed.
Open source -
07
Amazon UK · Crewel Kit – Bucket of Flowers Gallery, 11 × 14 in
Exact product catalogue page or ISBN used for the recommendation; current price, seller, specification and availability should be confirmed.
Open source -
08
Amazon UK · Eco Vita Kit – Indigo
Exact product catalogue page or ISBN used for the recommendation; current price, seller, specification and availability should be confirmed.
Open source
Guide information and links checked 29 August 2026.