Beginner's guide · Observe & photograph
Learn one patch of sky.
Return as it changes.
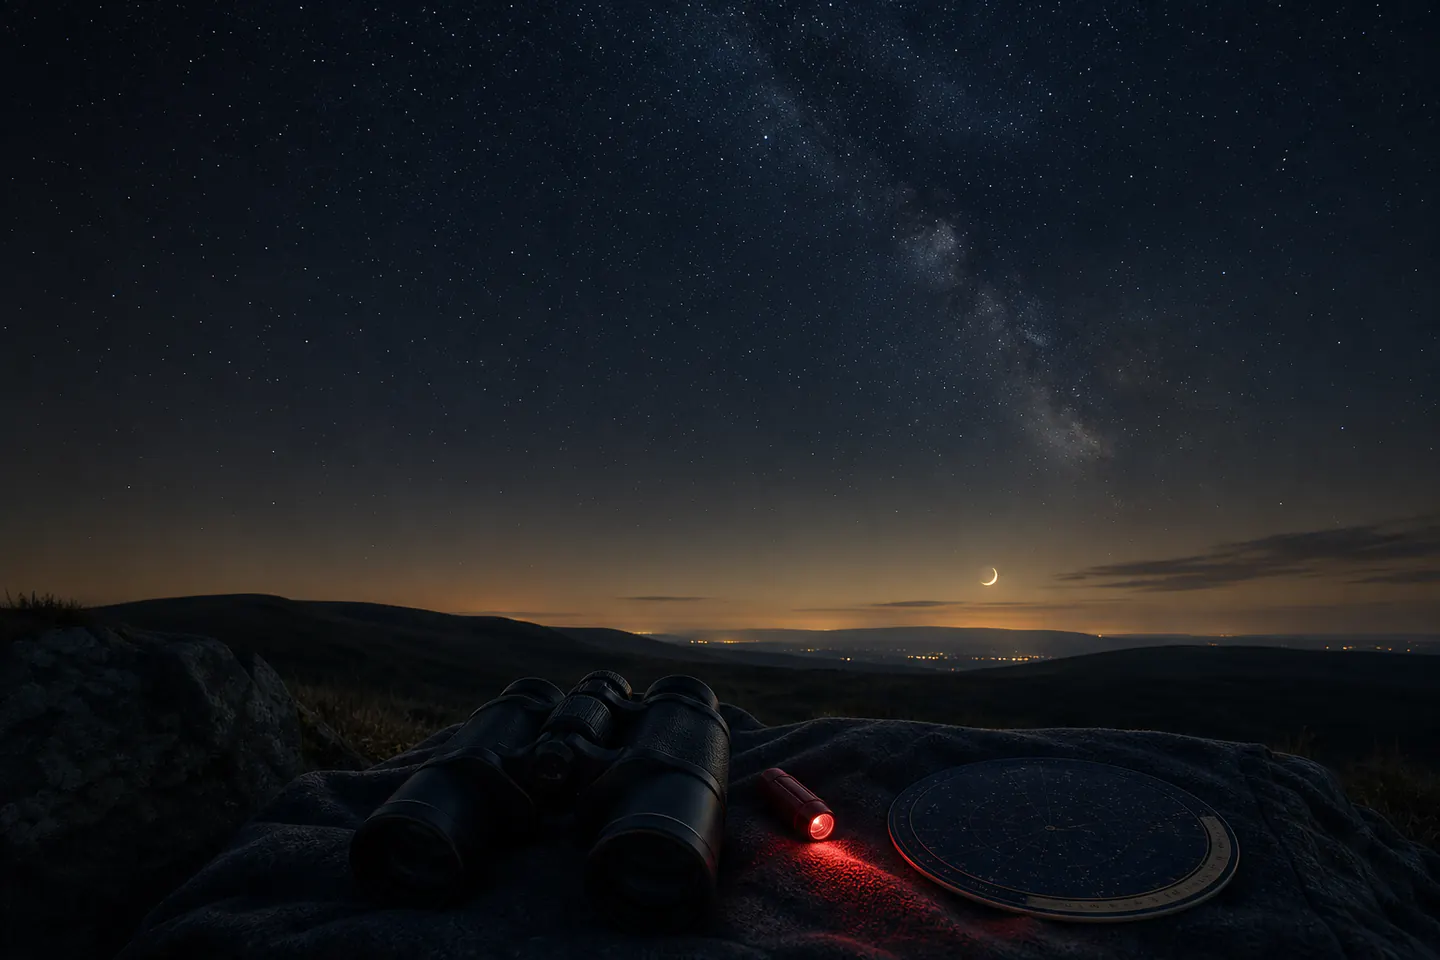
Begin with the Moon, one bright planet and two constellations using unaided eyes, a dim red light and a current sky map. Binoculars reveal more without the setup and narrow field of a first telescope.
Quick answer
Learn one patch of sky.
Choose a clear evening, check cloud and Moon phase, then observe from a safe familiar place with a wide horizon. Use a current planisphere or sky app to find one obvious pattern, preserve dark adaptation with the dimmest red light that works and keep notes. Add 7×50 binoculars only after the target can be found with unaided eyes.
- 01
The Moon is most textured near the moving terminator rather than necessarily at full Moon. Revisit it on several nights and watch the shadow line change.
- 02
A phone sky map is an orientation aid, not proof that the bright object under it is correctly identified. Match direction, time, brightness and neighbouring stars.
- 03
Binoculars give a wide two-eyed view of the Moon, star fields and bright clusters. They should be supported against the face or a chair when hand shake becomes tiring.
- 04
A telescope makes objects larger or fainter targets visible, but adds alignment, focusing, cooldown and a narrow field. It is easier to choose after several binocular sessions.
What to expect
What the first attempts really involve
The sky changes with date, time, latitude, weather and artificial light. A successful session is one confidently found target and a clearer mental map, not a gallery of spectacular deep-sky images.
Dark adaptation
Eyes take time to become sensitive in darkness, and one bright white screen can undo much of that adaptation.
Moonlight
The Moon is an excellent target but its light hides faint objects. Plan bright-target and dark-sky sessions differently.
Atmosphere
Cloud, haze and turbulent air alter transparency and steadiness. Expensive optics cannot remove poor seeing.
Orientation
Apps can use location, compass and motion sensors that are not perfectly calibrated. Star patterns and cardinal directions remain the cross-check.
Expectations
Galaxies and nebulae usually appear faint and grey to the eye, unlike long-exposure processed photographs.
Fundamentals
Build the first attempt on reliable fundamentals
Build a naked-eye map
Find north or another reliable direction before dark. Begin with the Moon or a bright planet, then locate one large seasonal pattern and use its shape to step to a neighbouring star. Name fewer targets and refind them after looking away. This develops navigation that transfers directly to binoculars and a finder scope.
Use a current chart deliberately
Set the date, time and location on a sky app or rotate a planisphere correctly. Hold a paper chart in the orientation of the sky rather than treating north as permanently up. Turn off unnecessary location history and use a red-screen mode if available, but keep brightness low enough that the screen does not dominate vision.
Observe the Moon as changing terrain
Start near first or last quarter when long shadows reveal crater walls and mountain relief. With binoculars braced, focus carefully and compare the same area on another night. Do not expect a stable “up”: orientation changes with position, time and optical system.
Move to binocular star fields
Focus each eye by the maker's method, scan around a target already found unaided and use a reclining chair or elbows for support. Bright open clusters, the Pleiades, Orion's sword and broad Milky Way fields are better beginner binocular targets than tiny planets. Record location and conditions, not only the name.
Useful products
Wide-field binoculars, controlled light and one durable guide
The Celestron 7×50 binoculars offer an accessible wide-field first optic, the red torch protects adaptation during chart checks and Turn Left at Orion becomes useful when a telescope is genuinely next. A free current sky app and warm clothing remain more important than buying all three.
Celestron Cometron 7×50 Binoculars
Seven-times power is comparatively steady and the large objectives suit broad night-sky fields.
Celestron Night Vision Red LED Flashlight 93588
It separates chart light from a phone screen and makes controls easier to find without flooding the site.
First week
Follow the Moon and two constellations for one week
Make three short sessions from the same safe viewpoint. Record the horizon, time and weather so the changing sky becomes observable rather than random.
- 01
Check the session
Review cloud, temperature, Moon phase, rise times and site safety before going outside.
- 02
Set one current chart
Enter location and time, reduce screen brightness and identify the cardinal direction facing the clearest horizon.
- 03
Adapt in darkness
Wait at least fifteen minutes using only necessary dim red light, keeping white phone screens covered or off.
- 04
Find the Moon or bright anchor
Observe position, phase and shadow detail with eyes first, then binoculars if available.
- 05
Trace one constellation
Use star brightness and geometry, not illustrated connecting lines, and refind it after turning away.
- 06
Step to a neighbour
Use one known edge or pointer to locate a second pattern, cluster or bright star.
- 07
Write a field note
Record time, direction, cloud, Moon, targets, uncertainty and one feature to revisit.
- 08
Repeat twice
Return at a similar or later time and notice the Moon's motion, changing phase and the sky's westward shift.
Troubleshooting
Read the result before changing the setup
An app that points wrongly needs calibration and cross-checks
Recheck location and time, remove magnetic cases, calibrate the compass as the phone instructs and compare a known cardinal direction. Use the chart manually if sensor alignment remains wrong.
Stars that will not focus may be observer or optic setup
Set the binocular hinge, eyecups and dioptre carefully on a distant target. If one eye remains blurred alone or the image is doubled, stop and seek optical or eyesight advice.
A disappointing faint object may be normal
Confirm target altitude, Moonlight and transparency, then use averted vision and patient observation. Do not compare the view directly with a stacked photograph.
Dew needs prevention, not wiping during observation
Keep caps on until needed, avoid breathing on cold glass and bring equipment into a case before entering warmth. Let it acclimatise and dry safely according to the maker.
Skip for now
What can wait
Sky knowledge and observing comfort determine whether later optics are used. A telescope bought before targets can be found often becomes a narrow, confusing view of nothing.
- 01
A department-store telescope
High magnification claims hide mount stability and optical aperture. Try club equipment or choose from measured telescope needs later.
- 02
A green laser pointer
It adds eye, aircraft and legal risks and is unnecessary for a solo beginner using a chart.
- 03
A large accessory case
Filters and many eyepieces solve target-specific problems. They cannot improve clouds, navigation or an unstable mount.
- 04
Deep-sky photography gear
Tracking, calibration frames, stacking and processing form a separate astrophotography workflow already covered by its own guide.
Upgrade path
What a better setup changes
A better setup should provide a steadier view or a target class the current setup cannot show, not simply a higher magnification number.
Naked-eye orientation
Free–£15Current sky map + dim light + field notes
Builds the map needed to find every later target.Binocular stargazing
About £45–£907×50 or suitable existing binocular + reclining support
Reveals lunar detail, clusters and dense star fields with a forgiving field.Shared telescope sessions
Often free–£15Astronomy club or public observatory event
Lets different mounts and apertures be tried before choosing.Personal visual telescope
Often £250–£600+Stable mount + suitable aperture + two useful eyepieces
Adds planetary detail and fainter objects while requiring setup, storage and alignment.Before upgrading
A useful check before spending more
Choose the target before the telescope
Planets, wide star fields and faint galaxies favour different compromises. List the targets repeatedly enjoyed, storage space and observing location before comparing instruments.
Stability beats advertised power
Useful magnification is limited by aperture, optics, atmosphere and mount. A steady lower-power view that can be focused and tracked teaches more than a shaking high-power claim.
Safety
Never point optics at or near the Sun
Night observing also involves darkness, cold, uneven ground and travel. The safe site matters as much as the chart.
- Never look at the Sun through binoculars, a telescope, finder or camera optical viewfinder; permanent eye injury can occur instantly.
- Use only purpose-designed, correctly fitted solar equipment with expert guidance for any solar observation.
- Choose a legal familiar site, tell someone the plan and keep paths, water edges and traffic visible.
- Dress for colder-than-expected stationary conditions and stop if numbness, fog or ice makes the session unsafe.
- Use a dim red light for tasks but carry a brighter emergency light for safe movement.
- Respect private land, residents, wildlife and dark-site rules; do not leave equipment where others can trip.
Classes
When outside help is useful
Public observing nights are the best place to compare telescope types and learn star-hopping without buying. They belong after a few naked-eye sessions so questions are concrete.
Look for multiple instruments, beginner explanations and a poor-weather plan.
Useful for structured sky navigation, telescope handling and current seasonal targets.
Representative UK club and observatory formats checked 30 July 2026; booking, weather and equipment access vary.
Sources
Sources and checking notes
Royal Astronomical Society and Royal Museums Greenwich guidance anchors naked-eye learning and expectations; established observing material and current product listings define the first equipment path.
-
01
Royal Astronomical Society · Getting started
UK astronomy introduction covering sky learning, equipment and clubs.
Open source -
02
Royal Museums Greenwich · Astronomy with the naked eye
Accessible guide to observing stars, planets and meteor showers without equipment.
Open source -
03
Royal Museums Greenwich · Planisphere 2026
Current dated planisphere example and manual sky-navigation context.
Open source -
04
Royal Astronomical Society · Stargazing factsheet
Practical stargazing activity and night-sky orientation resource.
Open source -
05
Astronomy magazine · Observing for beginners
Long-form beginner observing guide covering expectations, charts, binoculars and telescopes.
Open source -
06
Amazon UK · Cometron 7×50 Binoculars
Exact Celestron product and direct Amazon UK listing checked for current availability, price context and model identity.
Open source -
07
Amazon UK · Night Vision Red LED Flashlight 93588
Exact Celestron product and direct Amazon UK listing checked for current availability, price context and model identity.
Open source -
08
Amazon UK · Turn Left at Orion, fifth edition
Exact Cambridge University Press product and direct Amazon UK listing checked for current availability, price context and model identity.
Open source
Guide information and links checked 30 July 2026.