Beginner’s guide · Make & build
Knife sharpening
Start with one useful result.
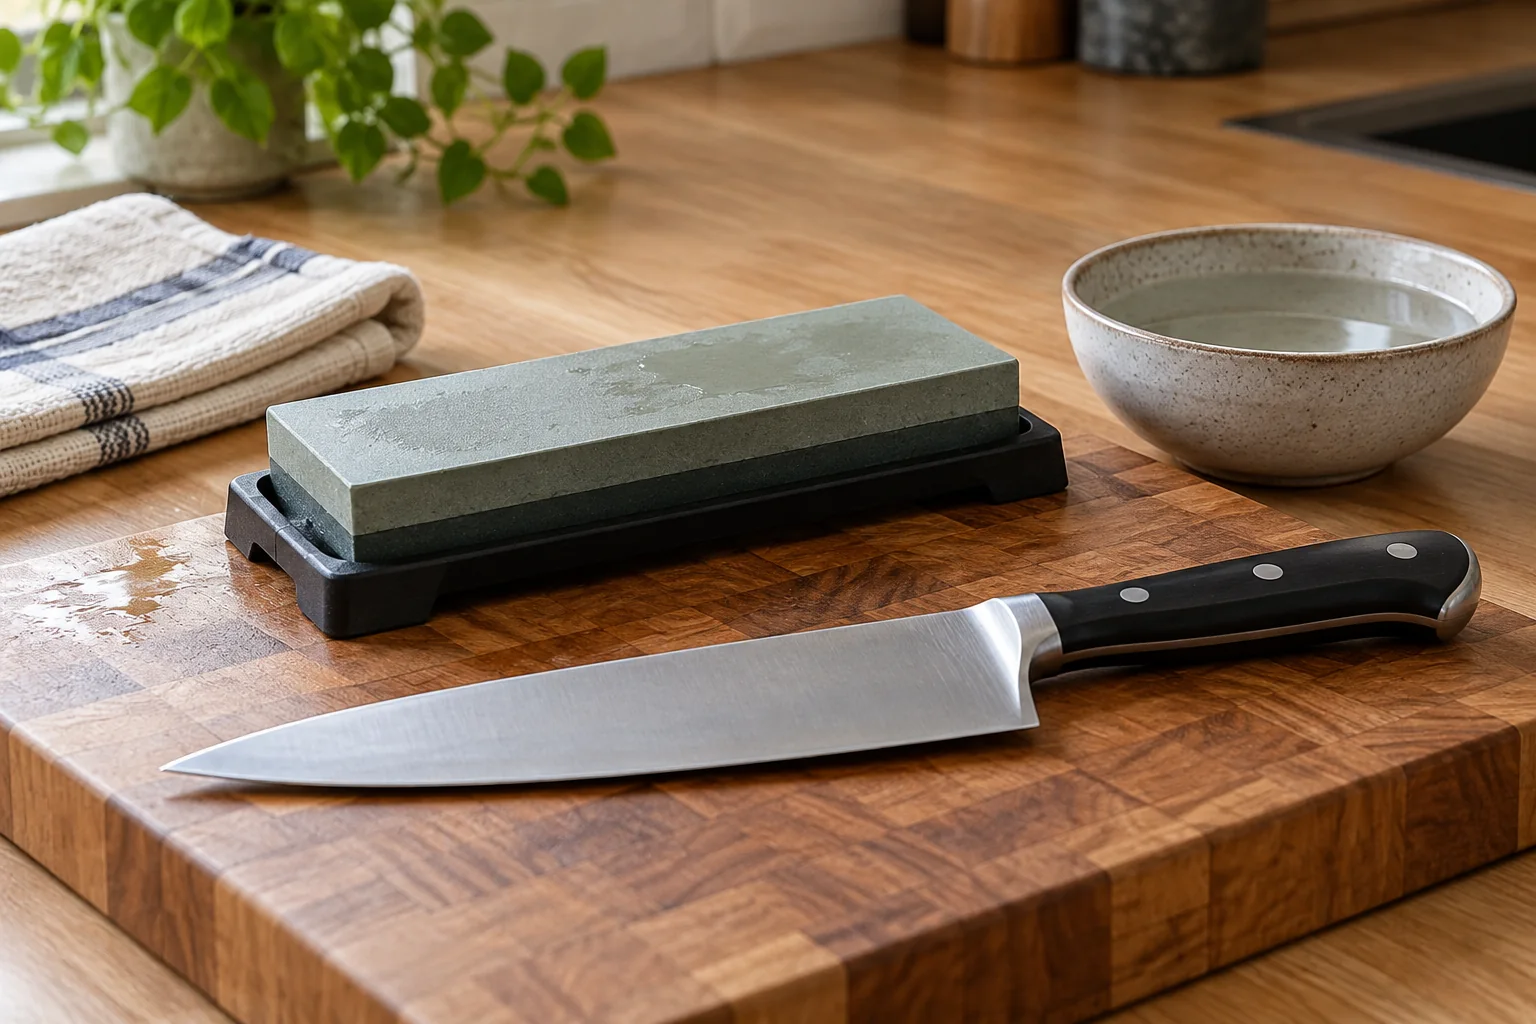
Knife sharpening begins with a stable stone and one ordinary knife, not an expensive set of grits. Learn a consistent stroke on a medium stone, feel for a burr safely, remove it and check cutting on food or paper. Stop if the blade is chipped or the technique becomes uncontrolled.
Quick answer
Start with a modestly dull kitchen knife on a 1000-grit stone
Knife sharpening begins with a stable stone and one ordinary knife, not an expensive set of grits. Learn a consistent stroke on a medium stone, feel for a burr safely, remove it and check cutting on food or paper. Stop if the blade is chipped or the technique becomes uncontrolled.
- 01
One ordinary dull kitchen knife without major chips
- 02
Medium waterstone suitable for the knife, stable holder and water
- 03
Towel and clear well-lit work surface
What to expect
What the first attempt is really like
The useful skill here is holding a consistent angle and removing the burr evenly. These details matter more than a polished first result.
Angle
A consistent angle matters more than a memorised number for a first ordinary kitchen knife.
Burr
A burr indicates metal has reached the edge, but it must be removed before use.
Stone
Stones wear and eventually need flattening; they also require the maker's wetting method.
The method
The method worth learning
Choose a blade you can learn on
Use an ordinary double-bevel kitchen knife with no major chips and a secure handle. A modestly dull edge gives clearer feedback than an abused blade needing reconstruction. Leave serrated, ceramic, single-bevel and valuable knives for their own instructions or a competent sharpener. A honing steel and a sharpening stone do different jobs: a stone removes metal to form a fresh edge.
Stabilise and prepare the stone
Work on a well-lit clear counter with the blade path away from your body and other people. The stone and its base must not slide. Follow the exact maker’s water instructions: the Shapton Kuromaku is a short-wetting ceramic stone, whereas some other waterstones require soaking. Do not transfer one stone’s care routine to another or add oil to a waterstone. Keep clean water nearby and maintain the working surface as directed.
Match the existing bevel
Colour a small part of the bevel with a marker and inspect which part a few gentle strokes remove. This helps you see whether the angle reaches the edge or only rubs the shoulder. Keep the wrist and blade angle repeatable through a controlled motion rather than trying to memorise a universal degree setting. Work along heel, middle and tip with fingers safely above the edge. Follow the curved tip without letting it hang off or gouge the stone.
Form a small burr, then remove it
A burr is a fine displaced lip on the opposite side of the edge. Establish it along the edge with controlled work, then repeat on the other side. Do not keep grinding to make a huge burr. Reduce pressure for alternating finishing strokes and remove the wire edge. A bright light or careful cotton-swab check can help reveal residue; never run a finger along the edge or shave your skin to demonstrate sharpness. Wash the knife, test on a supported tomato or paper held clear of the blade path, and dry both knife and stone appropriately.
Useful products
Equipment with a clear job
Start with suitable equipment you already own. These exact UK listings are useful examples when a missing tool limits the first project; prices and availability were checked on 2 October 2026 and delivery may add to the cost.
Shapton Kuromaku 1000 Grit Ceramic Whetstone
One medium stone handles ordinary maintenance without buying a multi-grit set.
What can wait
What can wait
Keep the first project small and learn what the equipment is doing before adding more.
- 01
Very fine polishing stones
A clean medium-grit edge should first cut food well. Polishing a remaining burr can make it look successful briefly.
- 02
Large chip removal
A medium stone can make this slow and frustrating. Use a suitable coarse repair method or a professional assessment.
- 03
New premium knives
Learn on an ordinary intact knife before risking a valuable blade or a different bevel geometry.
First project
First project: A modestly dull kitchen knife on a 1000-grit stone
Start with a modestly dull kitchen knife on a 1000-grit stone. Use the listed equipment, take notes on the result and repeat the small project before expanding it.
- 01
Set the station
Secure the stone so it cannot slide, clear the counter and follow the stone maker's water instructions.
- 02
Work one side
Keep fingers above the edge and make controlled strokes at a repeatable angle until a small burr is present.
- 03
Hone and remove the burr
Follow the existing bevel with light controlled strokes. Inspect progress with light and the marker method, work both sides, then finish with lighter alternating strokes. Never run a finger along the edge.
- 04
Test and clean
Test with paper or food, not a fingertip; clean and dry the knife and stone as directed.
Troubleshooting
When the first attempt goes wrong
No burr appears
Check the marker pattern and whether the stone is contacting the edge. A severely rounded blade may need a coarser repair route. Adding a polishing stone will not fix a bevel that never reached the edge.
It cuts briefly, then goes dull
A residual wire edge may have folded in use. Return to light controlled alternating strokes rather than pressing harder. Inspect the whole edge, not just the middle.
Heel or tip remains dull
Break the motion into sections and check the marker at each. Keep the tip angle consistent without repeatedly rounding it over the edge of the stone.
The stone develops a hollow
Follow the maker’s flattening instructions using a compatible flattening tool. A worn hollow changes contact with the blade. Do not buy finer grits to compensate for a distorted surface.
Upgrade path
Where to go after the first result
Repeat the simple route first, then choose the next step that solves a problem you have actually met.
Skill
No extra stone neededRepeat one consistent medium-grit edge
Check the full edge and whether it still cuts after normal cooking rather than only a paper demonstration.Maintenance
Check a compatible flattening tool priceKeep the stone flat
Restores reliable contact as the surface wears; compatibility matters more than buying a very fine finish.Repair
Tool or service quote variesCoarse work or a professional sharpener
Useful for damage and geometry changes once the basic process is understood. A finer stone changes finish, not repair speed.Safety & care
Safety and practical limits
Use the current instructions for the exact food, material or equipment in front of you.
- Keep the stone fixed and the blade path away from fingers and body.
- Use the maker's stone care; do not soak splash-and-go ceramic stones without instruction.
- A badly chipped, very valuable or unfamiliar specialty blade is better assessed by a competent sharpener.
Learning & help
Learning at home and optional help
A class is optional for this first route. Use the free guidance before paying for help.
Use the maker’s stone FAQ and a clear manufacturer sharpening demonstration, including Zwilling’s guide. Practise a short controlled session and inspect the bevel between attempts.
A sharpening lesson is optional if visual feedback would help you hold an angle. For chips, valuable or unfamiliar specialist knives, ask a competent sharpener about the exact blade and fee before removing metal. No course is needed for ordinary maintenance practice.
Learning sources checked 2 October 2026. No unverified class fee or booking availability is quoted.
Sources
Where the guidance came from
Food and wildlife authorities, exact maker instructions, specialist guidance, practitioner observations and UK product listings support the route above. Community accounts inform practical expectations; they do not establish food safety, wildlife rules or current prices.
-
01
Shapton · Kuromaku FAQ
Maker guidance on stone choice and use
Open source -
02
Japanese Taste UK · Shapton Kuromaku 1000
Exact stone model and UK listing
Open source -
03
Zwilling · Sharpening a knife
Whetstone sharpening technique
Open source -
04
r/sharpening · Stones for a beginner
Several users discuss a medium stone, included case, consistent angles and starting with an ordinary practice knife.
Open source -
05
Korin · Knife care and sharpening
Knife geometry, stone stability, burr removal and hand washing; the chosen stone maker determines soaking.
Open source -
06
Korin · Knife sharpening basics
Illustrated sharpening procedure and the distinction between single- and double-bevel knives.
Open source -
07
ZWILLING · Cleaning and caring for knives
Maker guidance on hand washing, drying and protecting the edge in normal kitchen use.
Open source -
08
ZWILLING · Knife use and care manual
Illustrated maker instructions for safe use, maintenance and when specialist sharpening is appropriate.
Open source
Guide information and links checked 2 October 2026.