Beginner’s guide · Observe & photograph
Search the loose ground.
Leave the cliff alone.
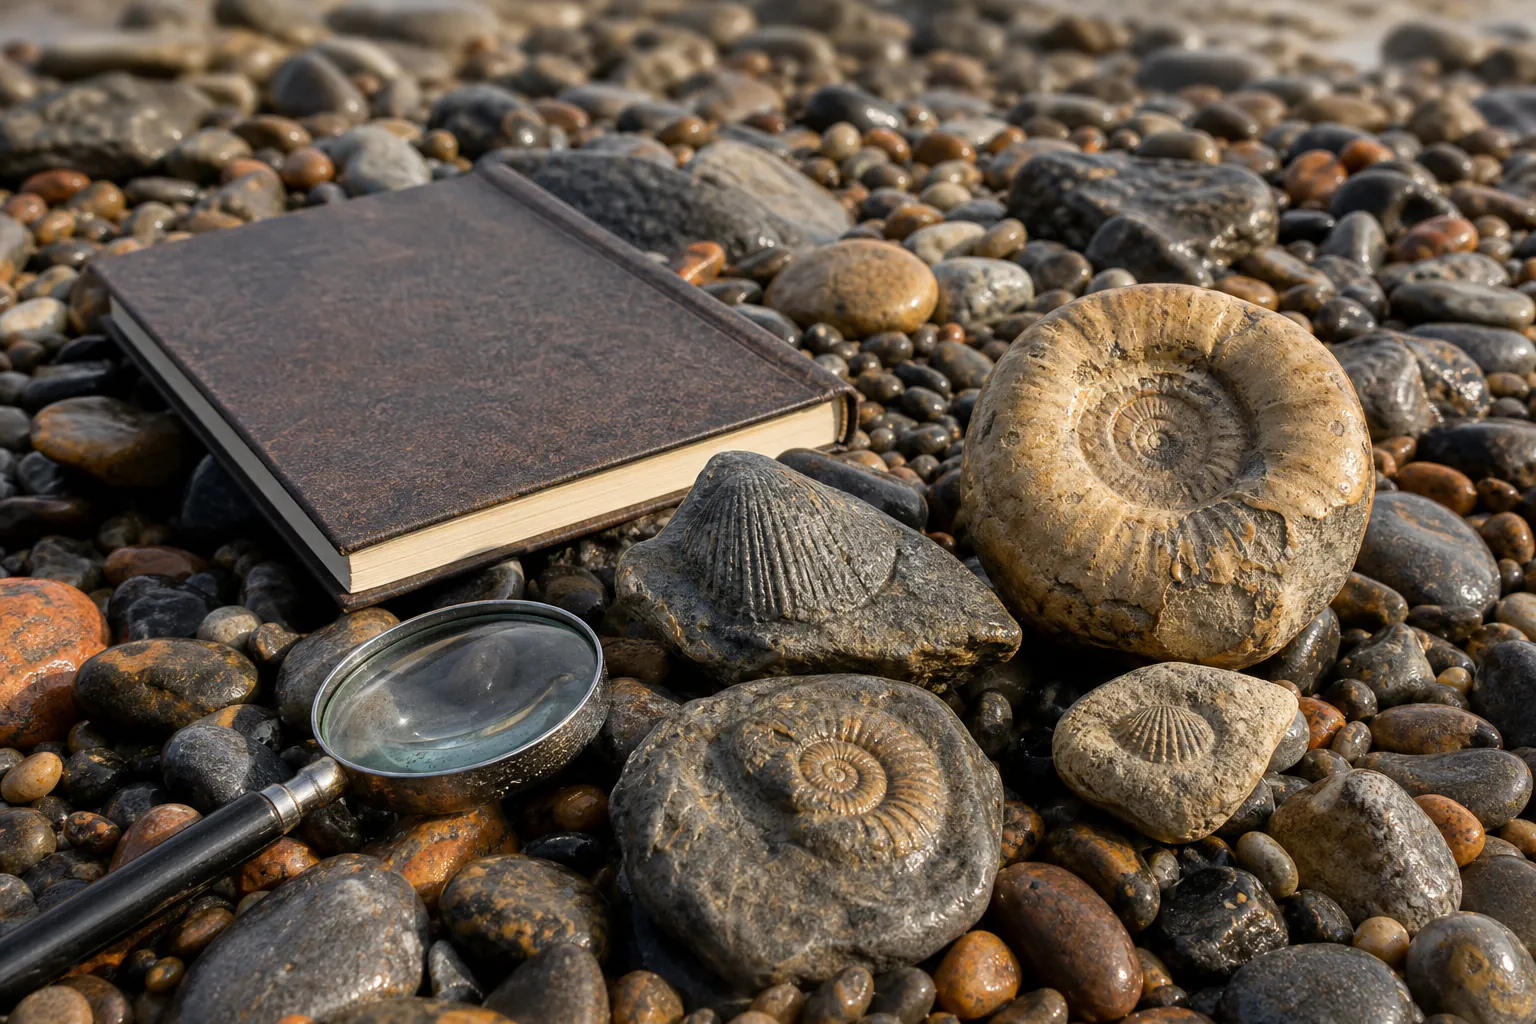
Choose a documented UK site, check tides, weather, access and its collecting code, then look for common fossils already released into loose beach material. A field guide and careful record matter before a hammer does.
Quick answer
Plan the exit before searching for a fossil
Use a current local guide or museum page to choose a beginner-suitable site and learn its common fossils. Check the official tide and weather information, access, land ownership and collection rules. On the first visit, keep well away from cliffs and water, turn over only manageable loose pieces where allowed and replace habitat stones as found.
- 01
Loose fossils and small fallen material can provide a meaningful first find without striking a cliff or carrying extraction tools.
- 02
A fossil can look different before preparation. Study photographs of unprepared local finds rather than only polished museum examples.
- 03
Record the exact place, date, rock type and surrounding layer or beach zone before wrapping the specimen.
- 04
If a find appears rare, scientifically important or difficult to remove safely, photograph it in place and contact a local museum or geological service.
What to expect
Most of the trip is geology, weather and patient scanning
A safe trip may produce no complete fossil. Learning the common rock, recognising fragments and leaving at the planned time are all useful outcomes.
Locality
Fossil type depends on the exposed formation. A general fossil book cannot tell you what is legal or likely at a particular beach.
Tides
The low-water time is not the whole safety window. Routes, headlands, swell and rising water can remove the return path.
Cliffs
Fresh falls may expose fossils and remain unstable. Never approach because debris looks recently productive.
Recognition
Regular ribs, chambers, shell symmetry and repeated biological texture help; mineral veins and concretions create convincing lookalikes.
Extraction
A visible fossil may extend through the rock. Hammering without reading the split can destroy it and create flying fragments.
Preparation
Cleaning and exposing a specimen can take longer than finding it. Leave matrix in place until the material and technique are understood.
Plan a hunt
Build the trip around site-specific information
Choose a known locality
Use a museum, geological group or established fossil guide that names the access point, formation, common finds and collection code. Confirm that the information is current. Protected status, erosion and land ownership can change what is allowed even when old forum posts describe collecting there.
Set time and distance limits
Check an official tide table, weather, daylight and route. Decide the latest turn-around time and set an alarm before leaving. Tell someone the exact site and expected return. Wear footwear that handles wet rock and loose shingle, carry water and keep both hands available for balance.
Search loose material visually
Stand away from cliff faces and wave reach. Scan slowly for repeated shapes and freshly exposed surfaces. Lift only manageable loose stones where permitted, avoid undermining anything and replace habitat stones in their original orientation. The first visit does not require a hammer.
Record before wrapping
Photograph the find beside a scale and its wider context. Give it a number and record position, date and associated material. Wrap specimens separately in paper or small boxes so edges do not grind together in the bag.
Useful products
A regional fossil reference, a small lens and a hammer that can wait
The Natural History Museum Mesozoic guide is useful for common UK material, while the Carson stand loupe helps inspect shell and mineral detail at home. The Estwing rock pick is included as a future field tool for sites that explicitly permit responsible use; it is not part of the first loose-material beach trip.
Natural History Museum British Mesozoic Fossils
A museum-produced visual reference helps distinguish common fossils from concretions and mineral patterns.
Carson LL-10 10× LumiLoupe Stand Magnifier
The stable clear base provides a repeatable close view of ribs, pores and mineral texture after the trip.
Estwing E3/22P 22 oz Rock Pick
A one-piece recognised rock pick is preferable to an improvised household hammer when competent extraction is justified.
First hunt
Complete one short loose-material search
Choose a site with a current published collecting code and an uncomplicated escape route. If conditions differ from the plan, turn the trip into observation and leave.
- 01
Research the formation
Print or save images of two or three common unprepared fossils and the site rules.
- 02
Check conditions
Use official tide, weather and access information and set a firm departure alarm.
- 03
Pack for walking
Take suitable footwear, layers, water, phone, small first-aid kit, paper, labels and a modest collecting bag.
- 04
Survey from a safe line
Identify water reach, exits and cliff-fall zones before looking down for specimens.
- 05
Scan loose pieces
Look for biological repetition and compare candidates with the local reference without striking anything.
- 06
Photograph in context
Record a scale view, the surrounding beach and location before moving an allowed find.
- 07
Take very little
Keep only a few common, portable specimens permitted by the local code.
- 08
Leave on the alarm
Stop searching at the planned time even if the beach still looks productive.
What can wait
What can wait until a site and method justify it
The absence of a tool is often what keeps the first trip safe and legally simple.
- 01
The checked geological hammer
It is durable and appropriate only where landowner permission, local code, stable loose material and eye protection support striking.
- 02
Chisels and a large lump hammer
They increase flying fragments, load and the chance of destroying a specimen. Learn rock splitting with competent guidance.
- 03
Cliff extraction
Do not hammer, dig or stand beneath a face. Loose material can be collected where permitted without creating erosion or fall exposure.
- 04
Mechanical preparation tools
Air scribes and rotary tools can turn fossil and matrix into hazardous dust. Use a specialist preparator for an important find.
- 05
A heavy haul
Rock becomes a balance and evacuation problem. Set a small weight limit and leave common material for other people.
Upgrade path
Upgrade knowledge and access before extraction power
The safest progression is from recognition to supervised technique, with tools added for a particular permitted site.
Loose-material walk
About £10–£30 plus travelLocal guide, loupe, labels and outdoor kit
Learn common forms, safe lines and provenance without striking rock.Guided field day
About £20–£70Local expert, site permission and shared identification
See exactly which material and extraction methods the locality allows.Permitted hand tools
About £50–£120Quality rock pick, eye protection, chisels and wrapping
Open suitable loose nodules with better control at approved sites.Specimen preparation
£150–£1,000+ or specialist feesDust extraction, magnification, fine tools and training
Expose fragile detail slowly while accepting that some finds should remain in matrix.Safety & ethics
Tide and cliff safety override the collecting plan
Coastal falls and fast water are not predictable from how calm the beach feels when you arrive.
- Keep a large distance from cliffs, overhangs and recent falls; never shelter beneath them or climb loose slopes.
- Use official tide and weather data, allow a generous exit margin and do not rely on a phone app without local route knowledge.
- Check the exact landowner and protected-site collecting code; take only common loose material in permitted quantities.
- Wear safety glasses whenever any rock is struck and keep bystanders well clear of the fragment path.
- Report potentially important finds with location information rather than attempting a hurried extraction.
Outside help
When a guided hunt earns its place
A reputable local walk can provide legal access, tide planning and identification in one session. It is especially useful before carrying a hammer.
Use them to identify formations, common finds and local reporting contacts before travel.
Check the meeting point, tide policy, insurance, tool rules, age limits and cancellation process.
Free local resources and representative UK guided-walk prices checked 31 July 2026; site, season and provider prices vary.
Sources
Where the guidance came from
UK collecting codes and field-safety guidance set the hard boundaries; fossil hunters’ reports were used for recurring tide, cliff and loose-material advice.
-
01
Discovering Fossils · Fossil hunting code
UK-oriented access, collecting, cliff and specimen-responsibility guidance.
Open source -
02
Rother District Council · Fossil collecting code of conduct
Local-authority code for responsible coastal fossil collecting.
Open source -
03
Geological Society · Fieldwork resources and code
Permission, unstable faces, footwear and fieldwork planning.
Open source -
04
r/FossilHunting · Advice for getting started
Recurring practitioner emphasis on local research, permissions, loose material and modest collecting.
Open source -
05
Amazon UK · Natural History Museum British Mesozoic Fossils
Exact product page, model or ISBN, observed price and availability checked for this guide.
Open source -
06
Amazon UK · Carson LL-10 10x LumiLoupe
Exact product page, model or ISBN, observed price and availability checked for this guide.
Open source -
07
Amazon UK · Estwing E3/22P rock pick
Exact product page, model or ISBN, observed price and availability checked for this guide.
Open source
Guide information and links checked 31 July 2026.