Beginner’s guide · Make & create
Score the fold,
then let the glue set.
Begin with one printable low-poly model or a small commercial kit. Accurate cutting, fold direction and patient edge gluing turn flat card into a surprisingly strong object.
Quick answer
Choose a model with large tabs and fewer than thirty parts
Print a reputable beginner template at its stated scale on the recommended card, or open a numbered commercial kit. Photograph or save the untouched parts sheet, then cut only two or three pieces at a time. Score every fold before bending, separate mountain from valley folds and dry-fit neighbouring edges. Apply a thin film of suitable paper adhesive to one tab, hold it until stable and let each structural section set before forcing the final seam closed.
- 01
Scale, paper weight and print setting belong to the design. “Fit to page” can subtly alter matching edges.
- 02
Score folds with a blunt tool; cutting into the surface weakens the hinge and can expose white fibres.
- 03
Dry-fitting reveals reversed folds and wrong tabs before glue removes the option to rethink.
- 04
Less adhesive gives cleaner seams and less warping. A fine applicator is more useful than a large bottle.
- 05
Sharp tools require an adult, a cutting mat, a metal ruler used correctly and a clear path away from hands.
What to expect
The final shape is decided while the parts are still flat
Colouring edges, marking fold direction and choosing the assembly order are quiet steps, but they determine whether the last panel closes cleanly.
Ink, card and scaling vary. Test one page and measure a reference mark before printing a full model.
Cut
Several light knife passes are safer and cleaner than forcing a blade through thick card.
Score
Mountain and valley folds need to bend in opposite directions; mark them discreetly on the reverse.
Tabs
Fold tabs before assembly and trim only when the instructions support it. A missing tab is hard to replace later.
Glue
Paper fibres absorb water and swell. Use a tiny controlled amount and wipe the nozzle rather than the model.
Sequence
Build closed subassemblies while their inner tabs remain reachable. The apparently obvious order is not always possible.
Core method
Protect scale, identify folds and close one module at a time
Choose a finishable design
Look for clear page numbers, part numbers, fold keys, assembly diagrams and a finished reference from a reputable designer. A building, vehicle or low-poly animal with broad tabs is easier than a tiny character face. Check whether personal printing is allowed and use the recommended paper weight.
Prepare the sheet before cutting
Print at 100 percent or the exact instructed setting and measure any scale box. On each part, identify mountain folds, valley folds, cut lines and glue symbols. Colour exposed cut edges before assembly if desired, testing the pen on a scrap so it does not bleed across the artwork.
Cut and score in small groups
Work on a self-healing mat. Use a sharp craft knife for curves and internal openings and suitable scissors for easy outer edges. Score against a ruler with a blunt stylus, then pre-fold firmly but without crushing printed surfaces. Keep pieces in numbered envelopes or trays.
Dry-fit and glue structurally
Join one pair of edges without adhesive and check orientation against the diagram. Apply a thin line to the tab, press from inside with tweezers or a clean tool and let the seam grip. Complete accessible internal tabs before adding the closing panel, then leave the finished model supported while moisture equalises.
Useful products
Products with a clear job in the setup
The OLFA knife makes controlled detail cuts, the Fiskars mat protects the workspace and Bearly Art glue offers a precision applicator for small tabs. Add a metal ruler and blunt scoring tool if not already available. A beginner model can be a legitimate free printable, so no random template bundle is recommended just to create a product link.
OLFA AK-1 Art Knife with 25 Blades
Replaceable sharp blades reduce tearing and make several light passes predictable.
Fiskars A3 Self-Healing Cutting Mat
A3 accommodates full printed sheets and the grid helps check right angles and scale.
Bearly Art Precision Craft Glue Mini, 2 fl oz
A fine nozzle reduces squeeze-out and water load compared with applying from a broad bottle.
First project
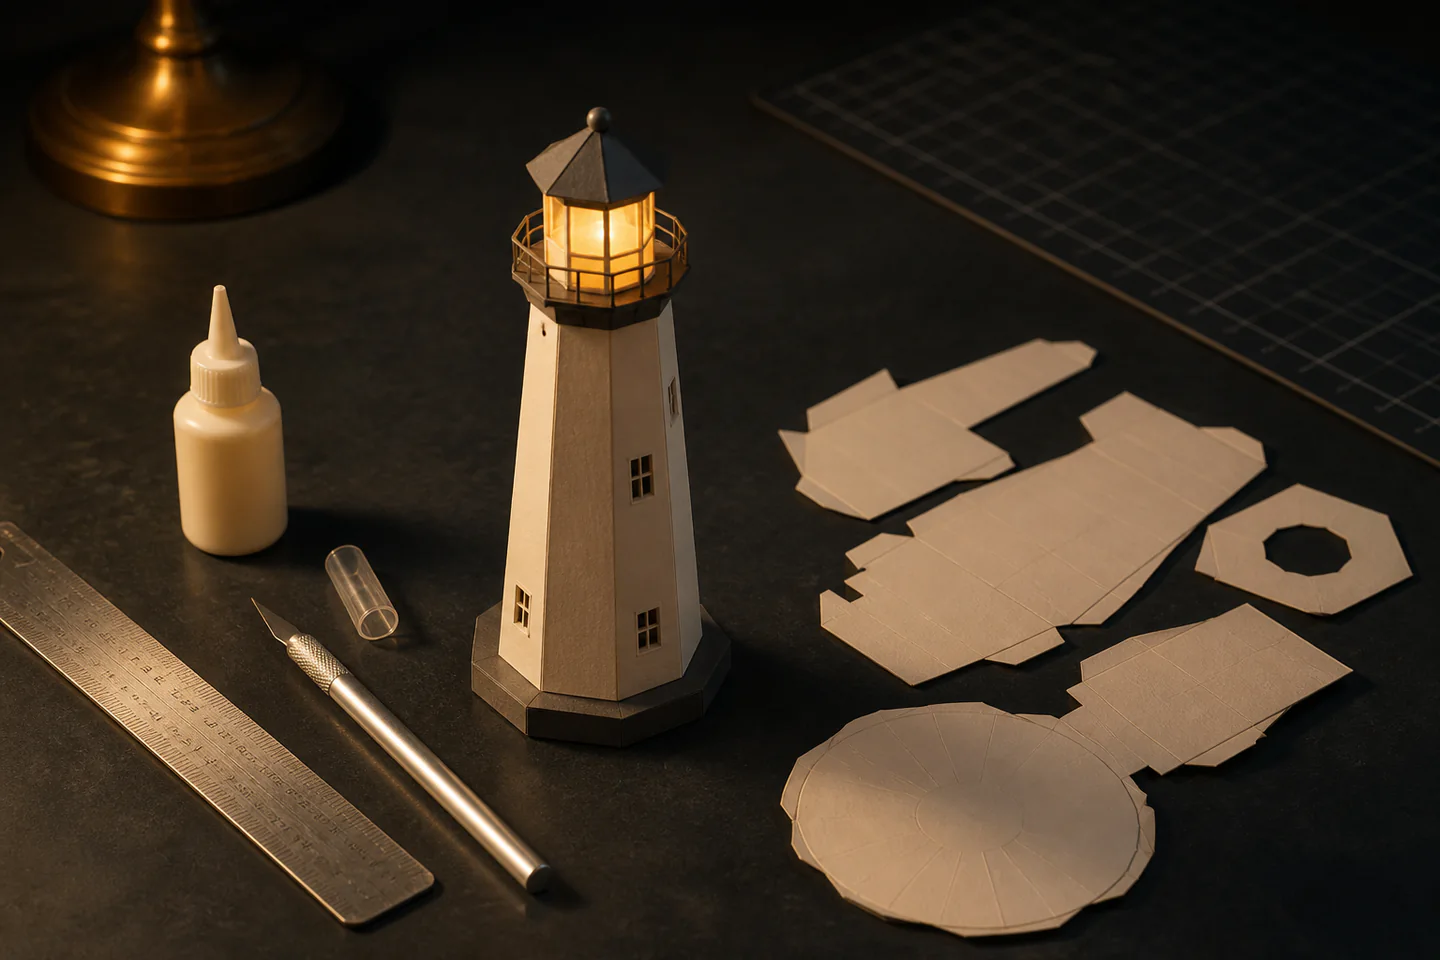
Build one small paper lighthouse
Straight walls, a roof and a few curved details teach modules without dozens of nearly identical pieces.
- 01
Verify print scale
Measure the template reference and preserve an untouched digital copy.
- 02
Decode the line key
Mark mountain, valley, cut and glue conventions on a scrap.
- 03
Cut one module
Keep its numbered parts together and use several light knife passes.
- 04
Score and pre-fold
Bend every hinge before any adhesive is opened.
- 05
Dry-fit the seam
Check orientation, tab access and the order of neighbouring panels.
- 06
Glue and rest
Use a thin film, hold until stable and let the module dry before closing it.
What can wait
What can wait until the first result
Complexity is usually part count and inaccessible seams, not simply the finished model’s physical size.
- 01
A 500-part character
Repeated tiny curves and hidden closing tabs can turn the first build into repair work.
- 02
Very heavy card
Thickness changes fold radius and fit; follow the designer’s paper recommendation.
- 03
A laser cutter
Knife skills and assembly order remain the first limitations and cost far less to learn.
- 04
Lots of wet glue
More adhesive warps printed parts and creates glossy squeeze-out rather than strength.
- 05
Sealing spray
Coatings can darken ink, curl card or react with printer toner; test only after a successful raw build.
Upgrade path
Upgrade the repeated limitation
Upgrade cutting, printing or finishing only when the same limitation repeats across several models.
First printable
About £20–£50Knife, mat, glue and recommended card
Learn folds, tabs and sequence.Clean repeat builds
About £35–£90Metal ruler, stylus, tweezers and edge colours
Improve accuracy and finish.Detailed kits
About £50–£180Curved tools, punches and better task lighting
Handle small openings and formed parts.Digital design
About £100–£800+Vector/3D software, printer and calibration tools
Create and publish original models.Safety & care
Keep blades controlled and respect the designer’s rights
Paper is forgiving; sharp tools and copyrighted templates are not. Use legitimate files, follow licence terms and build on a clear protected surface.
- Craft knives are adult tools: use a stable mat, sharp intact blade, safe ruler technique and cuts directed away from every part of the body.
- Keep blades capped, count and contain broken pieces and use a suitable sharps container rather than loose household rubbish.
- Ventilate and follow labels for adhesives, pens and coatings; keep them away from food, flames, children and pets.
- Use only templates you are permitted to download, print and share; do not redistribute paid files or scans of commercial kits.
- Support long sessions with bright light, neutral wrist position and regular breaks; tiny repeated cuts can strain hands and eyes.
Outside help
When outside help earns its place
A well-diagrammed model needs no class. A paper-engineering or architectural-model workshop becomes useful for curved forming, custom design and safe access to specialist cutters.
Use material and assembly guidance for the exact model.
Ask whether cutting tools, printed templates and design software are included.
Representative UK learning options checked 17 August 2026; local prices, access, materials and tutor support vary.
Sources
Where the guidance came from
Established paper-model designers and museums provide tested construction context; tool makers define safe use and experienced communities reveal common print, fold and assembly failures.
-
01
Canon Creative Park · Paper craft
Reputable printable models with assembly instructions and difficulty levels.
Open source -
02
Yamaha · Paper crafts archive
Detailed model examples and paper-engineering context.
Open source -
03
OLFA · Art Knife AK-1
Manufacturer tool specifications and blade context.
Open source -
04
Papermau
Long-running paper-model discovery and construction resource.
Open source -
05
Reddit · r/papercraft
Community experience of card weight, scoring, glue and build order.
Open source -
06
Amazon UK · AK-1 Art Knife with 25 Blades
Exact product catalogue page or ISBN used for the recommendation; current price, seller and availability should be confirmed.
Open source -
07
Amazon UK · A3 Self-Healing Cutting Mat
Exact product catalogue page or ISBN used for the recommendation; current price, seller and availability should be confirmed.
Open source -
08
Amazon UK · Precision Craft Glue Mini, 2 fl oz
Exact product catalogue page or ISBN used for the recommendation; current price, seller and availability should be confirmed.
Open source
Guide information and links checked 17 August 2026.