Beginner's guide · Cook & bake
Temper one dark chocolate.
Make the snap repeatable.
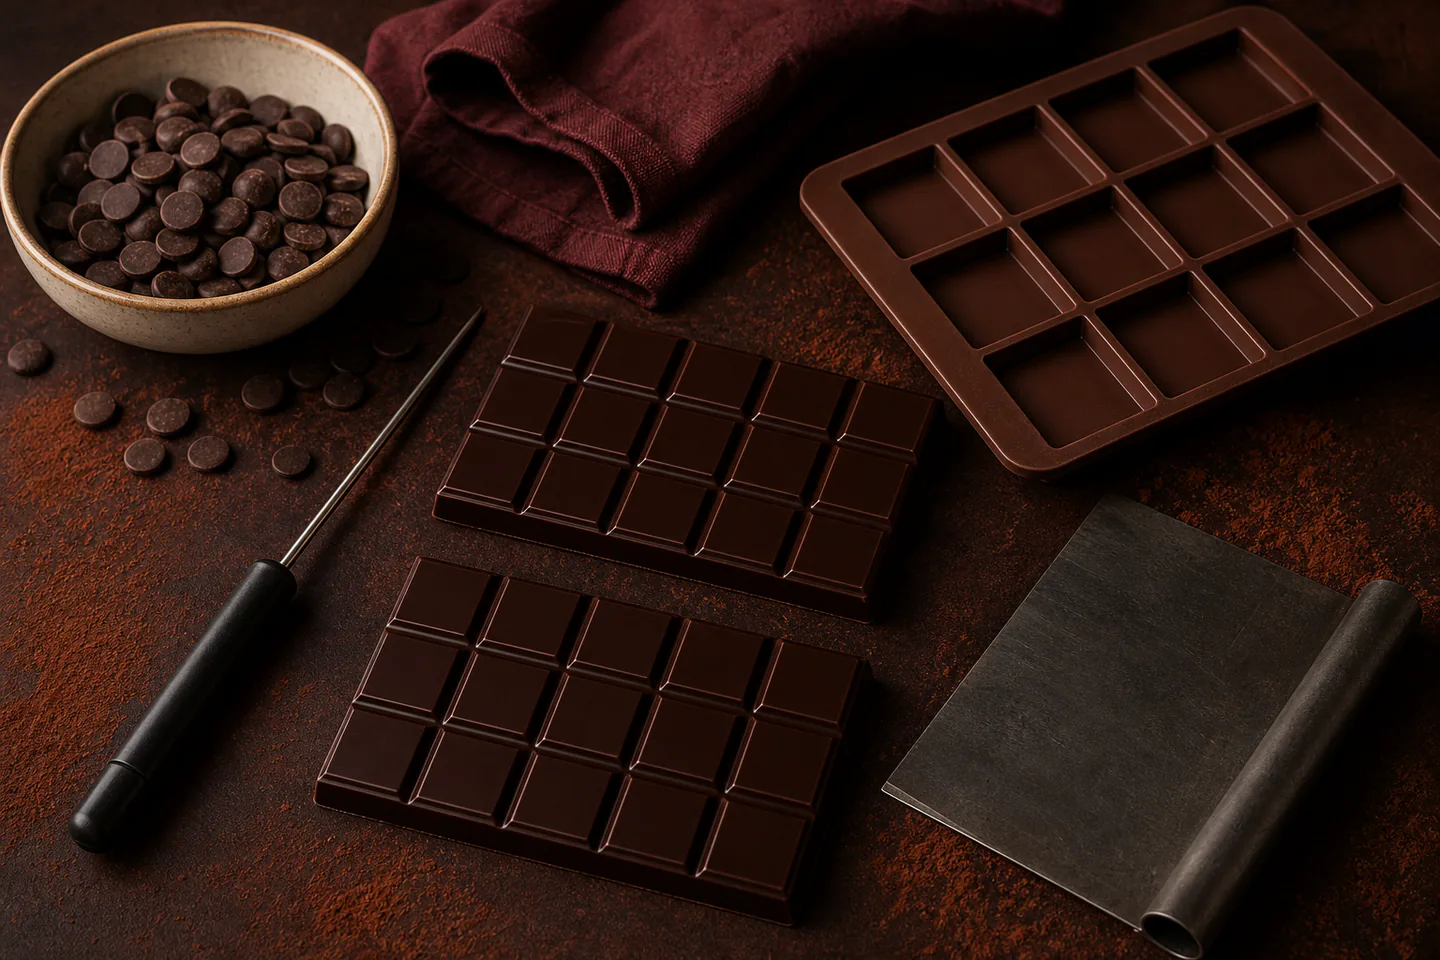
Start with couverture callets, a reliable thermometer and one simple mould. The first useful lesson is not elaborate filling: it is melting, cooling and working dark chocolate cleanly enough to produce a glossy bar with a firm snap.
Quick answer
Temper one dark chocolate.
Use real couverture chocolate, not compound coating, and follow the crystallisation curve printed for that exact chocolate. Melt gently, keep every bowl and tool completely dry, cool while stirring, then rewarm only to the stated working range before filling a clean mould.
- 01
Callebaut 811 is a widely used 54.5% dark couverture with a published crystallisation curve, so the temperatures are not guesswork.
- 02
A probe thermometer makes the narrow working window visible. Check it in ice water and boiling water before trusting a first batch.
- 03
A silicone mould is forgiving and inexpensive, although a rigid polycarbonate mould becomes the upgrade when sharper shine and thinner shells matter.
- 04
Begin with a plain bar. Nuts, ganache, caramel and fresh fruit add allergen, water-activity or shelf-life questions that obscure the tempering lesson.
What to expect
What the first attempts really involve
The first project is useful because it exposes the decisions that shopping pages tend to hide.
Moisture
A drop of water or steam can seize melted chocolate into a thick grainy mass. Dry equipment matters more than a large tool collection.
Temperature
Dark, milk and white chocolate have different curves. A memorised number is less reliable than the maker's instructions for the product in the bowl.
Room conditions
A very warm kitchen slows setting and narrows the margin for clean unmoulding. Direct fridge chilling can create condensation when the mould comes back out.
Agitation
Stirring distributes stable crystals and evens the temperature. Heating without stirring produces misleading hot and cool pockets.
Finish
Grey streaks, dull patches and soft snap usually indicate poor crystallisation or storage rather than bad chocolate.
Fundamentals
Build the first attempt on reliable fundamentals
Choose chocolate with instructions
Couverture contains enough cocoa butter to flow and set with a clean finish when tempered correctly. Read the pack or manufacturer curve before heating. Callebaut's seeding guidance melts dark chocolate fully, introduces unmelted callets while cooling and then brings it to the stated working temperature. Keep a written note of the actual curve used.
Build a dry, low-steam station
Use a microwave in short bursts or a bowl over barely simmering water without letting the bowl touch the water. Wipe condensation from the underside before it reaches the worktop. Keep the mould, spatula and thermometer dry, and never work directly above a steaming pan.
Temper by evidence, not appearance alone
Stir after every heating interval and move the probe through the chocolate without touching the bowl. Once the working range is reached, spread a teaspoon thinly on baking paper. Properly tempered chocolate should begin to set evenly within a few minutes at a cool room temperature, without greasy streaks.
Starter products
Chocolate, measurement and one uncomplicated mould
The Callebaut callets provide a documented material, the Noondl thermometer provides the temperature evidence and the Whaline mould gives several plain shapes for practice. A scraper, vibrating table or electric melting pot can wait until repeated batches show a real need.
Callebaut Select 811 Dark Chocolate Callets, 1 kg
A named couverture removes uncertainty about whether an anonymous baking bar contains the cocoa butter and manufacturer guidance needed for tempering practice.
Noondl Chocolate Tempering Thermometer
Chocolate can look fluid across several materially different crystal states; a checked thermometer supplies the evidence appearance cannot.
Whaline Six Silicone Chocolate Moulds
Several plain cavities allow small repeat tests while keeping the judging criteria focused on set, shine and release.
First batch
Make two small plain dark-chocolate bars
This is a tempering exercise rather than a recipe for filled chocolates. Work from Callebaut's current curve for 811 and the instructions supplied with the thermometer and mould.
- 01
Read the curve
Write down the melt, cool and working temperatures for Callebaut 811 before opening the bag. Do not substitute milk-chocolate numbers.
- 02
Clean and dry
Polish the mould with a lint-free dry cloth, check the bowl and spatula for moisture and clear steam-producing cooking from the area.
- 03
Melt gradually
Heat most of the callets in short controlled intervals, stirring fully between them, until the maker's complete-melt temperature is reached.
- 04
Seed and cool
Add reserved callets a little at a time while stirring. Stop adding when the batch approaches the cooling target and remove any stubborn unmelted pieces.
- 05
Rewarm carefully
Use very short heat bursts to reach the working range. Overshooting means repeating the crystallisation process rather than simply waiting.
- 06
Test the temper
Spread a small smear on paper and observe how quickly and evenly it sets. Continue only when the result is firm and streak-free.
- 07
Fill and settle
Spoon chocolate into two cavities, tap the mould gently to release bubbles and scrape the surface level without flooding the edges.
- 08
Set and unmould
Leave at a cool stable room temperature. Flex silicone gently only after the surface is fully firm, then store the bars dry and away from heat and odours.
Troubleshooting
Read the result before buying another tool
Dull or streaky chocolate needs a reset
Fat bloom after a fresh batch usually points to an incomplete temper or an uncontrolled working temperature. Remelt and repeat the full curve. Do not hide the fault beneath decorations before learning which stage drifted.
A grainy mass may have seized
Look for steam, a wet spatula or water-based flavouring. A seized batch can sometimes become a sauce or ganache with a tested recipe, but it is no longer the same plain tempered-bar project.
Bars that refuse to release may be warm
Give the mould more time in a cooler room and confirm the chocolate was in temper. Avoid pulling aggressively at thin silicone, which can bend a bar before the centre is firm.
Skip for now
What can wait
Tempering becomes easier when the first result has only one material and one finish to judge.
- 01
Fresh cream fillings
Ganache introduces emulsification, hygiene and shelf-life decisions. Add it after plain shells release cleanly and a tested filling formula is available.
- 02
Large mould collections
One flexible set is enough to practise. Buy a rigid mould later for a particular bar or bonbon shape rather than accumulating near-duplicates.
- 03
An electric melting machine
It maintains heat but does not automatically create good crystal structure. A bowl, controlled heat and accurate thermometer teach the same essential feedback.
- 04
Unverified allergy-free claims
Chocolate may contain milk, soya, nuts or other allergens through ingredients or manufacturing. Keep packaging and never promise an allergen-free gift without controlled sourcing and handling.
Upgrade path
What a better setup changes
Better equipment improves finish and repeatability; it does not replace a documented curve and dry handling.
Plain moulded bars
About £35–£45Couverture + thermometer + silicone mould
Learn the complete tempering cycle and recognise a clean set.Sharper shells
About £15–£30 per mouldRigid polycarbonate mould + scraper
Produces crisper geometry and makes a polished surface easier to inspect.Filled chocolates
Add ingredients and piping toolsProven shell + tested ganache or caramel formula
Adds shell thickness, sealing, shelf-life and allergen control as separate skills.Safety
Work safely from the first attempt
Chocolate work is lower temperature than boiled sugar, but hot bowls, steam, sharp scrapers and food allergens still need a deliberate setup.
- Keep water away from electricity and melted chocolate; dry the outside of any bain-marie bowl before moving it.
- Use heatproof gloves for hot glass or metal and keep pan handles turned away from the worktop edge.
- Retain ingredient packaging and disclose milk, soya, nuts and other allergens when sharing food.
- Use only food-contact moulds and utensils, and follow the manufacturer's cleaning instructions.
- If chocolates are sold rather than shared privately, check current UK registration, hygiene and allergen requirements before production.
Classes
When outside help is useful
A class becomes useful when tempering remains inconsistent after measured practice, or when filled chocolates and shelf life become the goal.
Useful for seeing temper tests, mould polishing and ganache consistency in person.
Look for practical tempering, shelling, filling, sealing and take-home work rather than demonstration alone.
Representative UK beginner confectionery formats checked 30 July 2026; live prices and content vary.
Sources
Sources and checking notes
Manufacturer technique pages anchor the temperature method, food-safety guidance sets the sharing boundary and current product pages confirm the exact starter items.
-
01
Callebaut · Guide to tempering methods
Published crystallisation method and 811 curve.
Open source -
02
Callebaut · Tempering with callets
Seeding method and complete-melt guidance.
Open source -
03
Food Standards Agency · Allergen guidance
Current UK allergen and cross-contamination guidance.
Open source -
04
Food Standards Agency · Food hygiene
Cleaning, chilling and cross-contamination fundamentals.
Open source -
05
Amazon UK · Callebaut 811 1 kg
Exact couverture product checked for current UK availability.
Open source -
06
Amazon UK · Noondl tempering thermometer
Exact probe thermometer checked for current UK availability.
Open source -
07
Amazon UK · Whaline chocolate moulds
Exact six-piece silicone mould set checked for current UK availability.
Open source -
08
Amazon UK · Goldbaking polycarbonate mould
Representative rigid-mould upgrade checked for comparison.
Open source
Guide information and links checked 30 July 2026.