Make stronger pictures with the camera you already own
Photography starts with noticing light.
Not buying a camera.
Begin with the phone or camera you already own, practise light and framing on one simple subject, then add support, lighting or a dedicated camera only when a real limitation appears.
Quick answer
Start with the camera you already carry
A modern phone is enough to learn composition, light, timing and basic editing. A dedicated camera becomes useful when you need real optical reach, faster control, better low-light files or interchangeable lenses, not simply because it looks more serious.
- 01
Clean the lens, use the normal 1x camera and turn on the grid before changing any other setting.
- 02
Photograph one subject in soft window light or open shade, then move yourself rather than using heavy digital zoom.
- 03
Keep the best one or two frames and make a restrained crop, exposure and colour correction.
- 04
After several sessions, name the problem your current camera cannot solve before buying equipment.
What to expect
Most of the work happens before and after the shutter
Photography is a cycle of noticing, trying, reviewing and trying again. The camera records what you give it, including cluttered backgrounds, poor light and missed timing.
Light
A plain subject can look excellent in good light, while an expensive camera cannot make harsh or badly placed light disappear.
Framing
Small changes in height, distance and background often improve a photograph more than a new lens.
Repetition
Expect several ordinary frames for every useful one. Take variations, but do not spray hundreds without looking.
Editing
Selection, cropping and gentle tonal changes are normal. Editing cannot restore missed focus, badly clipped highlights or a moment that was never captured.
Files
Photographs multiply quickly. Storage, backup and deleting obvious duplicates become part of the hobby.
Phone or camera
Choose the route that matches the pictures you want
The phone route
Use the phone’s main camera first. It usually gives the strongest image quality and the most natural perspective. Turn on the grid, tap the subject to focus, adjust the exposure slider if the image is too bright or dark, and avoid enlarging the scene with heavy digital zoom. Move closer when it is safe and appropriate, or accept a wider composition.
Phone photography is particularly good for family life, food, pets, local walks, travel, street scenes and simple still life. Portrait and night modes can help, but they may create artificial edges or smoothing, so compare them with an ordinary photograph. RAW capture is useful only when the phone supports it and you plan to edit the larger files.
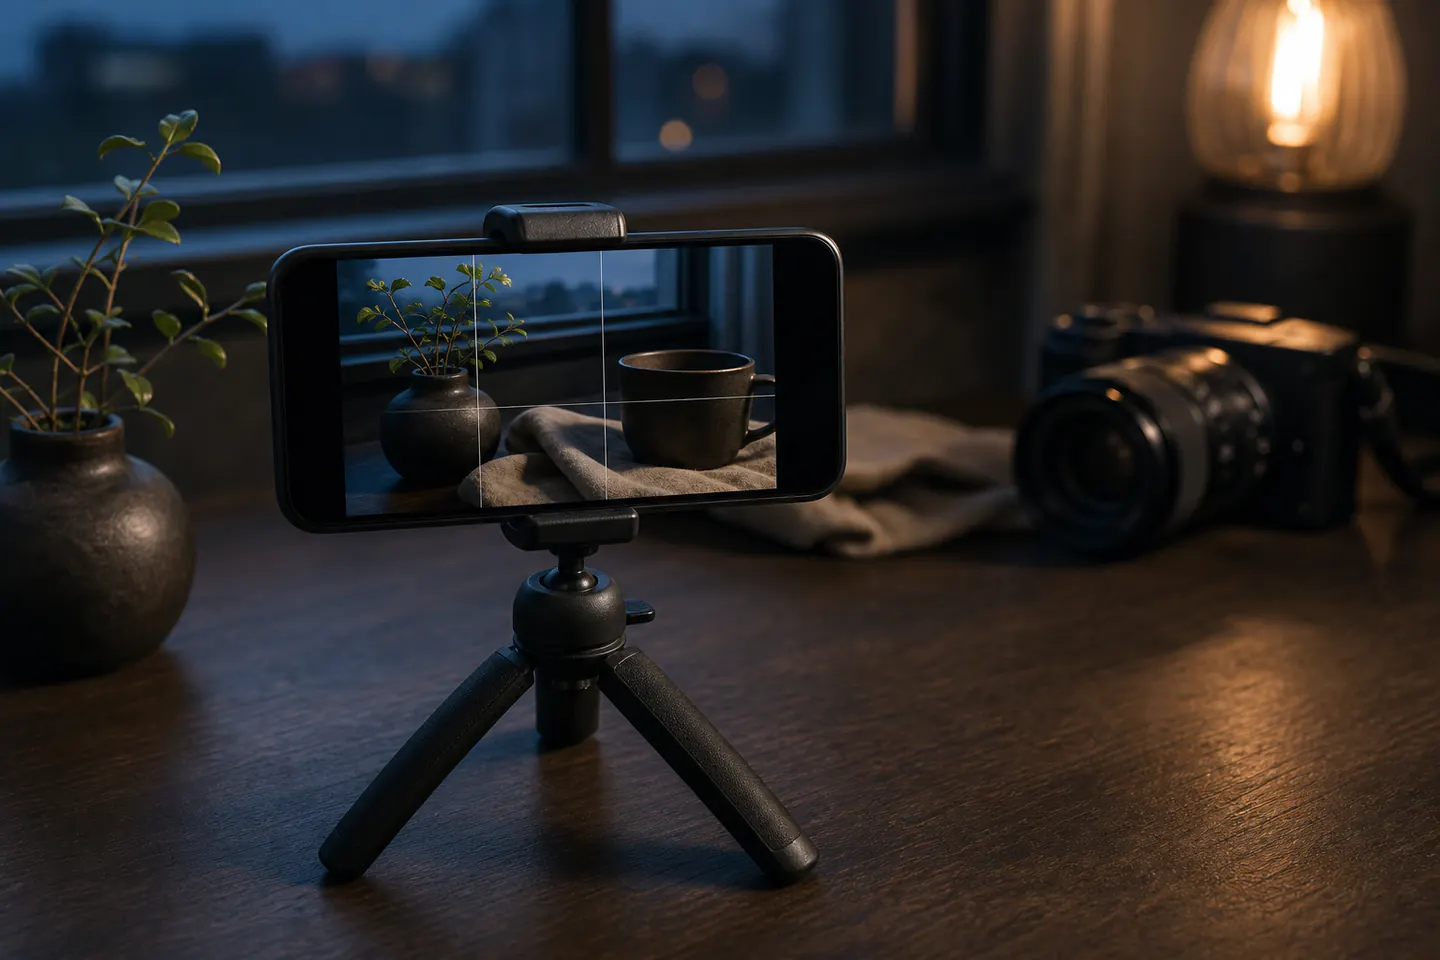
A tall phone tripod and remote release become useful for self-portraits, family groups, repeated product shots, time-lapses and low light. A white reflector can redirect window light without introducing another powered light source. Neither is compulsory for ordinary daylight practice.
A camera you already own
A compact camera, bridge camera, DSLR or mirrorless camera is still a valid place to begin. Start in Auto or Program mode while you learn focus, light and composition. Move next to Aperture Priority when you want control over depth of field, or Shutter Priority when movement matters. Manual mode is a tool for stable, repeatable conditions, not a qualification you must earn immediately.
Keep the standard zoom attached. Use its wide end for rooms, landscapes and context, then its longer end for portraits and tighter details. Repeated community advice supports learning what a kit zoom can and cannot do before buying a prime, telephoto or ultra-wide lens.
Be cautious with clip-on phone lenses
Cheap multi-lens kits often soften detail, add flare, darken corners or fit one phone camera poorly. Do not buy a lens set merely to make the phone look more like a camera. A well-reviewed dedicated macro or anamorphic lens can be useful for a specific compatible phone and case, but it belongs after the ordinary lens has revealed a repeated limitation.
Know the limits of this guide
This guide covers digital still photography. Film adds ongoing stock and processing costs, instant photography adds expensive consumables, and drone photography adds aviation rules and location restrictions. Long-lens wildlife, professional events and specialist studio work also need equipment and planning beyond the first route.
Starter product
Two phone tools that change the shot
The tripod includes a phone clamp and Bluetooth remote for stable framing. The reflector is a separate lighting tool for portraits, food or tabletop work. Neither is required for an ordinary daylight photo walk.
ULANZI MT-44 Phone Tripod with Bluetooth Remote
Its full working height, integrated clamp and remote cover more real photographs than the previous tiny stand.
NEEWER 5-in-1 Light Reflector, 60 cm
The white, silver, translucent and black surfaces make the direction and contrast of light visible on a face or tabletop subject.
First attempt
Make a 12-frame light study
Use a phone or any camera. Choose one ordinary subject, such as a mug, plant, tool, toy or piece of fruit, and learn how position and light change it before adding more equipment.
- 01
Set the scene
Place the subject near a window with indirect daylight, or take it outdoors into open shade. Remove distracting objects from the background.
- 02
Prepare the camera
Clean the lens, use the normal 1x phone camera or a standard zoom, turn on the grid and switch off flash.
- 03
Take four positions
Photograph from eye level, lower down, higher up and from one side. Move yourself and check every edge of the frame.
- 04
Take four distances
Make a wide view, a medium view, a close view and one detail. Do not use extreme digital zoom.
- 05
Take four light variations
Rotate or move the subject so the light comes from the front, side and behind. For the fourth frame, use white card or paper to reflect a little light into the shadow side.
- 06
Choose one frame
Review at full size. Pick the image with the clearest subject, cleanest background and most useful light, not merely the one with the strongest filter.
- 07
Edit lightly
Straighten, crop, adjust exposure and correct colour if needed. Keep the original so you can compare the edit later.
Editing & files
Keep editing and storage simple
Begin with the built-in editor
The Photos or Gallery app already lets you crop, straighten and adjust exposure, highlights, shadows, colour and contrast. These controls are enough for the first projects. Edit to clarify what you saw, then compare the result with the original. Heavy sharpening, saturation, background blur and preset effects can hide problems while making edges and skin look unnatural.
JPEG or HEIF is fine at first
JPEG and HEIF files are small, ready to share and usually include the phone or camera's processing. RAW files retain more adjustment latitude but take more space and need deliberate editing. Switch to RAW when bright highlights, difficult colour or repeated professional-style processing makes the extra work worthwhile.
Treat syncing and backup as different jobs
Automatic cloud upload is useful, but a synchronised library can repeat deletions across devices. Apple explicitly recommends keeping backup copies of an iCloud Photos library, and Google Photos lets you check whether items have finished backing up. After an important shoot, keep another copy on a computer or external drive before formatting a memory card or clearing a phone.
Use simple folders such as `2026-07 garden portraits` or `2026-07 local walk`. Delete obvious mistakes and near-duplicates only after the important files exist in another place.
Camera upgrade
A camera route and the accessories that follow it
A dedicated camera is worthwhile when the phone repeatedly limits focus, action, low-light files, optical reach or lens choice. For the first camera setup, the R50 kit and a compatible SD card are sufficient. The stronger tripod and 50 mm lens are later genre-specific upgrades, not automatic additions.
Canon EOS R50 with RF-S 18–45 mm Lens
The standard zoom, viewfinder, subject autofocus and RAW files create a clear step beyond a phone without jumping to full frame.
SanDisk Extreme PRO 128 GB SDXC UHS-I Card
It matches the R50’s full-size UHS-I slot and V30 rating is appropriate for its ordinary stills and 4K workflow.
K&F Concept 163 cm Aluminium Camera Tripod with Ball Head
It gives a mirrorless body a wider stance and ball head for landscapes and longer exposures.
Canon RF 50 mm F1.8 STM Lens
The F1.8 aperture admits more light and produces a tighter portrait view on the R50 than the standard zoom.
Buy later
What can wait
Buy equipment to solve a limitation you have repeatedly met. Photography has no universal shopping basket because portraits, wildlife, sport, macro and landscapes ask for different things.
- 01
Manual mode from the first day
Auto, Program and priority modes let you concentrate on the picture while learning what the camera is choosing.
- 02
A bag full of lenses
A standard zoom reveals which focal lengths and subjects you actually use. Specialist lenses make sense after that pattern is clear.
- 03
A full-frame camera
Larger sensors can help in demanding conditions, but bodies and lenses are usually larger and more expensive. They do not replace good light or framing.
- 04
Flash systems and studio lights
Window light, open shade and a sheet of white card are enough to learn direction, softness and shadow control.
- 05
Large filter kits
Cheap filter bundles often add colour casts, flare or softness. A protective filter is not automatically necessary, and creative filters should solve a specific problem.
- 06
Paid presets and subscriptions
Use the built-in editor until you know which controls or workflow are genuinely missing.
Upgrade path
What each upgrade actually changes
The useful upgrade is the one that changes the photograph you can make, not simply the amount of equipment you carry.
Use what you own
£0Phone or existing camera
Learn light, framing, timing, focus and editing with no compatibility decisions.Hold it still
About £29Tall phone tripod with remote
Gain repeatable framing, self-portraits, time-lapses and cleaner low-light captures when the phone must remain still.Shape daylight
About £24Small 5-in-1 reflector or white card
Lift or subtract shadow for portraits and tabletop subjects without learning flash power first.Take direct control
Used and new prices varyMirrorless camera plus standard zoom and compatible SD card
Gain dedicated controls, optical zoom, RAW files, subject autofocus and a route into interchangeable lenses.Specialise
Often £40–£300+ per changeTripod, prime, telephoto, macro lens or lighting chosen for one genre
A tripod stabilises longer exposures, a 50 mm prime gathers more light, a telephoto adds reach and lighting gives repeatable control indoors.Safety & ethics
The photograph is never more important than the subject
Photography is usually low risk, but people, wildlife, access, traffic and bright light create responsibilities that camera settings do not solve.
- Ask before making close or persistent photographs of identifiable people, and get clear permission before publishing private portraits, especially images of children.
- Public photography generally does not require a permit, but venues, private land and organised events can set their own conditions. Check signs and local rules.
- Do not block paths, roads, doorways or emergency access. Keep tripods and bags visible and out of other people’s route.
- For wildlife, keep your distance and stop if your presence changes feeding, resting, nesting or escape behaviour. Protected species may require a licence when photography risks disturbance.
- Do not climb unstable ground, step into traffic or work close to water while looking only through a screen or viewfinder.
- Looking directly at the Sun is dangerous to eyes and cameras. Solar photography needs a specialist solar filter fitted correctly to the front of the lens and separate safe viewing protection.
Courses & groups
When tuition becomes useful
The first phone and camera exercises can be learned independently. Tuition becomes valuable when controls, lighting or feedback are stopping progress, or when you want supervised access to a specialist subject.
A six-hour classroom and outdoor introduction covering aperture, shutter speed, ISO and practical exercises with the participant’s own digital camera.
A ten-week beginner course with about ten hours of study each week, covering digital photography and image editing.
Useful for regular projects, local knowledge and feedback. Look for groups that critique pictures constructively rather than treating equipment as the main measure of progress.
Representative UK course listings and prices checked 27 July 2026. Dates, venues and fees change.
Sources
See what shaped the advice.
Follow the evidence.
Manufacturer guidance, UK legal and wildlife sources, current retailer listings, course providers, platform documentation and repeated beginner community advice were checked for this guide.
-
01
Canon Europe: photography for beginners
Established a beginner progression from composition and focus to exposure controls, and supported starting with available equipment rather than a large kit.
Open source -
02
Nikon: understanding the exposure triangle
Explained how aperture, shutter speed and ISO combine to control exposure and creative effects.
Open source -
03
Apple iPhone User Guide: camera basics
Confirmed tap-to-focus, exposure adjustment and the availability of grid and level tools on supported iPhones.
Open source -
04
Google Pixel Camera Help: change camera settings
Confirmed grid types, RAW and JPEG capture, manual controls on supported Pixel Pro models and camera-setting options that vary by device.
Open source -
05
Canon EOS R50 specifications
Verified the 24.2MP APS-C sensor, RF and RF-S compatibility, lack of sensor-shift stabilisation, UHS-I storage support, supplied battery and camera weight.
Open source -
06
Metropolitan Police: photography advice
Established that members of the public generally do not need a permit to photograph in public places and that police do not have a general power to stop lawful photography or delete images.
Open source -
07
UK Intellectual Property Office: copyright in photographs and digital images
Explained photographer copyright, use of images found online, and the UK position on photographing buildings and sculptures in public spaces.
Open source -
08
Royal Photographic Society: Nature Photographers’ Code of Practice
Supported the principle that subject welfare comes before the photograph and informed the wildlife behaviour and distance advice.
Open source -
09
GOV.UK: protected species photography licences
Confirmed that disturbing certain protected animals or wild birds for photography may require a licence and specialist advice.
Open source -
10
NASA: five tips for photographing a total solar eclipse
Established that looking directly at the Sun is dangerous to eyes and cameras and that partial-phase solar photography requires a specialist solar filter.
Open source -
11
Google Photos Help: back up photos and videos
Confirmed automatic cloud backup, backup-status checking and access to backed-up images across signed-in devices.
Open source -
12
Apple Support: set up and use iCloud Photos
Confirmed full-resolution original storage, synchronised edits and deletions, and Apple’s advice to keep separate backup copies of the library.
Open source -
13
RPS and Open University online photography course
Verified a current ten-week beginner course, £250 price, approximate study commitment and October 2026 start information.
Open source -
14
Jessops Academy: Introduction to Photography
Verified the £129.99 six-hour practical beginner course, topics covered, equipment expectations and listed 2026 dates.
Open source -
15
AskPhotography discussion: starting with a smartphone
Provided a recent community signal that a smartphone is a meaningful way to practise before committing to expensive camera equipment.
Open source -
16
Photography discussion: composition or technical controls first
Repeated the experienced view that light and composition remain important even when the camera is in an automatic mode.
Open source -
17
Photography discussion: versatile beginner lenses
Supported using a standard kit zoom across its range before choosing a more specialised lens.
Open source -
18
Photography community guide: buying a first camera
Supported defining the limitation of an existing phone or camera, considering the wider lens system, and beginning with a standard zoom rather than buying equipment without a use case.
Open source -
19
ULANZI · MT-44 phone tripod
Manufacturer dimensions, phone clamp, ball head, remote and mounting features.
Open source -
20
NEEWER · 22-inch 5-in-1 reflector
Manufacturer reflector surfaces, folded size and intended photography uses.
Open source -
21
Amazon UK · ULANZI MT-44 phone tripod
Exact 147 cm tripod and Bluetooth remote page, £28.99 observed price, ULANZI Official seller and in-stock status.
Open source -
22
Amazon UK · NEEWER 60 cm 5-in-1 reflector
Exact collapsible reflector page, £24.31 observed search price and current listing.
Open source -
23
Amazon UK · Canon EOS R50 with RF-S 18–45 mm
Exact camera-and-kit-lens page; current featured £824.91 offer was Amazon Resale, so condition and seller must be checked.
Open source -
24
Amazon UK · SanDisk Extreme PRO 128 GB SDXC
Exact UHS-I U3 V30 card page, £38.98 observed price and current availability.
Open source -
25
Amazon UK · Canon RF 50 mm F1.8 STM
Exact RF-mount prime lens page, £183 observed price and current availability.
Open source -
26
Amazon UK · K&F Concept 163 cm camera tripod
Exact aluminium ball-head tripod page, £39.09 observed price, K&F Concept-UK seller and in-stock status.
Open source
Guide information and links checked 27 July 2026.